|
<< Click to Display Table of Contents >> Image effects |
  
|
|
<< Click to Display Table of Contents >> Image effects |
|
With AquaSoft Stages you can now also apply image effects to your images and in this way present your images even more impressively.
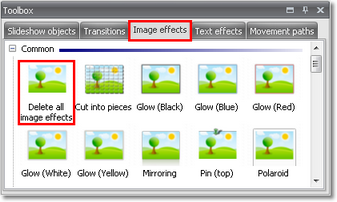
In the Toolbox you will find the Image effects.
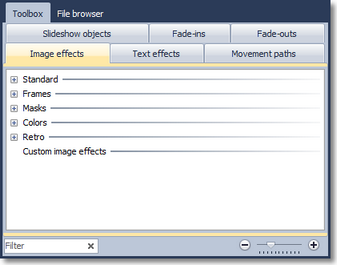
The Image effects are subdivided into various categories. With the plus icon you can open up the individual categories.
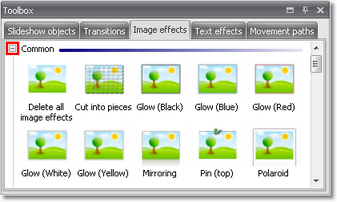
Image effects can be applied to an image very easily. Insert a few images into an empty project.
In order to now being able to apply the Image effects to these images, simply drag the desired effect out of the Toolbox to the image in the Timeline.
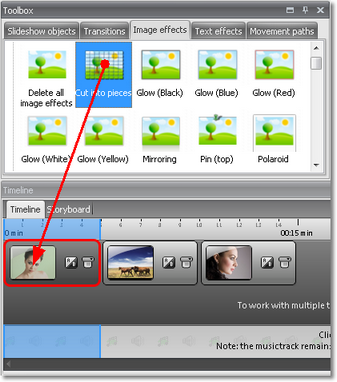
You will see the change in the Layout Designer. The effect becomes properly visible when playing back.
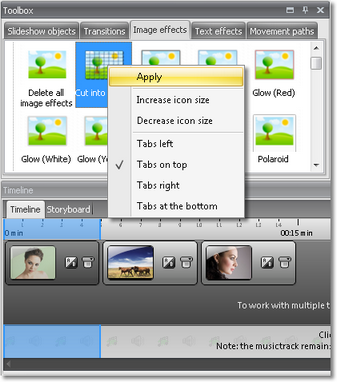
If you would like to assign an Image effect to several or all images select these images.
All images = Ctrl + A
Certain images = Ctrl + right click on the image
Select the Image effect with the left mouse key, then click right and select Apply. The Image effect will be assigned to all selected images.
If you want to remove an Image effect again, in the category Common you will find the Delete all image effects object in the Image effects.
Simply drag the latter from the Toolbox onto the image on the Timeline in the case of which you wish to remove an effect set.
In AquaSoft Stages Ultimate you can create and edit such effects yourself. A special Effect editor is available there. It is explained in chapter Image editing.