|
<< Click to Display Table of Contents >> Photo collage |
  
|
|
<< Click to Display Table of Contents >> Photo collage |
  
|
 Photo collage You can find the effect in the Toolbox below the tab objects, in the object effects section. |
1. Inserting a photo collage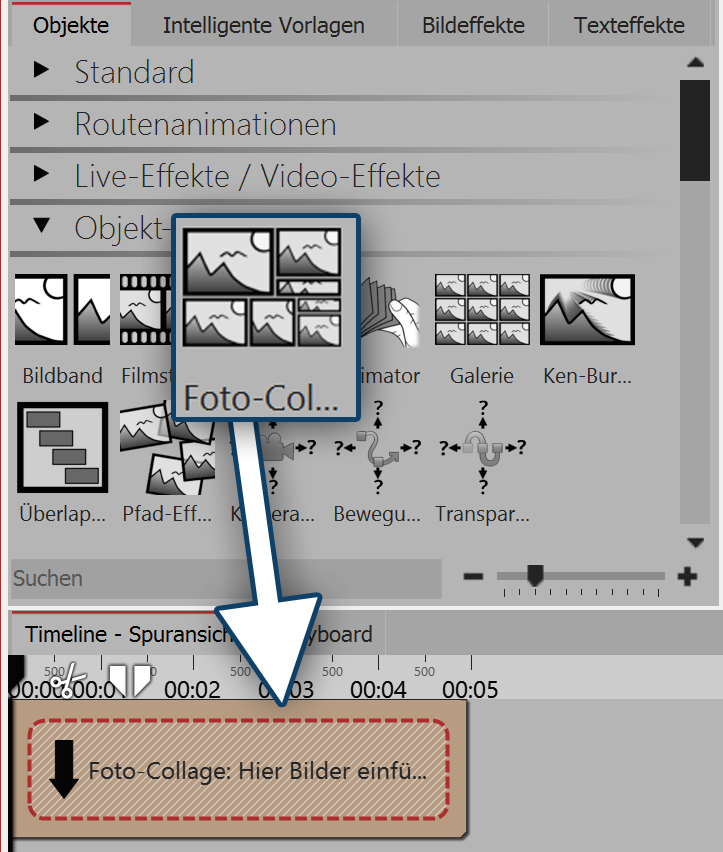 Dragging a photo collage from the toolbox into the timeline Start with a blank project and drag the photo collage from the Toolbox into the Timeline. 2. Adding imagesNow drag an image object or a video object into the photo collage. In the following image selection you can select several images at once by holding down the Ctrl key and clicking on the desired images. Select open, to insert the images. |
 Inserting images into a photo collage |
3. Adjusting images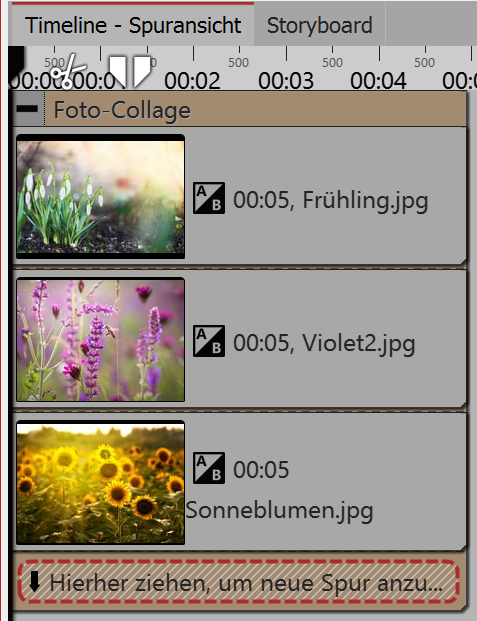 Arrange pictures underneath each other So long as the images are arranged underneath each other in the Timeline, they will appear consecutively. The special attraction of the photo collage however, is that the images are displayed at the same time and, in this way, are combined to form a new piece. To ensure that the images appear at the same time in the photo collage, arrange them one on top of the other. You will see on the Timeline above, at what time and for how long the pictures will be shown. If you would like the images to displayed in a time-delayed fashion, arrange the images in a tiered manner on top of each other. |
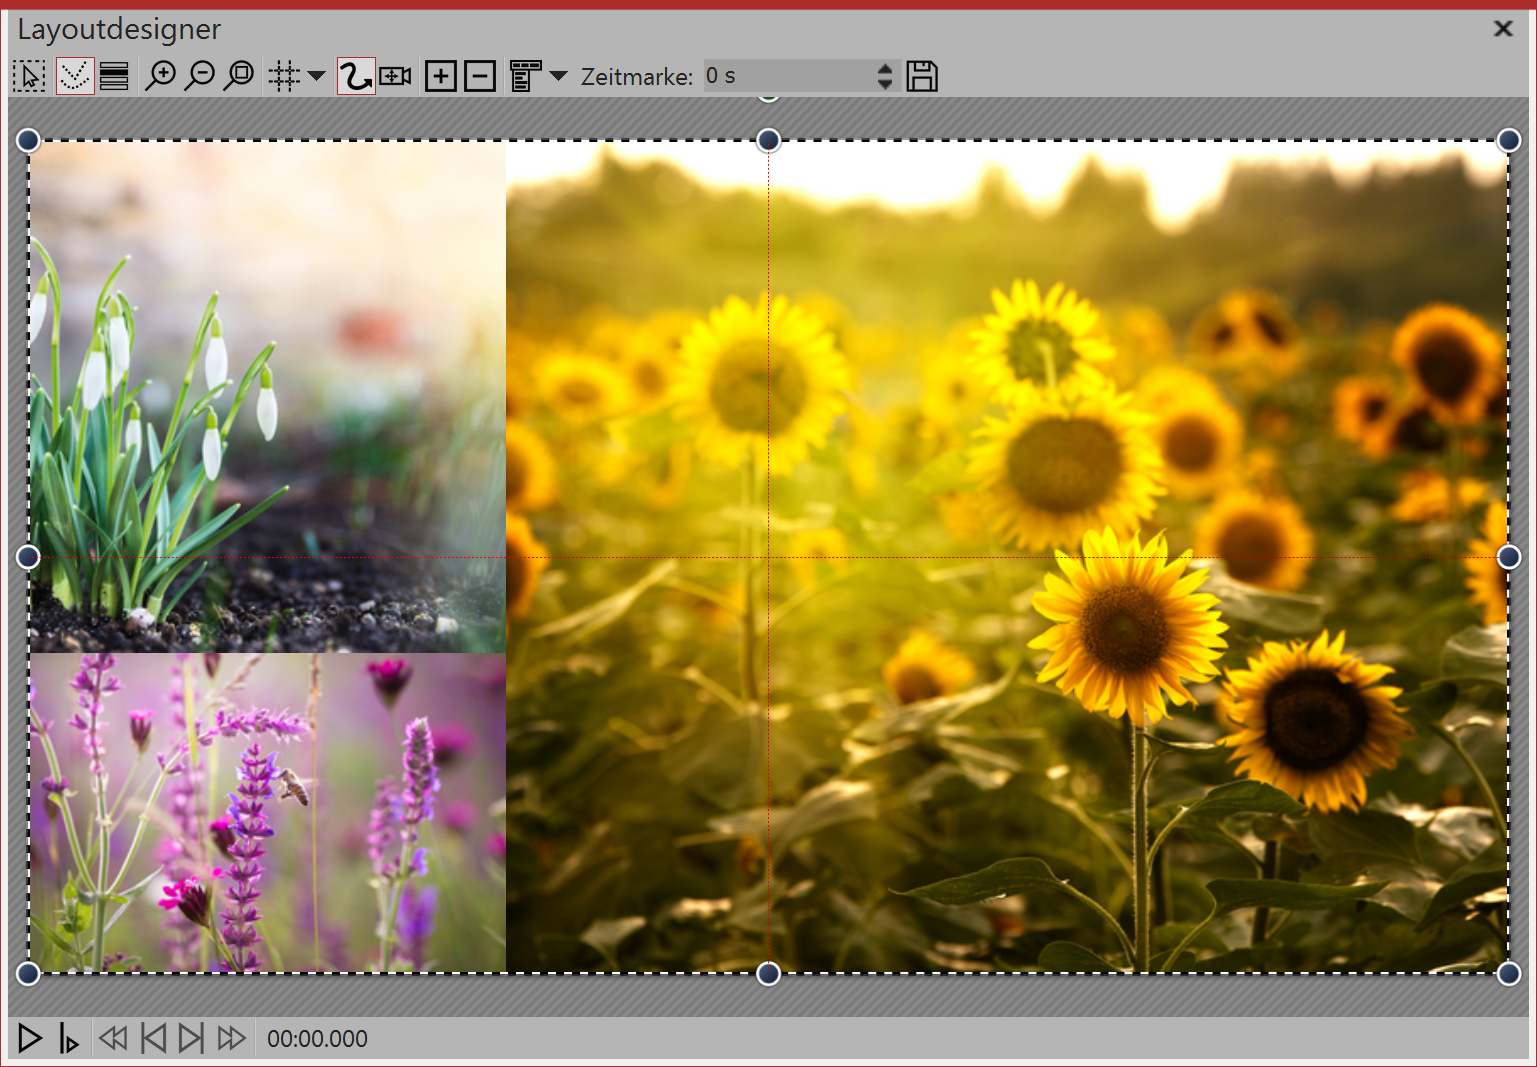 This is how the effect might look. |
4. Adjusting the image properties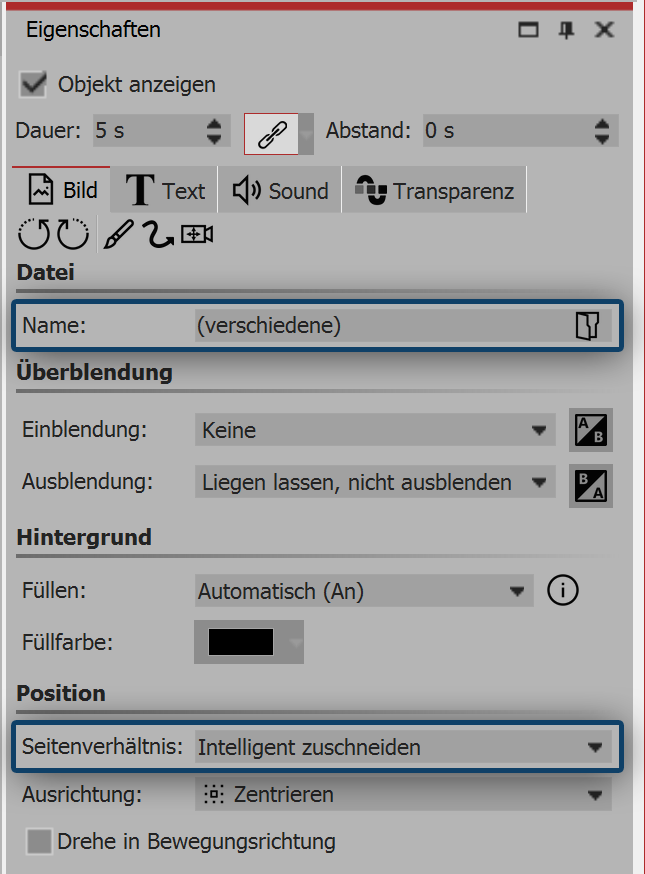 Under position you can now define the aspect ratio for all images. Select here intelligent cropping, if you would like the faces to be taken into account during cropping. |
5. Details for photo collage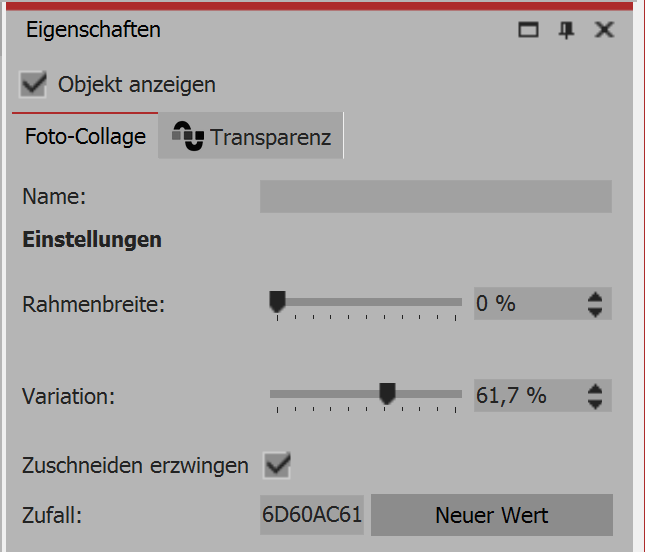 Settings for the photo collage If the entire photo collage is selected, you can specify more details for them in the properties window. Frame width - size of the spacing between the images. If you do not want any spacing, enter 0 as a value. Variation - the variation indicates how strongly differentiated the subdivisions should be. A value of 0% exactly halves the areas. A higher value creates wilder compilations. Enforced cropping - this option makes it possible to present the images in the photo collagewithout gaps. Each image is automatically cropped so that it fits perfectly into the photo collage. Zufall - the structure of the collage is different each time it is displayed. If you want to retain the displayed arrangement, you will need to insert a code by the value switch before you play the photo collage. This code is a kind of "DNA" of the photo collage, which can be passed on and ensures a photo collage always retains the same output properties. |