|
<< Click to Display Table of Contents >> Working with keyframes |
  
|
|
<< Click to Display Table of Contents >> Working with keyframes |
  
|
 For each animation the object contains multiple keyframe tracks In Stages you can control, among other things, transparency, fading in and out, screen panning, the motion path and the text display in the Timeline, over Keyframes. |
On the left side of the Timeline there are five small buttons which help you work with the Tracks and the Keyframes. Using this you can open and close all the Tracks all at once, as well as getting all the Keyframe Tracks to fade in or out.
|
Remove all Timeline Markers |
|
Open all Keyframe Tracks |
|
Close all Keyframe Tracks |
|
Open all Containers |
|
Close all Containers |
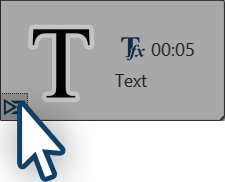
 Open Keyframe Tracks for Text Object The symbols to open and close the Keyframe Track can also be found on the individual Objects. |
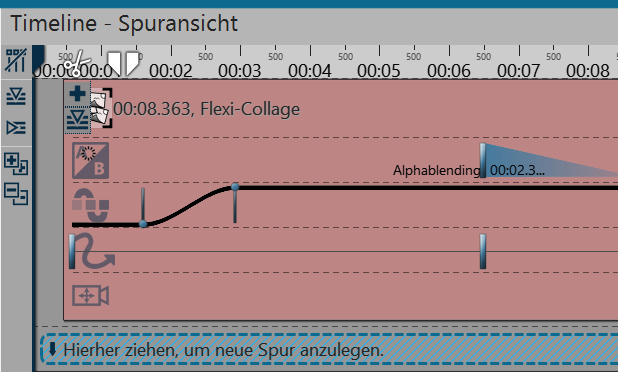
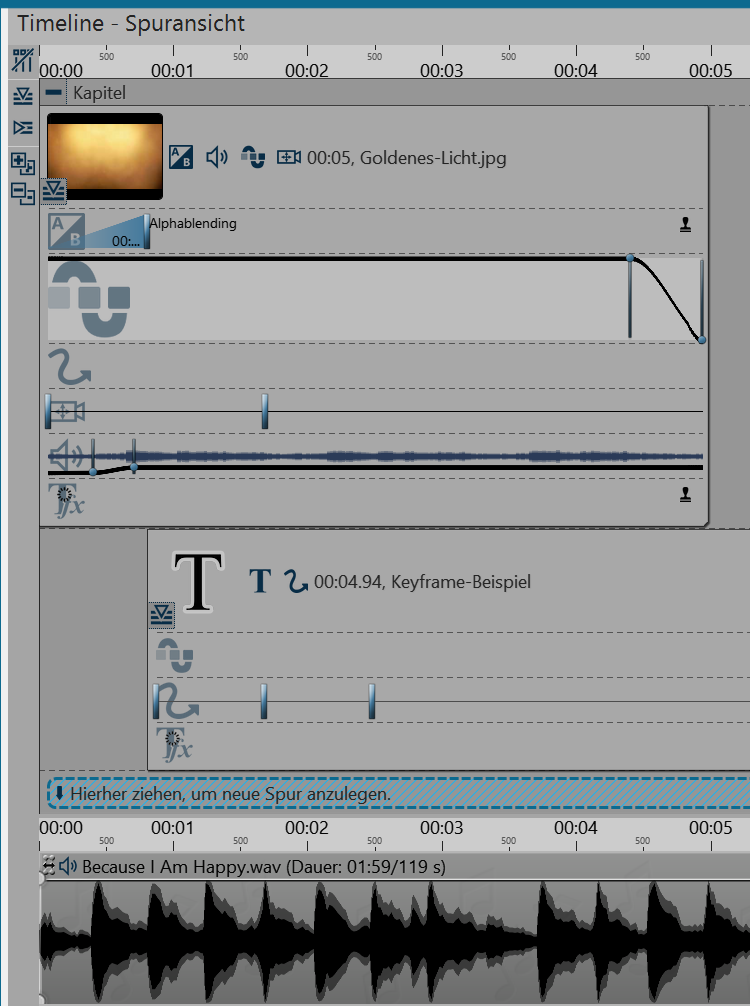
 Opened Keyframe Tracks First of all open the Keyframe Tracks of the Object. Depending on the type of Object, there are differing Keyframe Tracks available. You can see which Effect or which Property can be set for each Track thanks to the symbols at the beginning of each Keyframe Track. If you wish to edit the Keyframes in a particular track, first click on the relevant Track. This is then highlighted by a slight enlargement. Then click anywhere within this Track to create a Keyframe. This Keyframe can create a new Motion Marker in the Track for the pan shot whose Properties you can, for example, set precisely in the Layout designer. A Keyframe in the Track for Transpareny creates a new point in the Transparency Curve. You see this curve with your ups and downs directly in the Keyframe Track. |
When you have opened the Keyframe Tracks you will see an individual symbol at the beginning of each Track. The symbol indicates the Effect you influence with each Keyframe Track.
|
Duration and type of fading in or out |
|
Duration and modulation of opacity (transparency curve) |
|
Time interval between the markers on a motion path. |
|
Time interval between the markers of a pan shot |
|
Chronological sequence of volume change |
|
Duration and type of text effect |