|
<< Click to Display Table of Contents >> Labeling an image |
  
|
|
<< Click to Display Table of Contents >> Labeling an image |
  
|
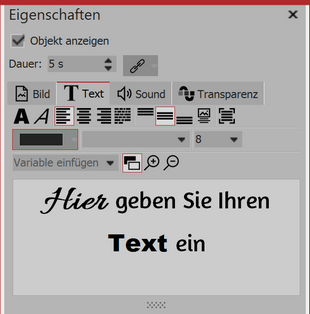
 Inputting text to an image In the properties section of an image and text object there is a text tab.
|
To label an object, go to properties and click on the “text” tab. In the text field you can enter text and adjust the formatting - font, font size and color. Under orientation, you have the following options for the positioning of your text:
In the text box, type the desired caption for your image. Select the font and size. If you wish your text to be a specific color, you can select this via the color selection (this is located on the right, next to the font size). |
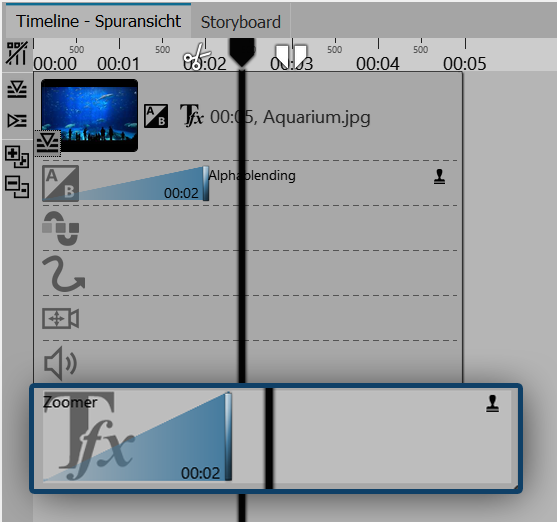
 Keyframe track for text animation In Stages you can control the duration of the text fading in or out via the keyframe track. Just open the keyframe track and click in the track for the text animation. |
|
You can find out how to underline your text in our SnapTip "underlining text". |