|
<< Click to Display Table of Contents >> Which aspect ratio, 16:9 or 4:3? |
  
|
|
<< Click to Display Table of Contents >> Which aspect ratio, 16:9 or 4:3? |
|
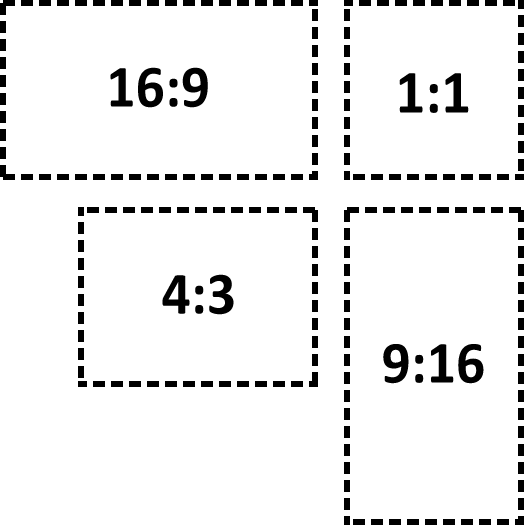
The first step in setting up your project is to select the appropriate aspect ratio.The aspect ratio defines the ratio between image width and image height. In this chapter we will show you where you can find the aspect ratio and how to select which one best fits your needs. Before creating your project it is important to know which devices you want to play it back on. The best scenario is when the aspect ratio of your project and your playback device match. That way no part of your project is distorted or cropped.
•Images captured with an SLR camera usually have an aspect ratio of 3:2
•Point and shoot cameras (compact cameras) take photos in 4:3.
•Smart phones take pictures in 16:9.
•An iPhone or iPad takes photos in the 4:3 format.
Your playback devices on the other hand, may have a different aspect ratio:
•For modern flat screen, LED, and Plasma TVs an aspect ratio of 16:9 is recommended.
•Most PC monitors also have an aspect ratio of 16:9.
•An old CRT TV usually has an aspect ratio of 4:3.
•When using a projector the aspect ratio often varies. You will need to check this in advance.
As you can see, the contents of your project and the equipment on which you wish to play your presentation can have very different aspect ratios. If you can adjust your photos and videos to fit the aspect ration of your device, you can achieve a consistent and professional looking project. AquaSoft Stages offers many ways to do this, which you will learn about in more detail in the following pages.
|
The selection of the appropriate aspect ratio at the start of your project is important so that your finalized presentation is undistorted and has no black side bars. |
When you open the program, you will see the Welcome dialog box It gives you the option to create a new project and, in doing so, allows you to choose between two different aspect ratios, You may choose between aspect ratios 16:9 and 4:3. If the Welcome dialog box doesn’t open, or if you’ve already closed it, you can create a new project with the desired aspect ratio by going to File / New.
You have now chosen your aspect ratio, Now insert your photos. Depending on the device used to take the photos, your photos could have a different aspect ratio to that of your project. If the aspect ratio of your photos does not match that of your project you will see empty spaces in the display, which are usually colored black. To avoid this, you can choose to display your images in full frame view.
|
You can go back and adjust the aspect ratio of a previously saved project at any time. |

Choosing the automatic adjustment options
In the Properties window under Position / Aspect ratio you may configure various settings in order to match the aspect ratio of your photos automatically to those of your project. AquaSoft Stages does the work for you.
The following options are available:
•Keep - The image retains its aspect ratio.
•Crop - The image is cropped at the edges to match the aspect ratio of the project (the original file remains unchanged, only the image as it is displayed within the project is cropped).
•Distort - The image is compressed or stretched to fit the aspect ratio of the project. This option is not suitable for images of people, because this can lead to an unnatural or unflattering shape.
•Intelligent cropping -The edges of the image are cropped to match the aspect ratio of the project (the original file remains unchanged, it’s only being cropped within the program). While cropping, facial recognition is used to detect where the people are in a photo so that they remain as intact as possible.
|
If you wish to edit multiple images at once, use the keys Ctrl + A to select them. Now the desired option must be selected, and this will be applied to all of your photos. |
 Black borders, to the left and right In the following example, you will learn how you can adjust the aspect ratio of your images to your own liking, while still matching those of your project. Create a new project with an aspect ration 16:9 format by going to File I New I New project in 16:9 format. Add an image that does not have the aspect ratio 16:9. |
 Enlarge the image in the Layout Designer Zoom out in the Layout designer by clicking the magnifying glass with the minus sign |
 Form for description of your own template If you have a lot of images whose aspect ratios need to be manually processed, consider saving the positioning you have just created as a custom template. This means that you can manually adjust the aspect ratio in only one step. Drag the image that you have just manually adjusted from the Timeline into the Toolbox and give the template a name in the dialog box which appears. |
 Custom templates can be found under "My objects" Template in the Toolbox The template you have just created can now be found in theToolboxunderObjects / Custom objects . In order to insert more images in the same format, simply drag the saved template with the mouse into theTimelineorImage list. This will open the dialog box relating to the insertion of images. Now select the images that are to be inserted with the settings of the stored template. The inserted images have now the saved formatting and no longer need to be adjusted. |
Sometimes you will have given some thought to the form and composition of some images. This work should not be influenced by cropping or distortion. Even in this instance, you need not accept black borders. It is highly recommended that you work with multiple tracks, and in the chapter"Working with multiple tracks"you will learn how to do this.
The tracks inside a section allow you to use images in the background, while other images appear in the foreground.
1.Use the mouse to drag a section out of the Toolbox and into the Timeline.
2.Drag animageobject into thesectionand choose an image to use as background.
3.Then drag this under another image to the words “Drag here to create new track”. Now select all the images that are to appear in the foreground.
If there are portrait-style images in your project, you can place two images side by side in the Layout designer and display them simultaneously.
1.Use the mouse to drag a section from the Toolbox into the Timeline.
2.Now drag an image-object into the section, select two pictures.
3.Now drag one of the portrait-style images under the other (again onto the words “Drag here to create a new track").
4.In the Layout designer you can place or rotate the images as desired.
5.You can finish each image by giving it a frame. You can find this option in the Toolbox under the tab image effects - frame.

Creative workaround for unsuitable aspect ratio
If you notice that you have chosen the wrong aspect ratio for a project, you can still create a different aspect ratio later on. To do this, click on settings, which you can find at the top of the Toolbar. In basic settings under aspect ratio you can select different options (see picture below).

The aspect ratio can be changed retroactively
|
This sentence needs to be removed!!!***. |

