|
<< Click to Display Table of Contents >> Working with multiple tracks |
  
|
|
<< Click to Display Table of Contents >> Working with multiple tracks |
  
|
What are tracks and what do you use them for?

Chapter object in the timeline
In AquaSoft Stages, using the chapter objects, you can create any number of tracks. In each track, you can place objects of any kind, such as pictures, music, videos, flexi-collages and other elements.
You will find the chapter objectin the Toolbox under the objects tab.
Imagine the objects within a chapter like photos, which are lying on a pile. This comparison sometimes helps when trying to understand the principle of tracks and to identify which objects are covering each other.
Objects which are located in the top track, lie right at the bottom of the "photo stack"and can, for example, serve as a background. Objects which are placed in the second track are located inside the photo stack above the images of the first track. Depending on how large the image is, it covers the underlying image completely or only partially.
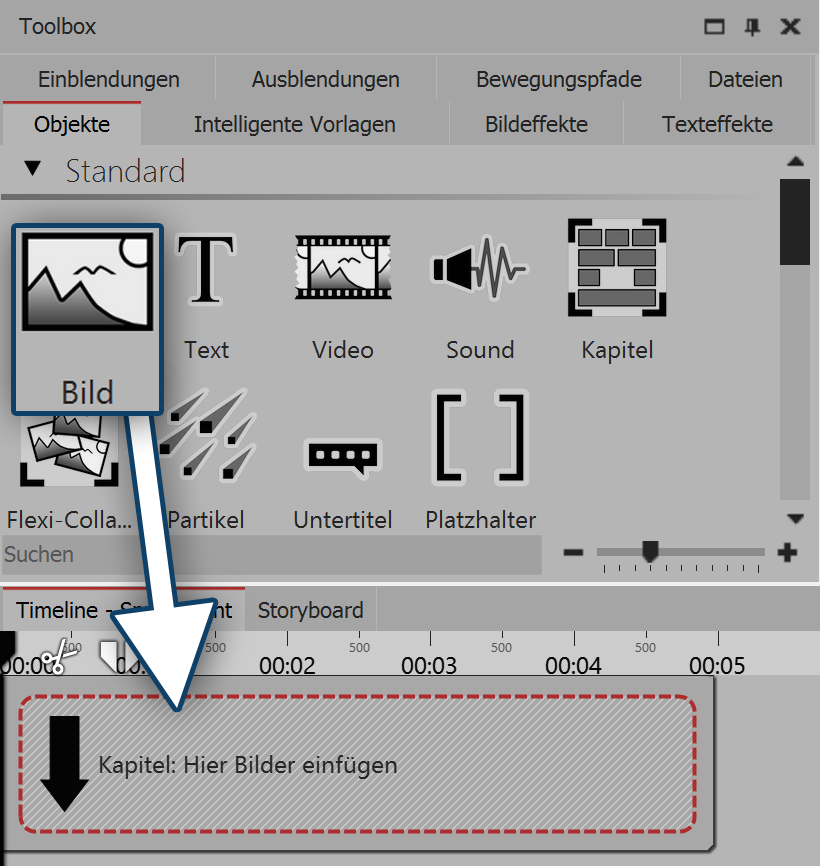
 Drag the chapter into the timeline Inserting an image into a chapter (image track) Drag a chapter from the Toolbox into the Timeline. In the Timeline you will now find an empty chapter with the words "insert images here". Drag an image object onto the words and select one or more images. You have now inserted images into the first track of the chapter. You can also change the position as you like by using your mouse to drag them. You can also adjust the display duration of the images. To do this, either enter a time in the properties window under duration, or you can drag on the border of an image object in the Timeline, to extend its duration. |

Images are located in the first track
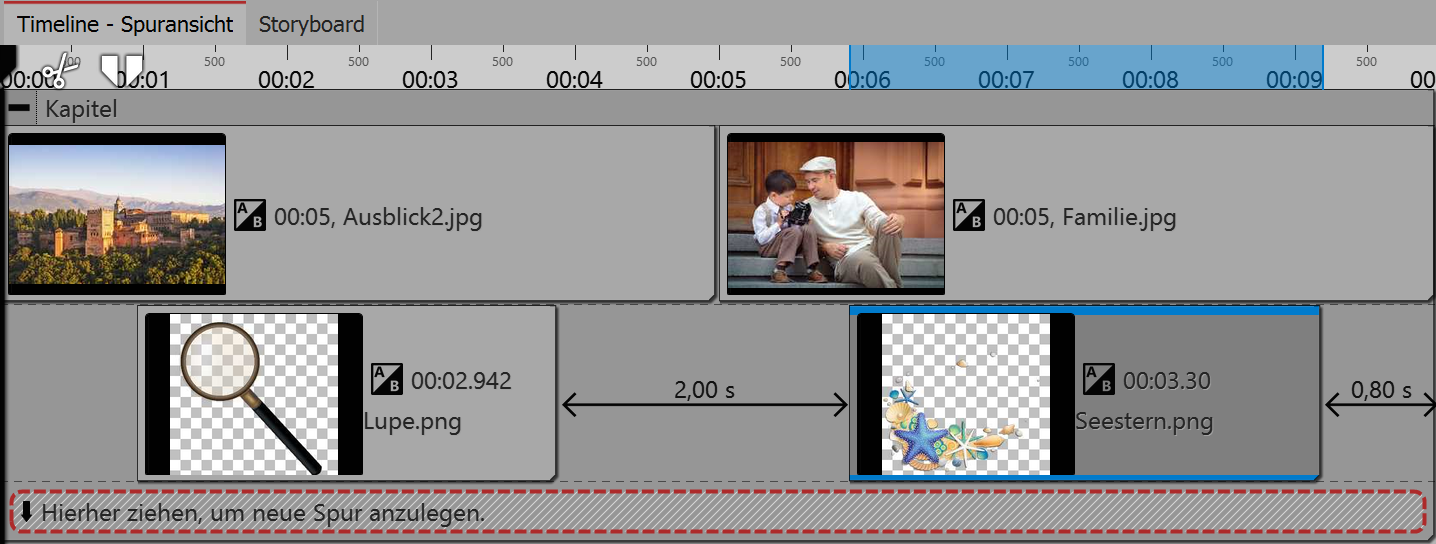
After you have inserted the images, you will find them in the first track of the chapter. Underneath the inserted images, you will find the text "drag here to create a new track". Drag all objects which are to be in a new track onto these words. Everything that is located in the Timeline in the lower track, is displayed in the Layout designer above the objects of the previous track. Objects of the second track cover the objects of the first track.

Two image tracks in one chapter
|
Via the project wizard you can create a menu for your presentation in which this chapter is also selectable. |