|
<< Click to Display Table of Contents >> Special shapes |
  
|
|
<< Click to Display Table of Contents >> Special shapes |
  
|
 Special shapes You can find the shapes in the Toolbox below the tab objects, in the shapes section. The shapes can be combined with each other to use in the design and also as a mask in the masks effect. Color, size and the soft edge can be adjusted individually. This gives you a flexible tool for many applications. The forms retain a high quality even at extreme zoom. |
1. Inserting the shape and selecting the type

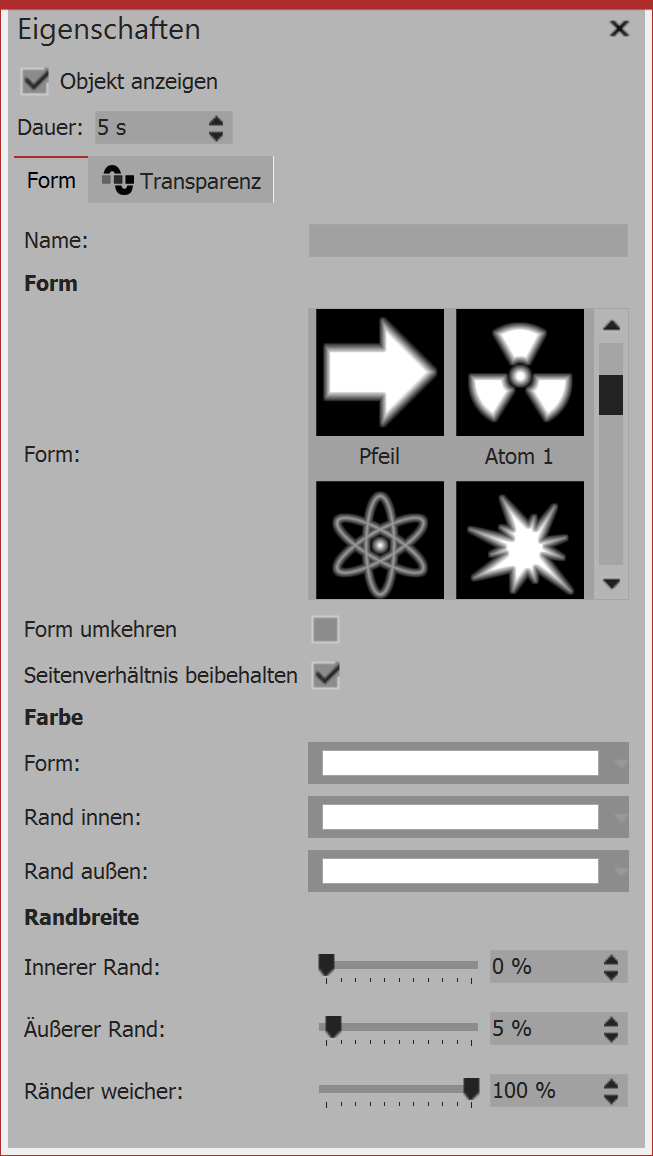
Settings for special shape

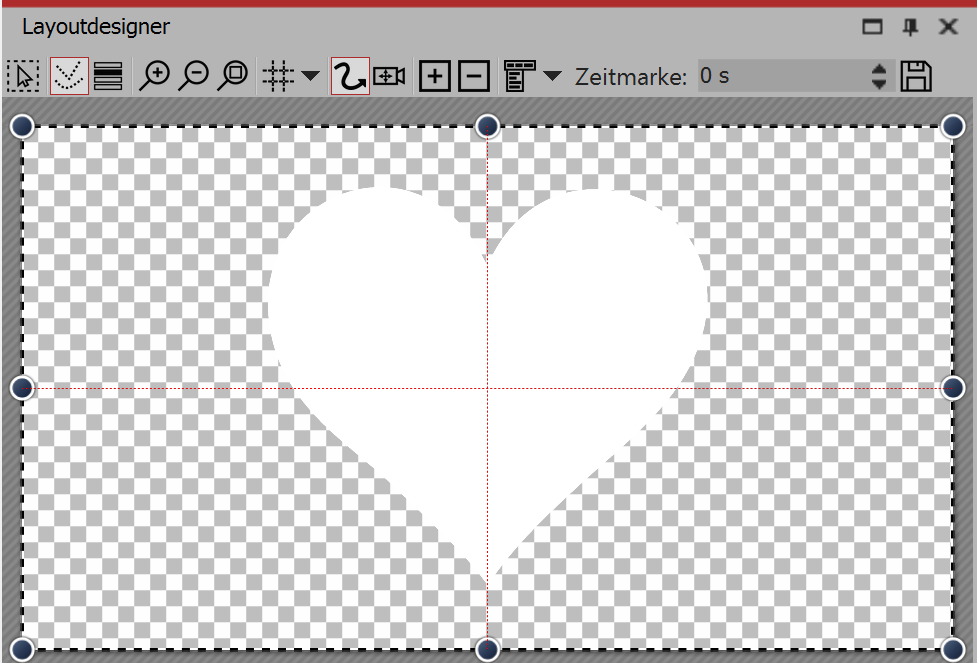
Special shape in the layout designer
After first inserting this shape, it is usually white and unscaled.
First select a shape in properties.
2. Settings for shape
In the properties window, you can enter a name for each shape. This is useful if you assign a motion path to the shapes and need a better overview of the shapes in the manual input.
Here you can specify the color of the shape.
You can also specify the color of the inner and outer rim.
You can also define the width of the borders. If you prefer to have no border, you can enter a value of 0% in the box.
In addition, the shape can have a soft edge. In Stages it is possible for the softness of the edge to vary over time, if you set this via the graph icon.