|
<< Click to Display Table of Contents >> Routenanimation mit GPX-Pfad |
  
|
|
<< Click to Display Table of Contents >> Routenanimation mit GPX-Pfad |
|
Many apps offer the option of recording excursions, hikes, bike tours and trips in the form of a GPX track and exporting it. With the help of such a GPX track, you can create route animations and insert suitable maps into the project. To do this, save your GPX path on your computer.
 Map from the Toolbox Drag a map-path object from the Toolbox to the location in the Timeline of your project where you need the map with route. The Map Wizard opens.
|
|
If you only want a map with a section that matches a GPX track, you can also select the simple map object. The map section will then be set to match the imported route, but no route will be imported into Timeline. |
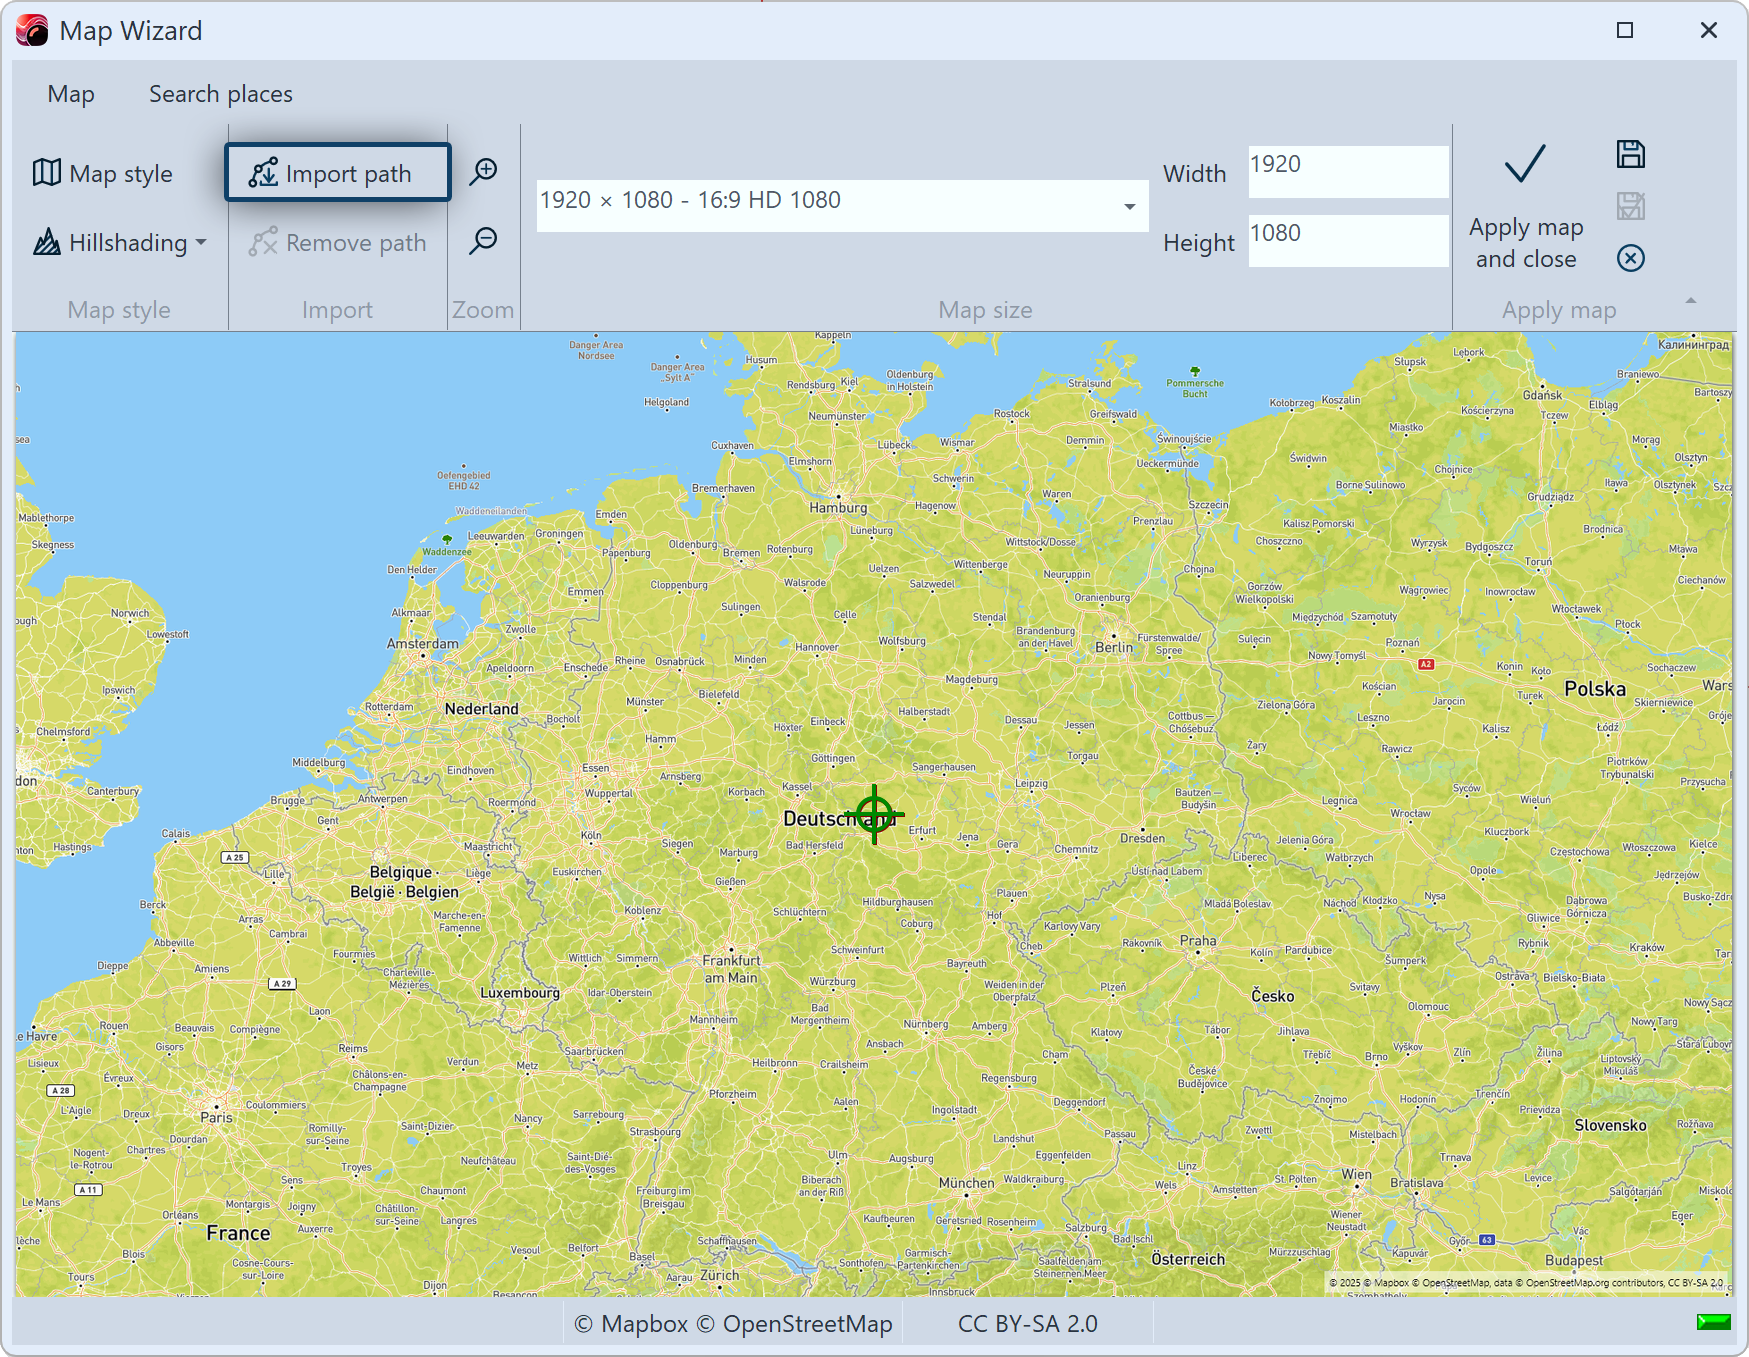 Import path Click on Import path. Another window opens. |
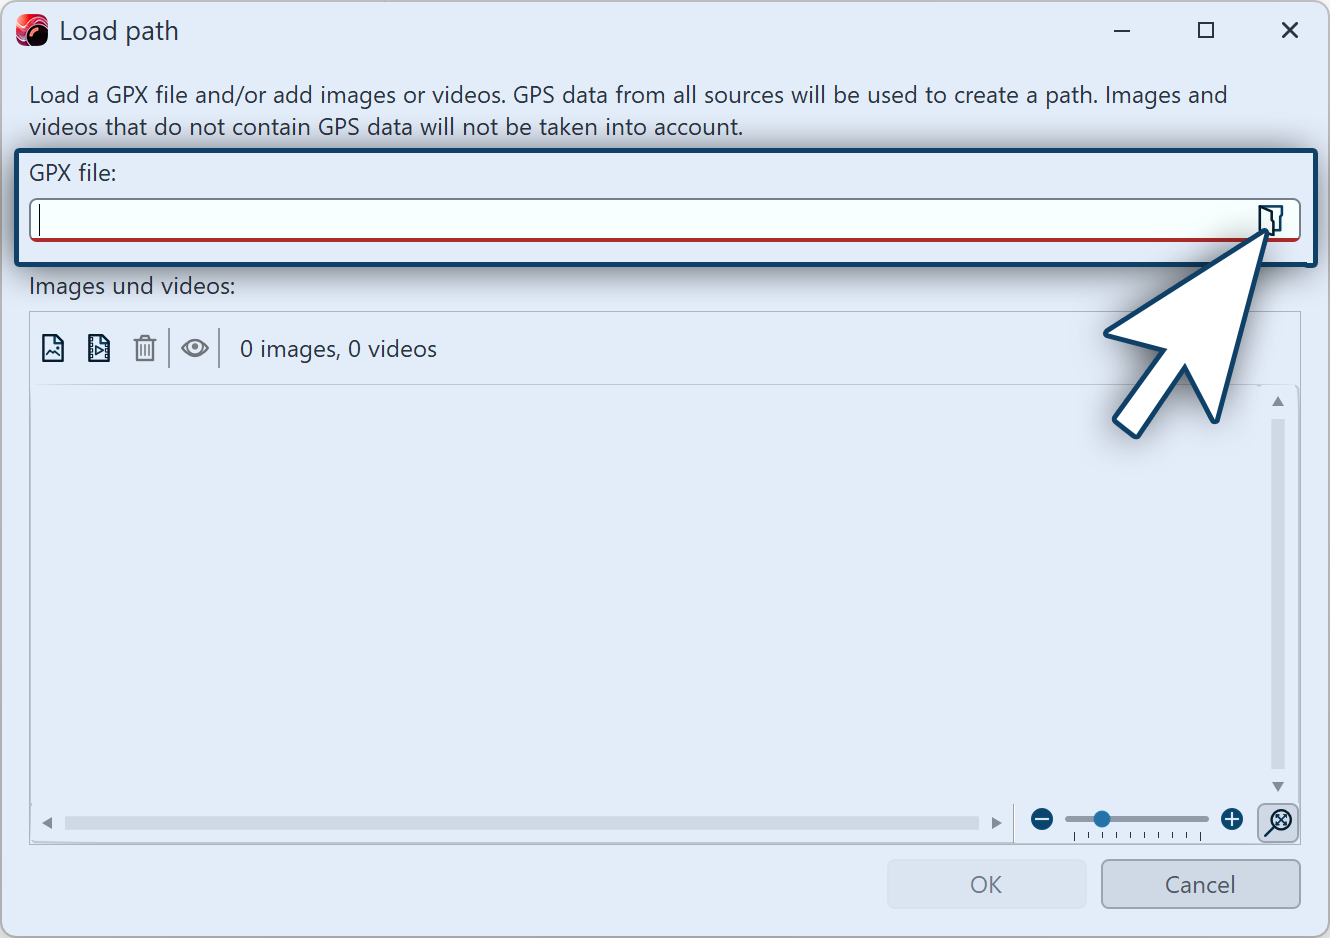 Open path file Click the folder icon in the top row to select the GPX file from your computer, then click OK. GPX tracks can be very complex and contain a large number of waypoints. Therefore, during import, the number of waypoints is reduced for the purpose of displaying the route. The system attempts to map the route as accurately as possible despite this reduction. At the bottom of this window, you can set the resolution of the imported path. |
|
First, select the medium resolution setting. If you want a more detailed view of the path, import it again using a higher resolution or manually add markers to the path in the Layout Designer. |
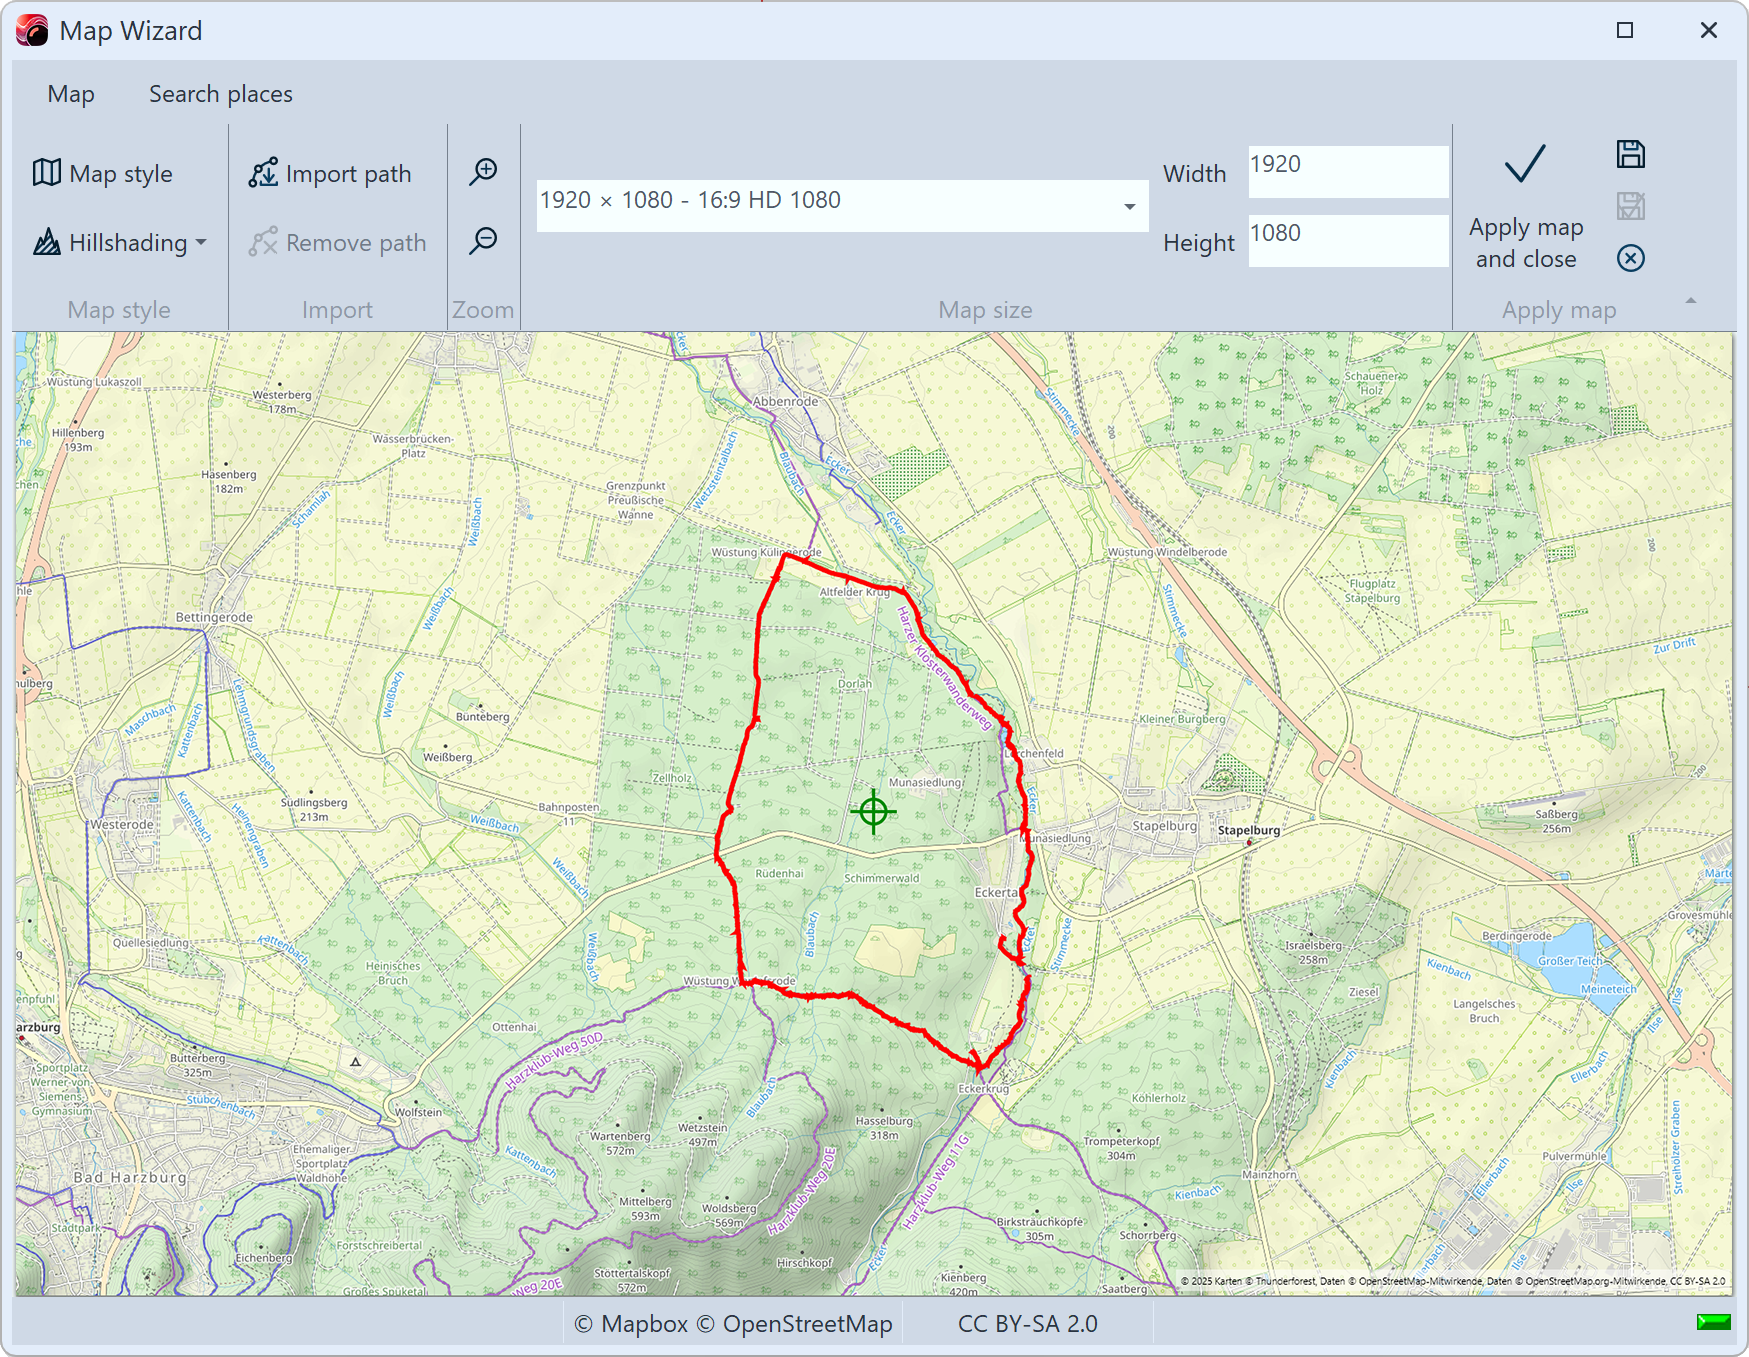 Imported path on map A map matching the imported path appears in the Map Wizard with the route marked. You can change the appearance of the map in the Map Wizard under Map style and Hillshading. You can then edit the map and route in the project by clicking on Apply map. |
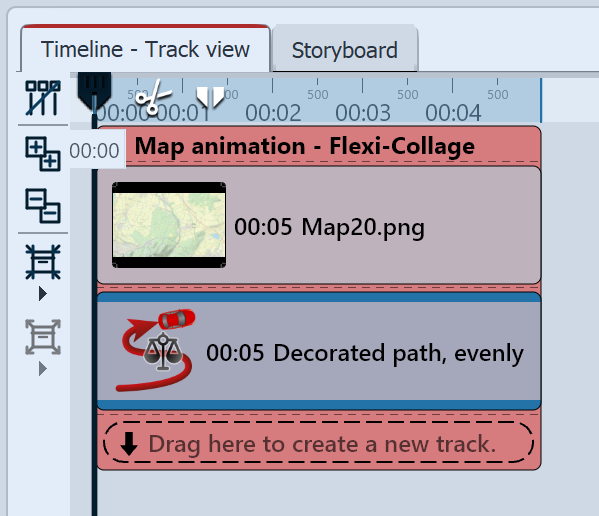 Map and path in the Timeline Select the path object in the Timeline to customize the appearance of the route as described in the Insert decorated path chapter. The Flexi-Collage object can also be used to Pan over map with route. The individual route marks can be moved and deleted in the Layout designer and more can be added. |
You can also use the following functions, which you can access by right-clicking on the route in the layout designer and Edit path, to edit the route:
Equalize |
The duration between the marks is adjusted to the distance between the marks so that the movement path is even. |
Simplify ... |
VIDEO VISION STAGES Smooth the path or remove marks. With increment 1, only the start and end points remain, increment 2 removes every second mark and so on. |
Adjust duration ... |
VIDEO VISION STAGES Shortens or extends the duration of the path by any input in seconds or percent. |
Reverse |
The motion path is reversed in relation to the total duration of the object. |
Reverse motion |
The motion path is reversed in relation to the duration of the movement. |
Mirror horizontally |
VIDEO VISION STAGES Mirrors the path horizontally. |
Mirror vertically |
VIDEO VISION STAGES Mirrors the path vertically. |
Rotation by 90° CW |
VIDEO VISION STAGES Rotates the path by 90° clockwise. |
Rotation by 90° CCW |
VIDEO VISION STAGES Rotates the path by 90° counterclockwise. |
Rotation by 180° |
VIDEO VISION STAGES Rotates the by path 180°. |
Rotation by ... |
VIDEO VISION STAGES Rotates the path by any angle. |