|
<< Click to Display Table of Contents >> Vimeo wizard |
  
|
|
<< Click to Display Table of Contents >> Vimeo wizard |
  
|
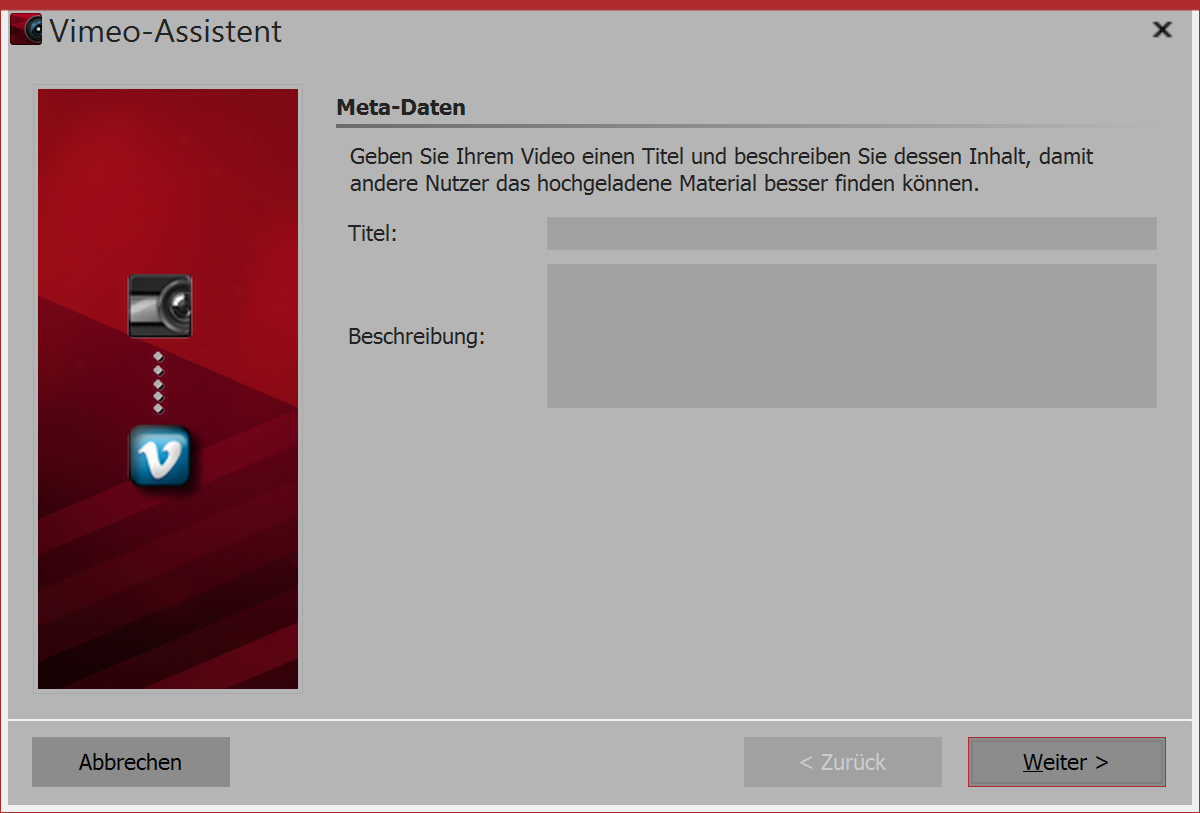 Filling out the meta-data 1. Filling out the meta-data You can find the Vimeo wizard in the wizards menu. Enter a title and a short description of your video. Then click next. |
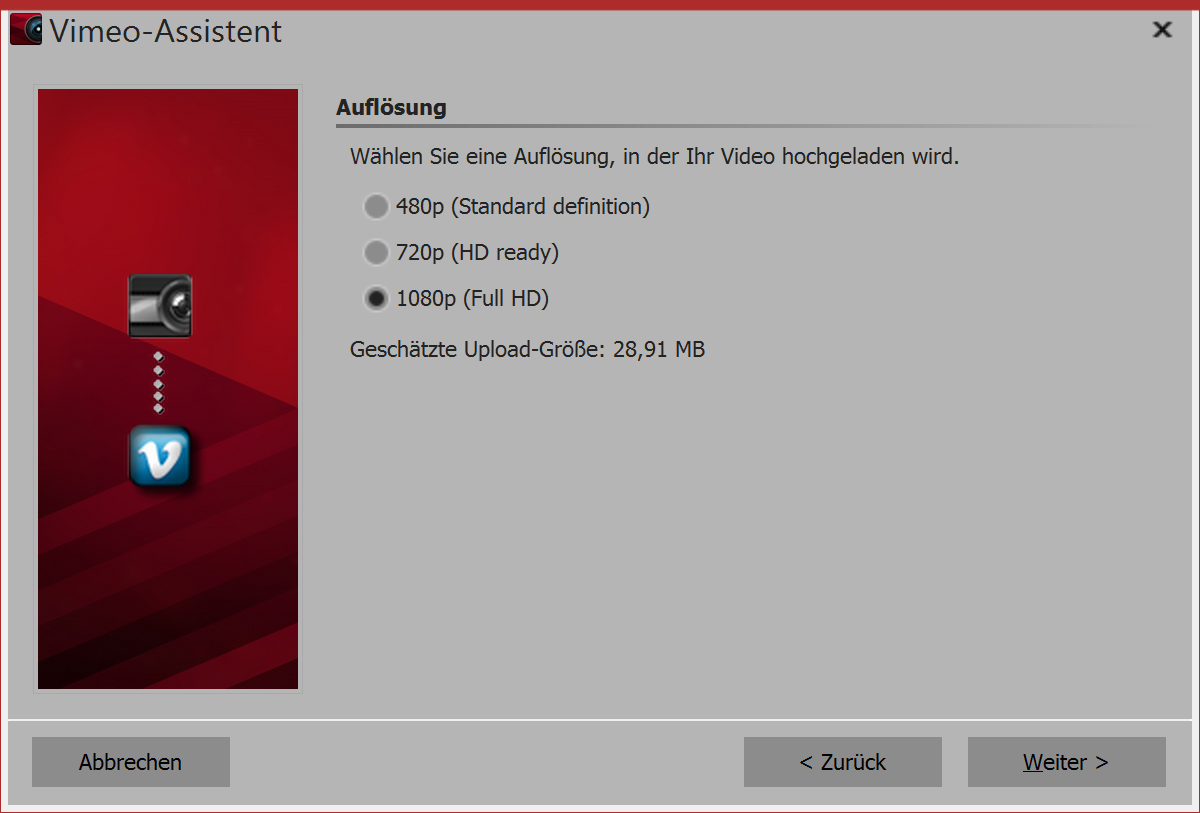 Selecting your resolution 2. Video resolution Depending on the desired quality of the video, at this stage you can specify the resolution. If you want it to load quickly, we recommend selecting a lower resolution. If you put more emphasis on quality, select a high resolution. After your selection, click next, |
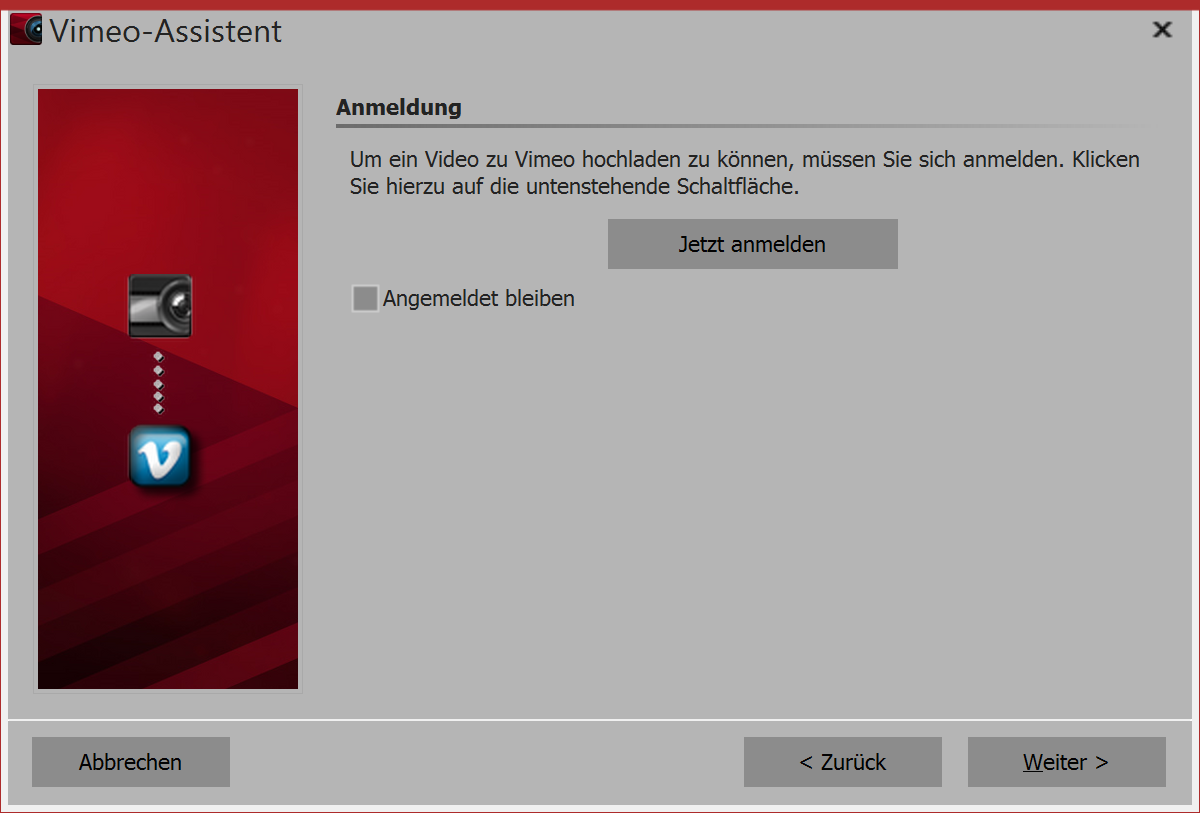 Logging in to Vimeo 3. Logging in to Vimeo In order for the wizard to upload your data to Vimeo, you have to log in to your Vimeo account from within the program. If you select the option to remain logged in then you do not have to enter your account information again the next time. We recommend only activating this option when you are the sole user of the computer. |
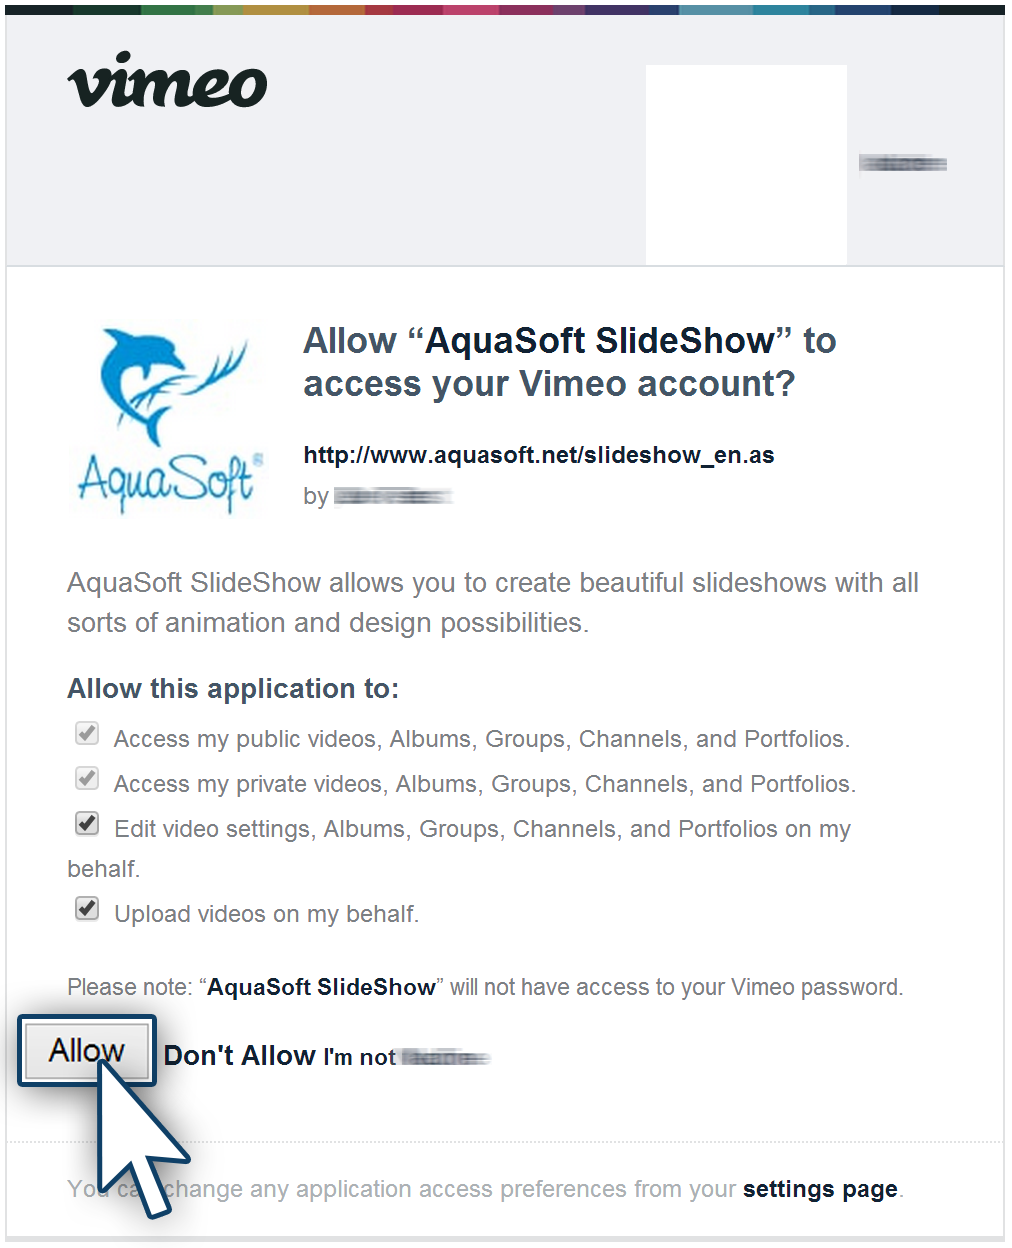 Grant access to Vimeo 4. Granting access After inputing your login data, you have to confirm that you allow AquaSoft Stages to post your videos via the program wizard to your channel. Simply click on allow. |
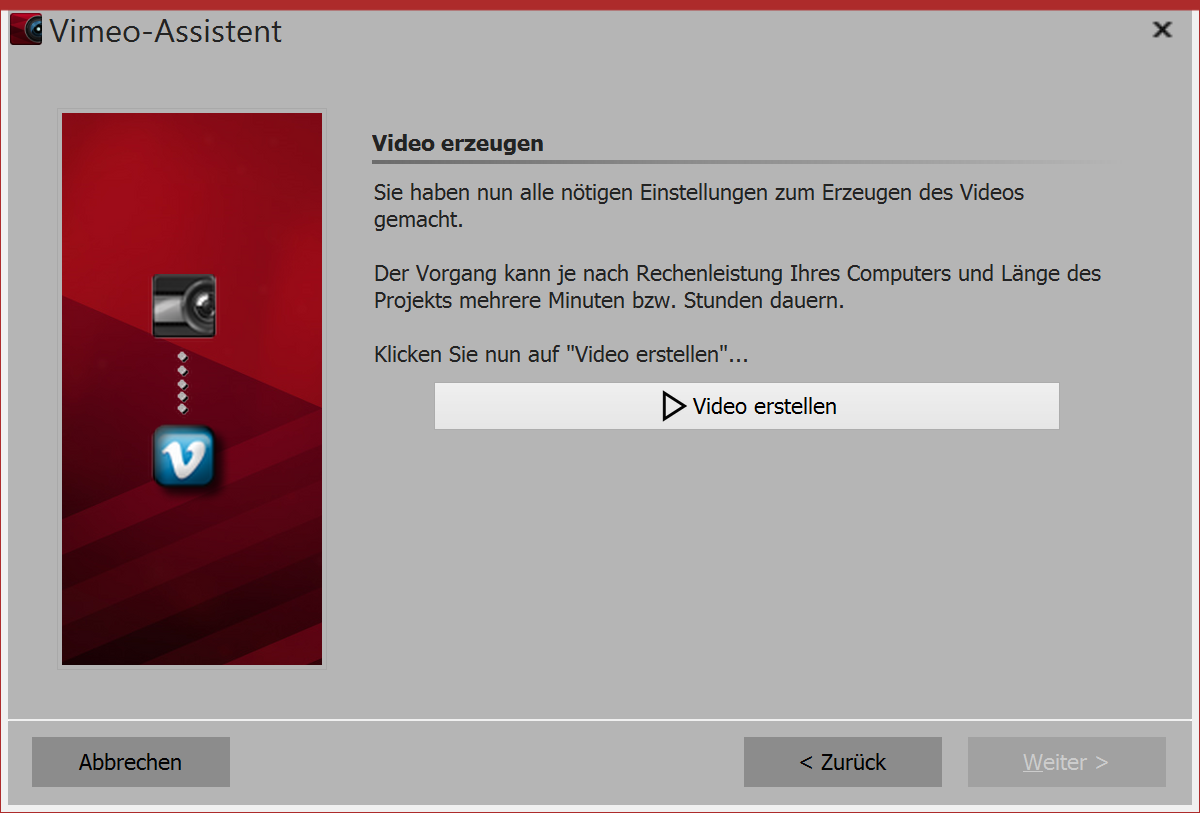 Creating a video 5. Creating a video Finally click the create video button. That way a video is created and subsequently uploaded directly to your Vimeo channel. |