|
<< Click to Display Table of Contents >> Saving custom objects |
  
|
|
<< Click to Display Table of Contents >> Saving custom objects |
  
|
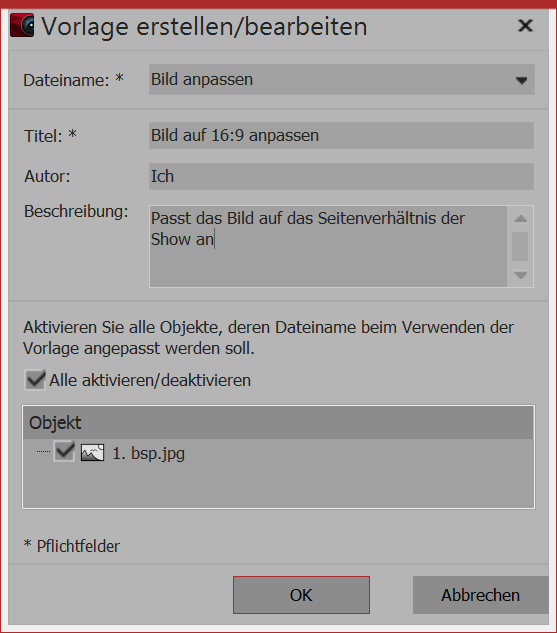
 Settings for customized object Drag an object whose settings you have customized out of the Image list or Timeline into the Toolbox. Any object can be used for this purpose. Once you have dragged the object into the Toolbox a dialog box opens. There you must give the template a file name and title, you can enter information about the author and enter a description of the template. As of version 11.8.01, the file name can be preceded by a folder name (e.g. Backgrounds\Tulip field). This divides the templates into categories. |

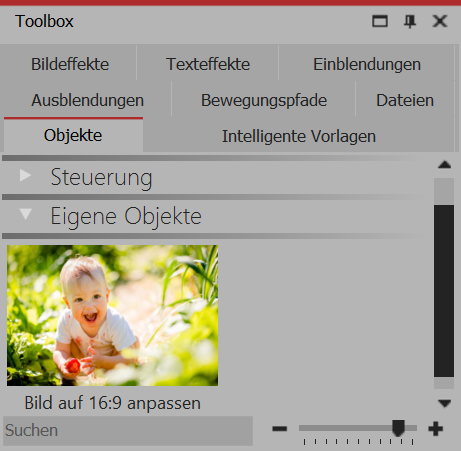
Customized object in the toolbox
To use your customized template, drag it to the desired location in the Timeline. Depending on the settings, you are then prompted to select images which will be included with the template.