|
<< Click to Display Table of Contents >> DVD player |
  
|
|
<< Click to Display Table of Contents >> DVD player |
  
|
 Video wizard for DVD, SVCD and video CD If you want to create a DVD for the DVD player, the Video Wizard can help you do that. It creates you a video from your project and burn this onto a DVD. If you would like a DVD with a menu, you can use the Menu Wizard. With this, you can also burn several projects onto one DVD. Video Wizard With the Video Wizard you can burn a project onto a DVD or other media. |
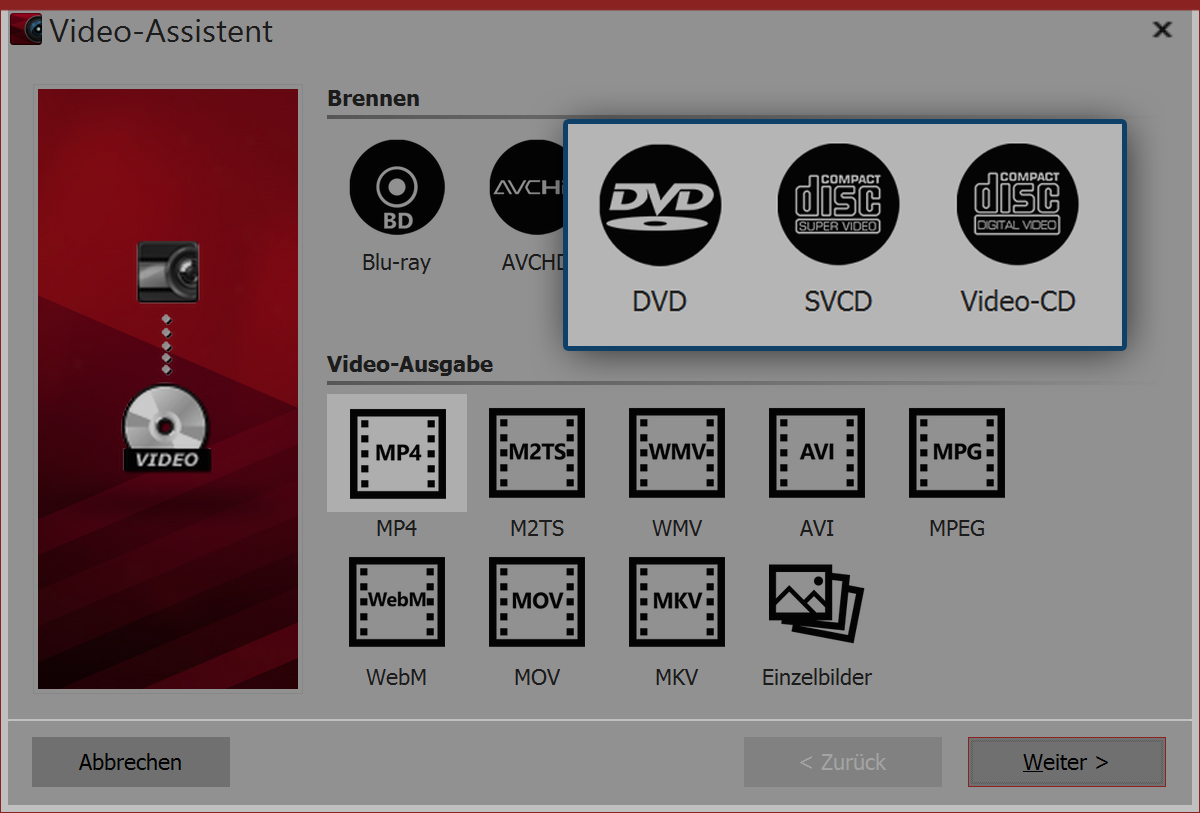
Now bring up the wizards menu, then Video Wizard. Under burning you will see three options for the burning of a medium that can be played back on a DVD player:
DVD |
Creates an MPEG 2 video and burns it as a video DVD onto a DVD. (Resolution: 720:576) |
SVCD |
Creates an MPEG 2 video and burns it as an SVCD onto a CD. (Resolution: 480:576) |
Video CD |
Creates an MPEG 1 video and burns it as a video CD onto a CD. (Resolution: 352:288) |
 Advanced settings for DVD It is recommended that you choose the DVD option if you own a DVD burner. Only use another option if you only have a CD burner because the image quality will be very low, because the resolution is low. |
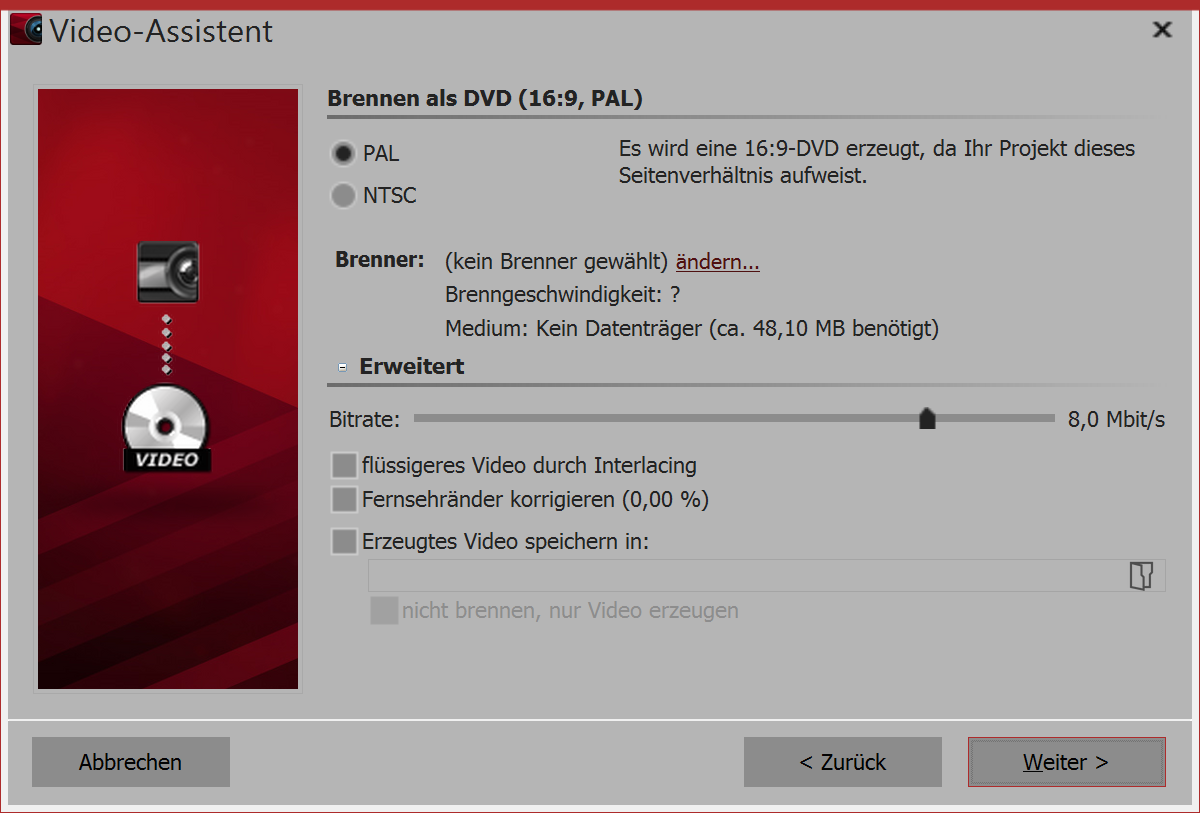
The Video Wizard has already set up for you everything that is important for the DVD, Still, you can adjust the advanced settings here.
PAL / NTSC |
If you are creating a DVD for a European device, select PAL. If you want to create the DVD for the US, select NTSC. |
Burner |
Under change ... you can select another burner and reduce the burning speed. |
Bit rate |
The higher the bit rate, the more information is stored, but this also means the the file is larger. |
Smoother video by interlacing |
With interlacing, two time-shifted fields are saved in the video. This ensures that the movement appears twice as fluid, but reduces the resolution and it can result in, depending on the footage, flickering edges. |
Correcting TV edges |
This adds black edges to images which is good for, for example, playing the presentation on CRT TVs. |
Saving generated video in |
If you know that you want to burn the same video again, save the video file you have created. This will keep it for the next time you burn a disk. |
Not burning, only generating a video |
In the above point, if you are only creating a video and not (yet) wanting to burn it, select a saving location |
Click next and then on create video, to burn the DVD.
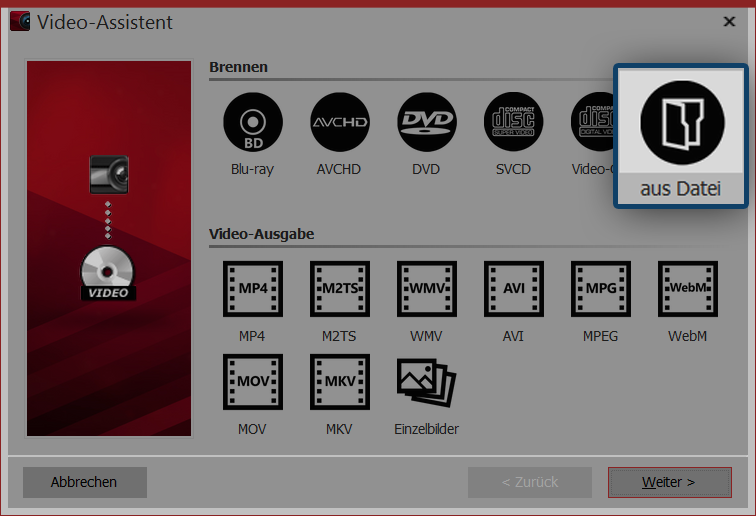
 Burning a video from a file If you have already created a video from your project and would like now to burn it, you can select in the Video Wizard the from file option. Click on next. |
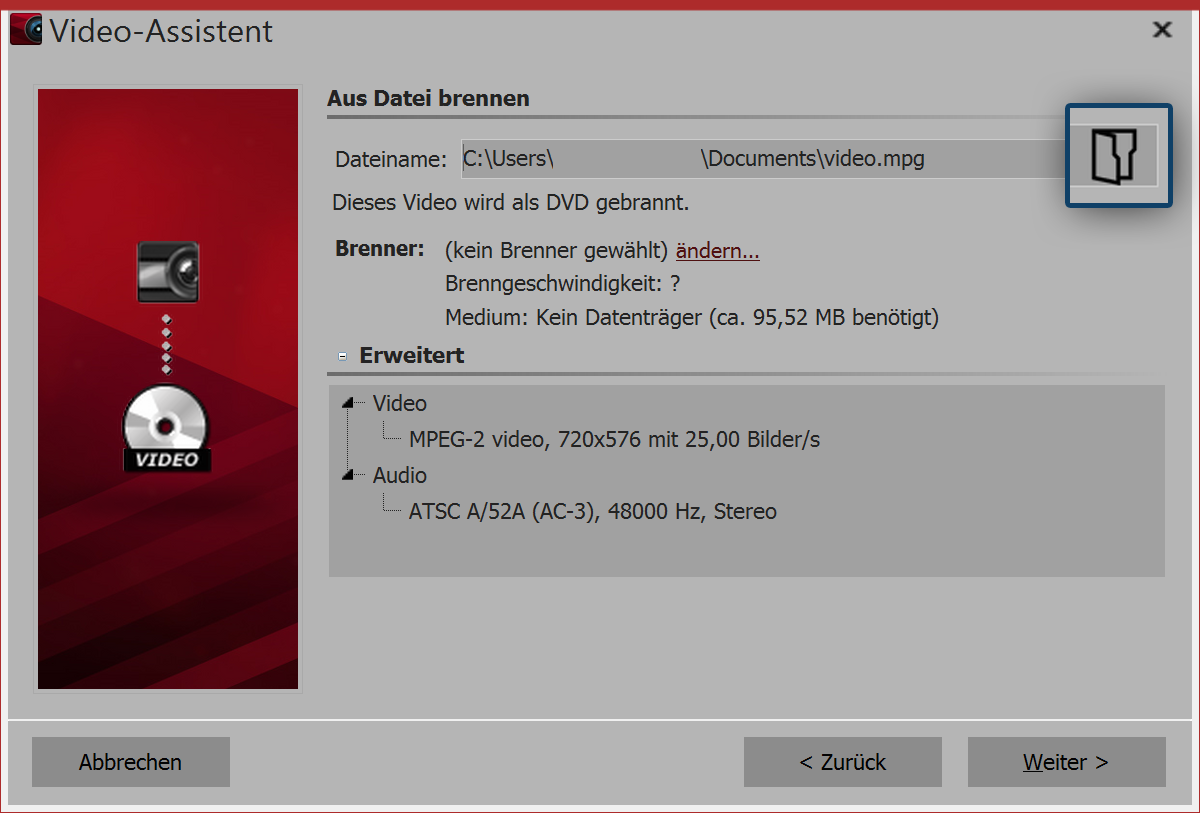
 Selecting a video file 4. Choosing a file Under filename click the small folder icon. Here you can select the video file that you want to burn. The file must be in MPEG or M2TS format. Click on next, to start the burning process in the next step. |