|
<< Click to Display Table of Contents >> The Layout designer |
  
|
|
<< Click to Display Table of Contents >> The Layout designer |
  
|
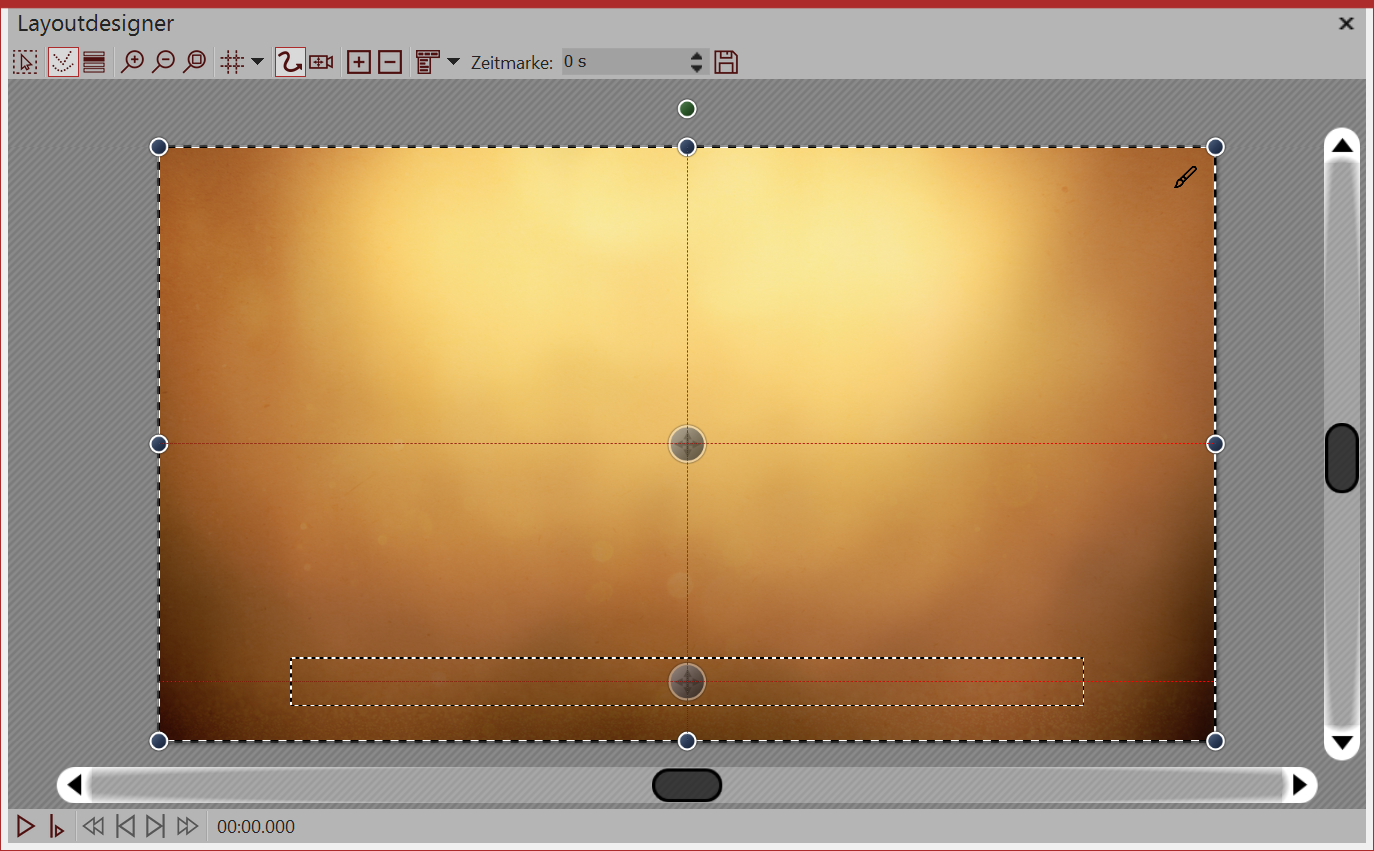
In the Layout designer you can see a preview of your presentation. Here you can see how images and text are displayed on the screen. The Layout designer is your work surface for where you place objects. Slide images, videos, texts and more to the preferred location and use the drag points to make them bigger or smaller. In the Layout designer you also specify the sequence of Motion paths and Camera Pans.

Preview in Layout Designer
The following symbols are available in the Layout designer:
|
Sampling frame can be pulled over the entire area of the Layout designer in order to select multiple objects. |
|
Displays Paths and path points of all selected objects. |
|
Displays objects that would obscure those selected. |
|
Zooms in in the Layout designer. |
|
Zooms out in the Layout designer. |
|
Resets the standard view / size of window. |
|
Selection of the grid, to which you can align the images and objects. |
At the lower edge of the Layout designer you will find buttons which control playback behavior.
![]()
|
Plays the presentation from beginning to end. |
|
Plays the presentation from the point at which the playhead is located. |
|
Activates Live-Preview (only in Stages) |
|
See the preview of the motion path directly in the Layout designer and edit the motion path whilst this runs. |
If you play the presentation in the Layout designer then the bar changes.
![]()
|
Pauses playback. |
|
Stops playback. |
|
Jumps to previous image |
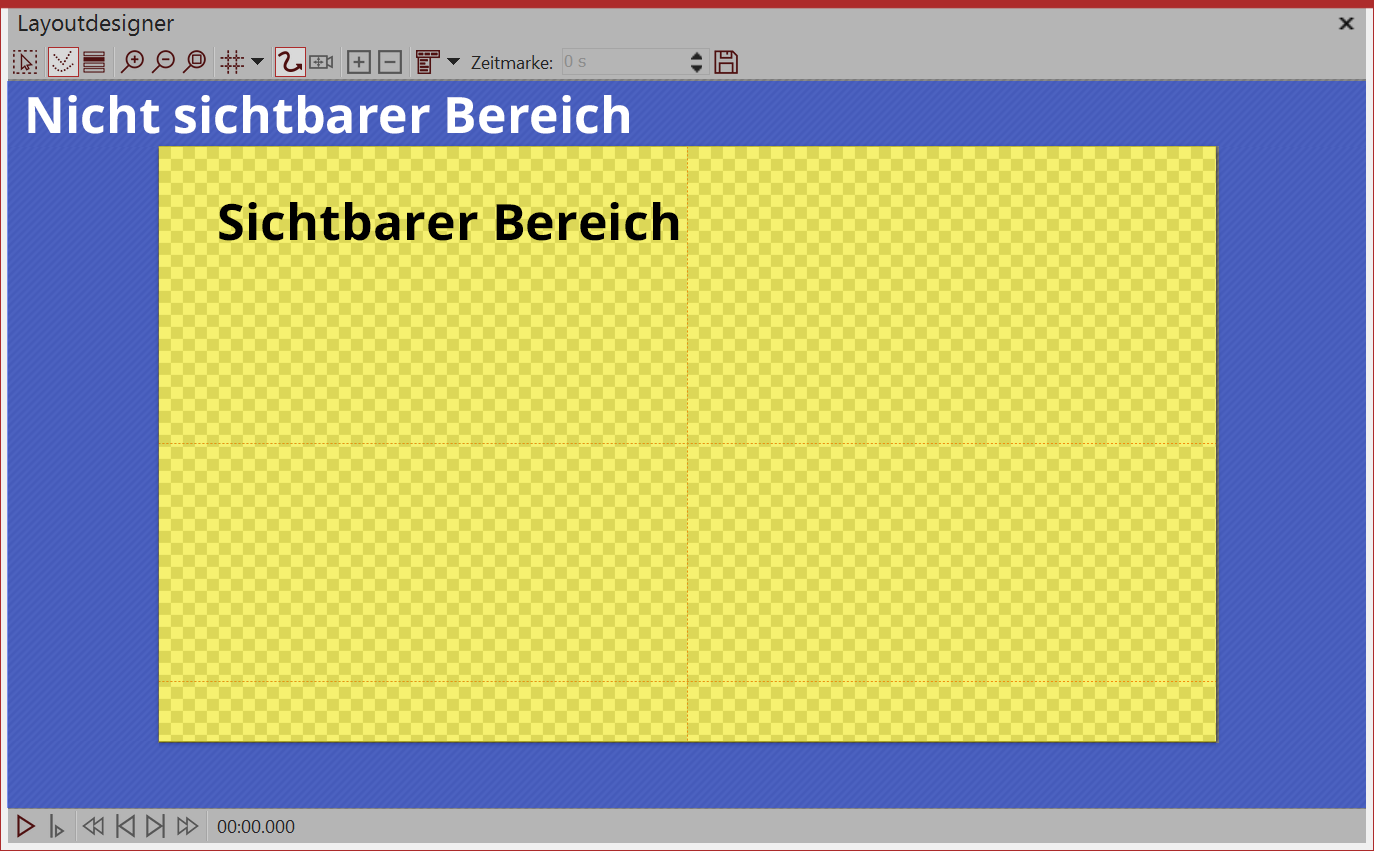
 Sections in the Layout Designer The Layout designer has two sections. The visible section contains all elements which are later visible when playing the Presentation. The elements which are placed in the non-visible section are not visible when you play the presentation. The non-visible section can be used to lead Paths of Motion over the edge of the image. This means that elements in your Project can fly in or out of the visible section. Movements can take place outside the visible section and then move into the visible section. In this way you can have images and texts for example moving from left to right across the screen. With the magnifying glass icons in the Layout designer you can zoom in and out of the visible section. |
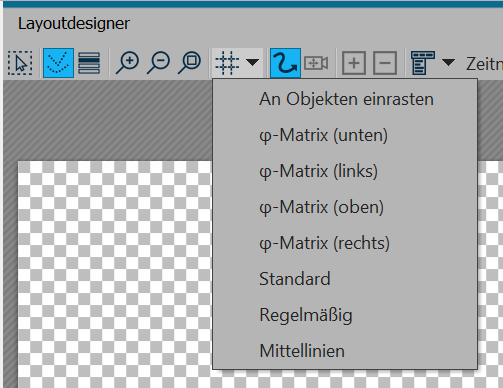
 Grid options In the Layout designer you can superimpose a Grid. There are several options: |
Snapping to Objects |
Objects, such as images or text orientate towards Objects which already exist in the Layout designer and snap onto them. |
Standard |
The grid is divided to fit the Aspect Ratio |
Regular |
The grid's squares have the same height and width |
Center line |
A horizontal and vertical center line is indicated |
Phi-Matrix |
Displays the golden section lines |
All grids can be combined with one another. Select the different grid options and in front of each active option you will see a checkmark. You can deactivate the option with a click.
You can control zooming in and out in the Layout designer with the magnifying glass symbol, but also with the combination of the Ctrl key and turning the mouse wheel.