4. Creating the screen saver


4. Creating the screen saver |
|
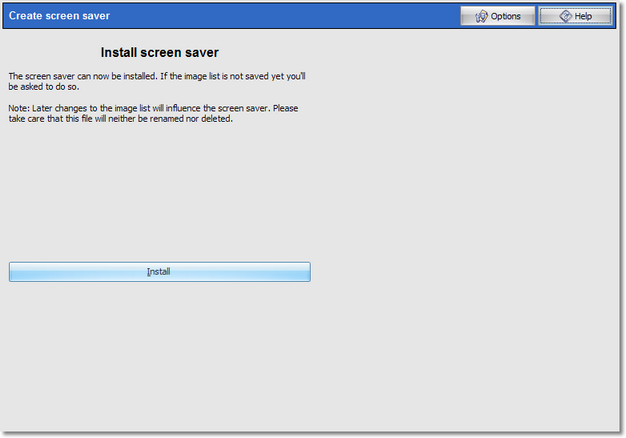
Now all necessary steps to create a screen saver have been done. Depending on your selection in step 3 you can now install the screen saver on your PC or create a screen saver file for distribution. Install on my PCClick on "Install" to install the screen saver on your PC. After its successful creation the screen saver will be installed, and a preview window will be displayed that allows you to test the screen saver.
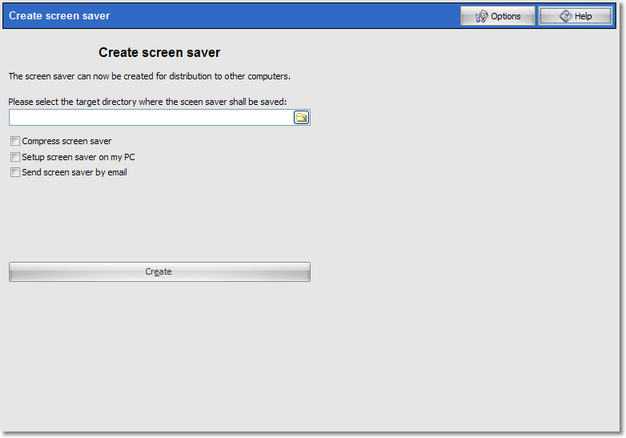
Create for distribution to other PCsBefore the screen saver can be created you need to specify a target directory where the screen saver file will be saved. You have the option the compress the file. Check this option if you want to save the screen saver to a ZIP file. If you wish you can simultaneously install the created screen saver to your own PC. For that purpose check the option "Setup screen saver on my PC". This option is not available if the screen saver is compressed since Windows cannot use compressed files as screen savers.
Now click "Create" to create the screen saver. The image list will be integrated into the screen saver file so that you only need to distribute one single file to your friends and family.
|
| Copyright © AquaSoft ® GmbH 1999-2014 www.aquasoft.de |