|
<< Click to Display Table of Contents >> Inserting a text track |
  
|
|
<< Click to Display Table of Contents >> Inserting a text track |
  
|
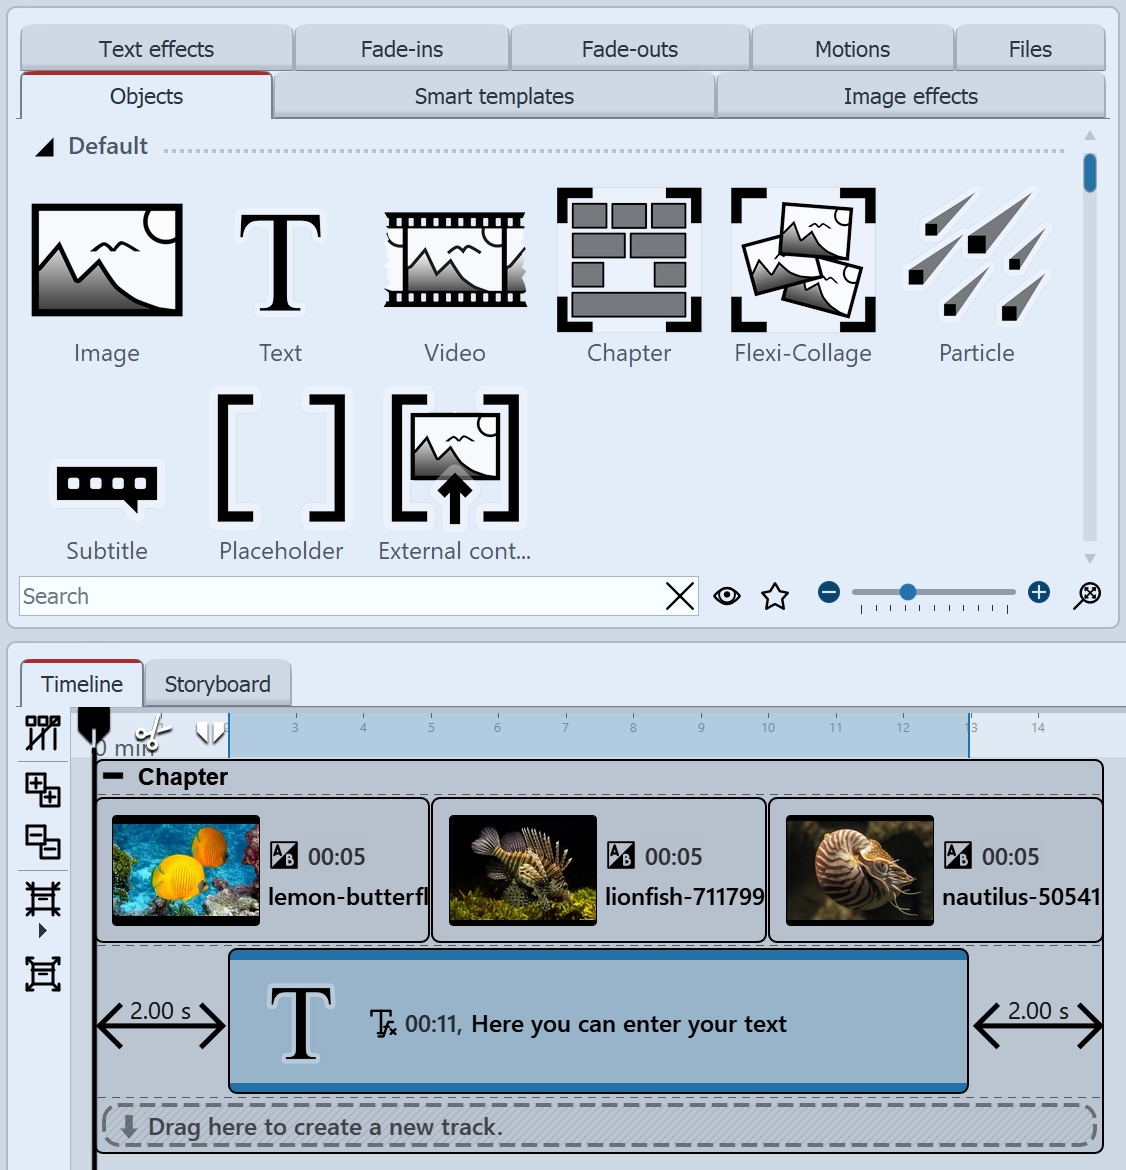
 Dragging a text object into the track under the images If you want to display a text across multiple images, create a track with a Text object in a Chapter object. First insert a Chapter object and drag your images or videos into the Chapter object. Below the inserted images or videos, there is now a narrow line with the label "Drag here to create new track". Now drag a text object to this position. |
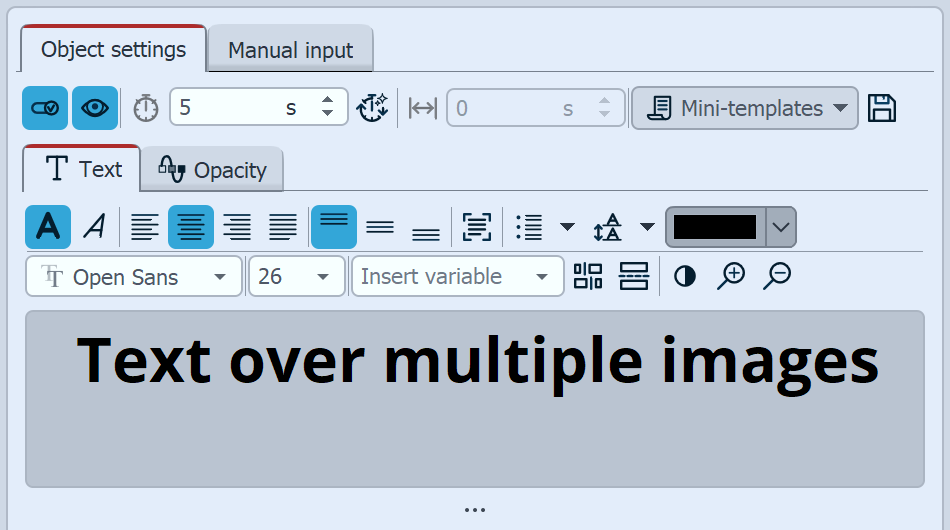
 Enter the text in the properties of the text object In the Propertieswindow, you will see a text input field in which you can enter your text. You can also influence the design of the text there. |
2 Change the display duration of the text track
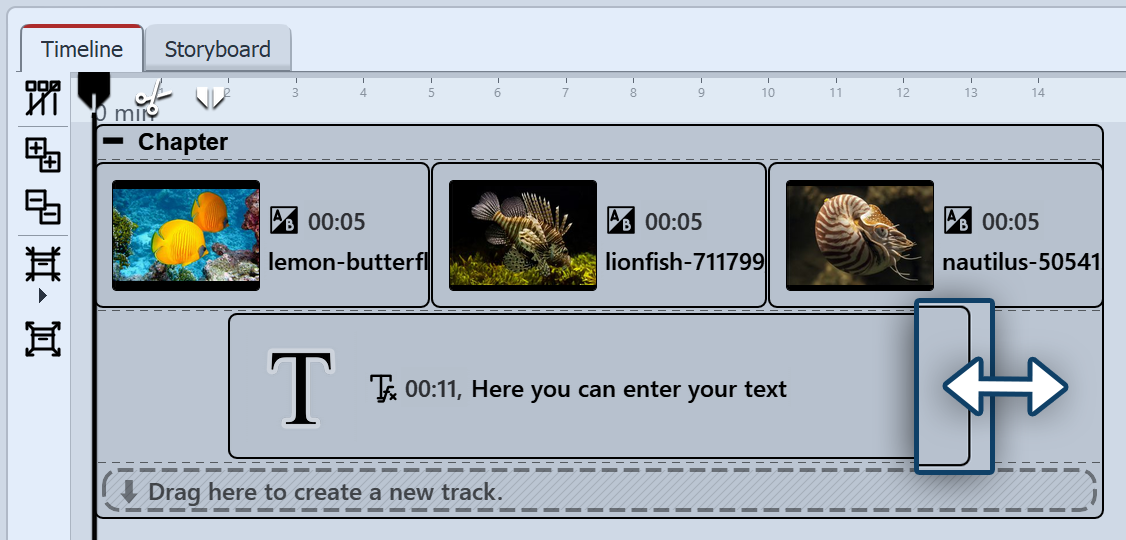
 Adjusting the duration of the track by dragging its outline To extend the display duration of the text object, you can either extend the display duration in the Properties window under Duration. You can also shorten or lengthen the display duration via Timeline. To do this, move the mouse arrow to the edge of the Text object. Drag or move the mouse along the edge of the Text object while holding down the mouse button. If you want the text to appear later and not at the same time as the first image, place the text object in the second track with a slight offset. You can find out about other options for captioning video objects in the "Labeling videos" chapter. |
|
You can also use chapter objects to "fix" places in your project where the content, such as certain images and text objects or certain images and sounds, should be kept at a certain distance from each other. Nothing shifts or changes in time within a chapter, even if you make changes in the tracks before or after this chapter in your project. |