|
<< Click to Display Table of Contents >> Output for web / social media |
  
|
|
<< Click to Display Table of Contents >> Output for web / social media |
  
|
The Video Wizard helps you create videos from your project for well-known video portals or social media platforms and upload the results there. The prerequisite for this is an account with the desired network.
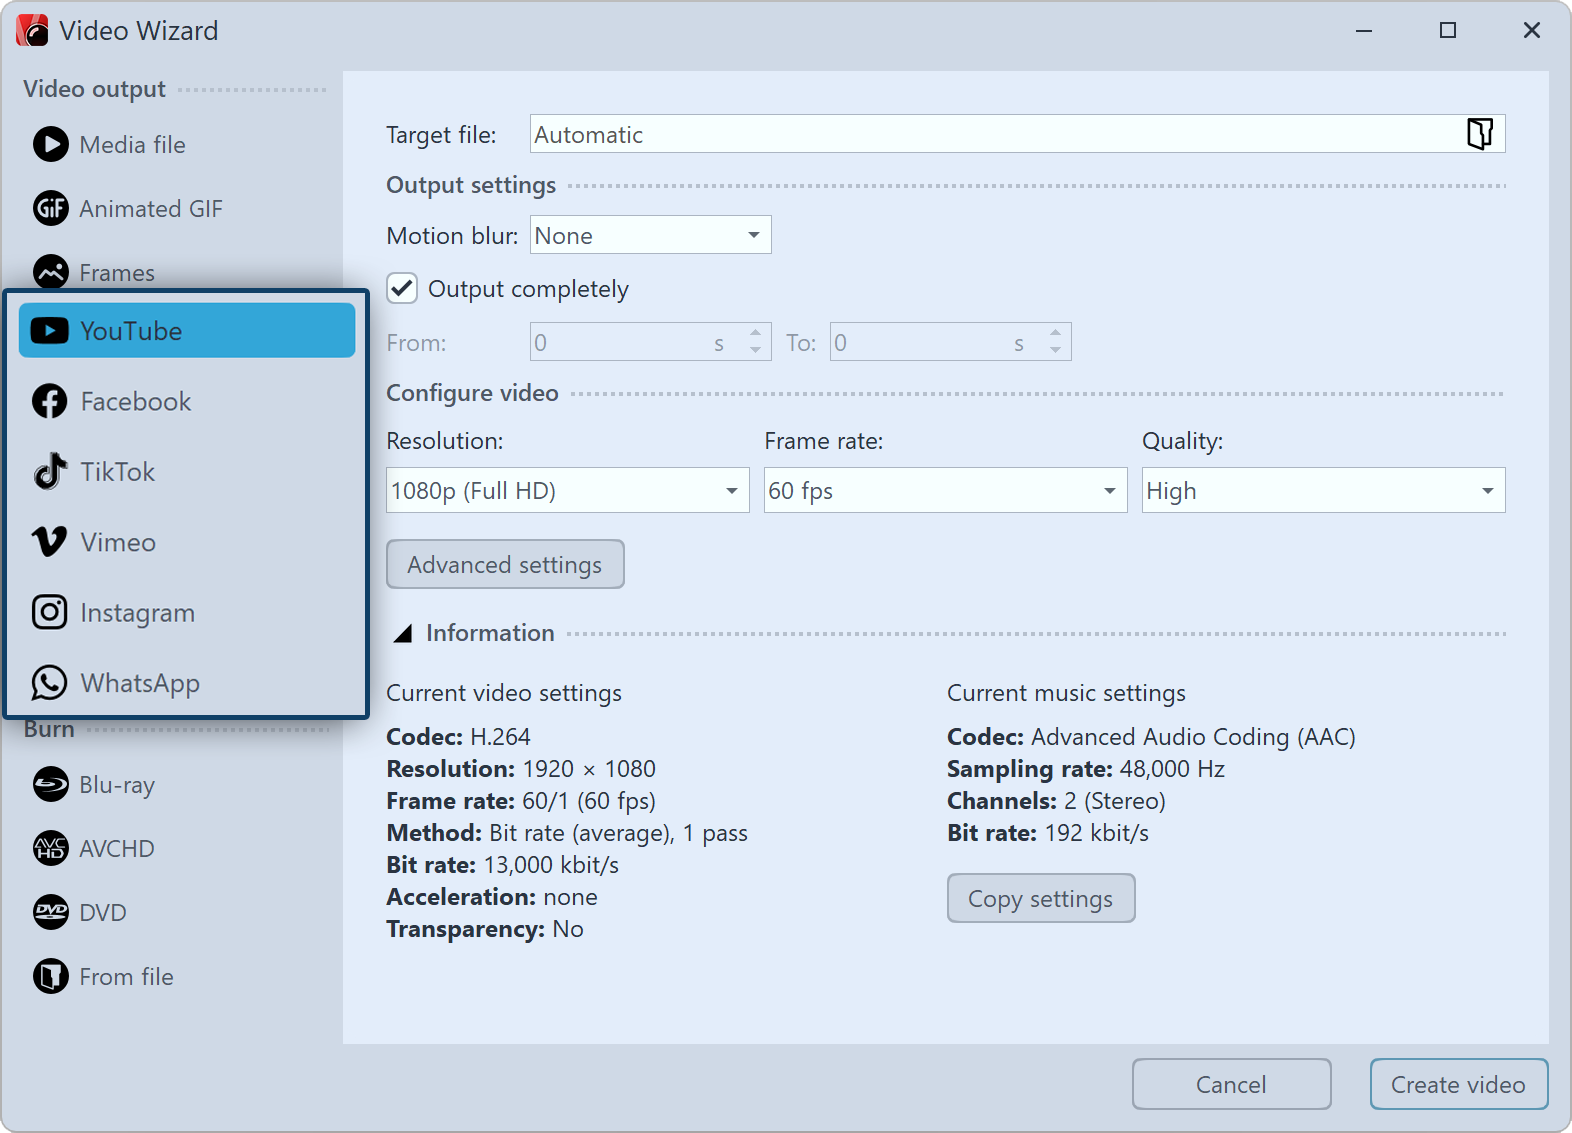
 Call up the Video wizard To access video creation for web and social media, use the Wizards menu to access the Video Wizard. Then, under Web, select the desired platform and click Next. |
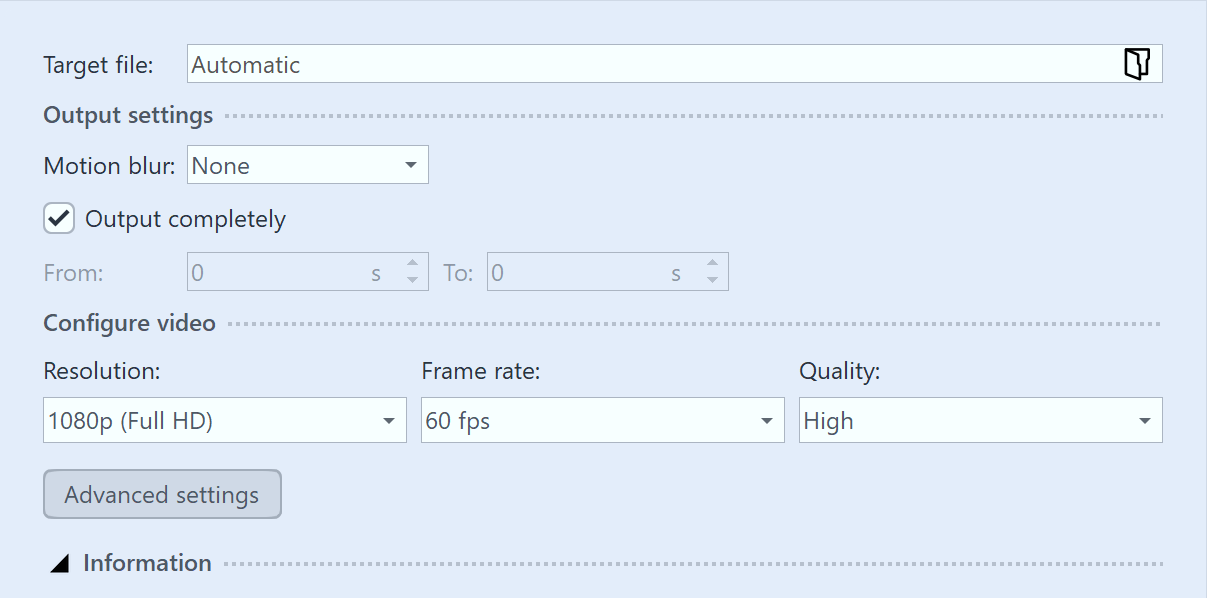
 Video settings for YouTube Depending on the selected platform, you will be shown suitable setting options for the video export.Assign a file name and select a storage location via the folder icon. If necessary, adjust the settings for the resolution and video bitrate as well as the audio bitrate and sample rate. If you want to export the project as a video without audio, check the No audio box. Then click Next and in the next step click Create video. |
3 Publish the result
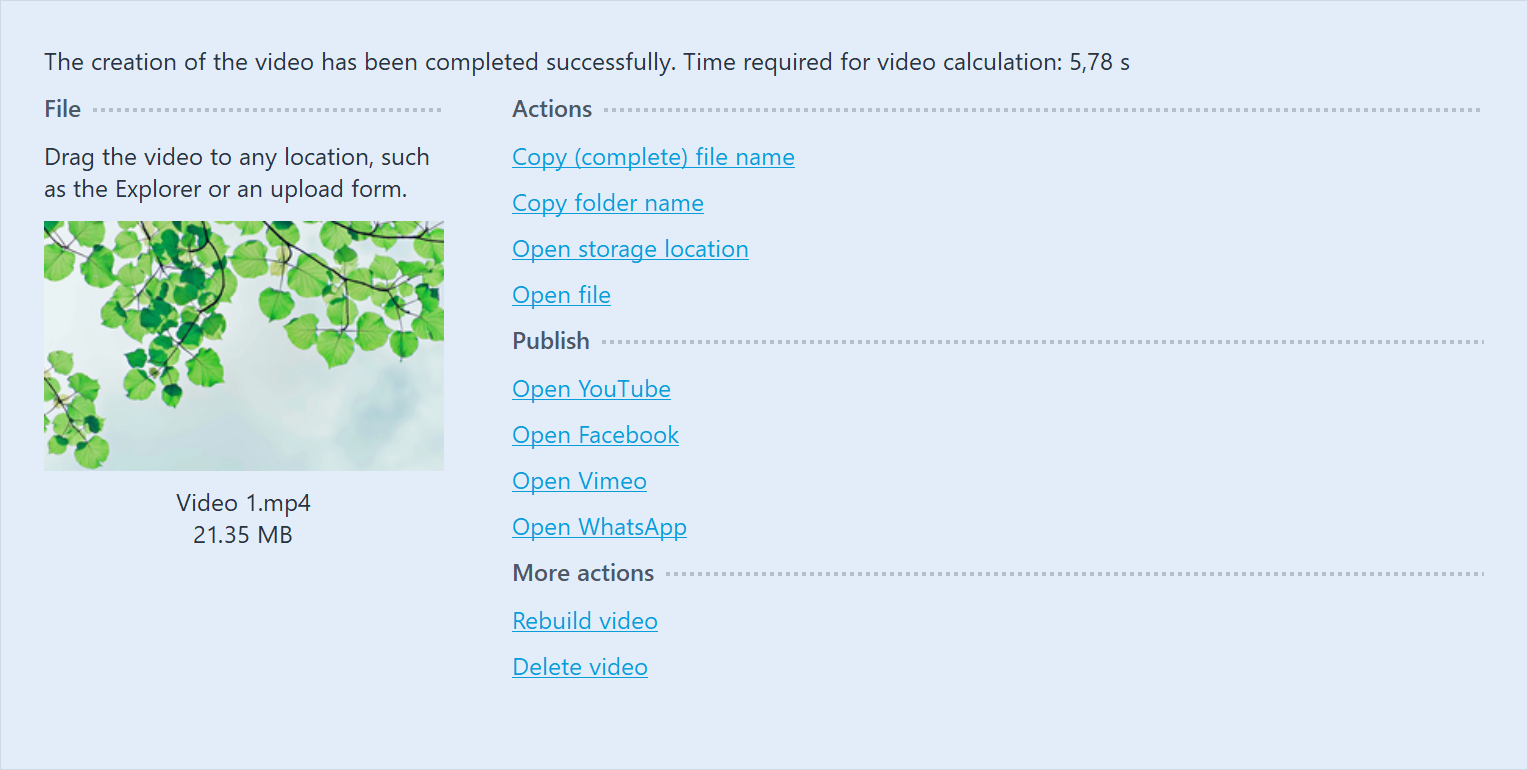
 Publish the result After the video is successfully generated according to your specifications, you will find various actions and options to publish it.File: So you have already opened the web page or web application and logged in, drag the colored video thumbnail directly to the upload area. Actions: Use Copy (complete) file name to copy the file path of the generated video to the clipboard. This way you can easily transfer it to an appropriate upload form. To get to the directory where your video was saved, click Open storage location. Open file lets you play the video in your default video application. Publish: Click the link of the desired platform to open its upload web page or web application. Other actions: Use Rebuild video to adjust the settings and export again. Once the export is complete, you can exit the window by clicking the Close button at the bottom right. |