|
<< Click to Display Table of Contents >> Color gradient |
  
|
|
<< Click to Display Table of Contents >> Color gradient |
  
|
 Color gradient You can find the Color gradient (also called gradient) in the Toolbox under the Objects tab in the Shapes / Dynamic shapes area. This object can be used to create complex gradients with two and more colors. The gradient can be created linear and bilinear, spiral, conical or radial. The gradient can be used as a colored background or scaled down as a graphic element (e.g. for Lower thirds). The gradient retains high quality even at an extreme zoom. |
To use the Gradient, drag it from the Toolbox to the Timeline to the desired location in the project. Click the object in the Timeline to adjust its properties. |
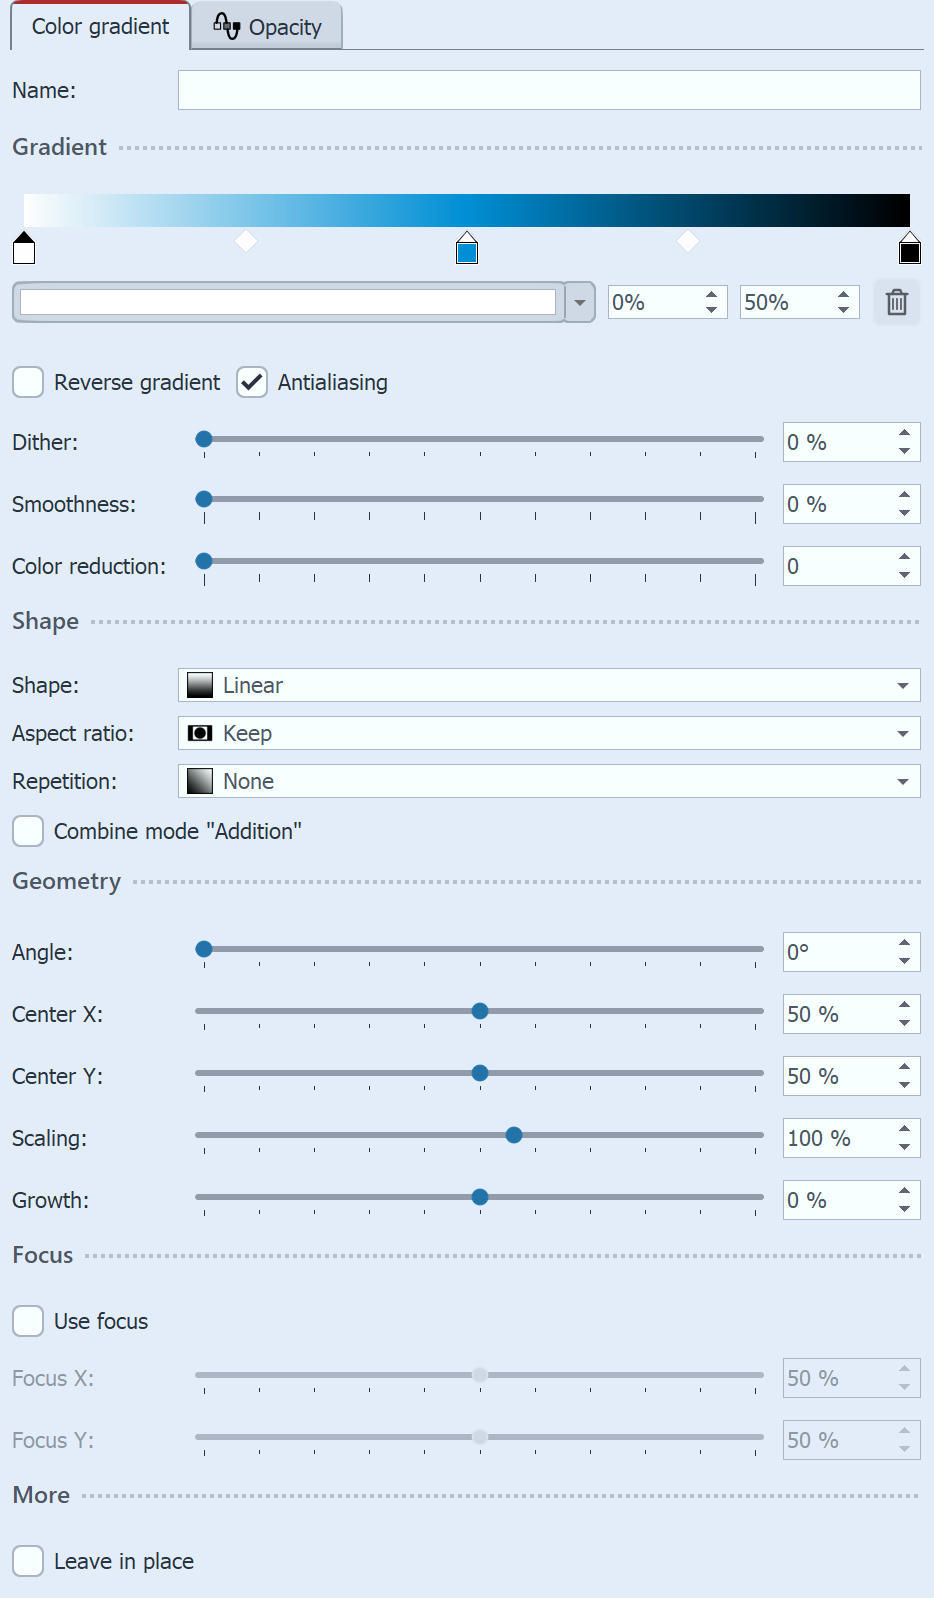
 Gradient settings In the Properties you can see the currently set gradient in the gradient bar at the top. When you paste, the object is based on three colors (white, blue, black). To adjust the colors for the gradient, first click left, center or right on a color stop icon to select which color to adjust. The selected color stop is indicated by a black triangle. Click with the mouse in the short color field to select the color for the color stop in the Color picker. The color for the selected color stop can also be picked up using an eyedropper. It appears when you move the mouse over the gradient bar. To add an additional color to the gradient, move the mouse below the gradient bar between two color stops until a Plus sign appears. Click once with the left mouse button to set a new color stop. To delete a color stop, right-click on it. You can use the percentage input fields to influence the position of the color in the gradient and the weight of two adjacent colors in relation to each other. You can change the position of the color in the gradient by moving the color stop or by changing the front percentage directly. To modify the weight of two colors within the gradient, click the intervening diamond icon and adjust the trailing percentage. The selected weight stop is colored black. |
Reverse gradient can be used to mirror the color sequence. Antialiasing is relevant for the edges of shapes and ensures smooth, soft curves in spirals or rings, for example.
The Dithering is an intentionally applied type of noise. The Dithering avoids colorbanding and gives gradients with relatively few colors a smoother, more uniform image.
|
Note: When exporting video, the Dithering usually disappears again due to the compression and reduces the video quality due to the additional bitrate required. |
If the Smoothing is set to 0%, the gradient is exactly linear. With a smoothing of 100%, the gradient becomes slightly curved, so that the junctions between the colors become softer.
Select the shape of the gradient and whether it should be repeated, e.g. for multiple gradient stripes or multiple rings.
With the combination mode Addition, areas lying under the shape are added with the color gradient.
The selection of the shape determines which Geometry settings are available to you.
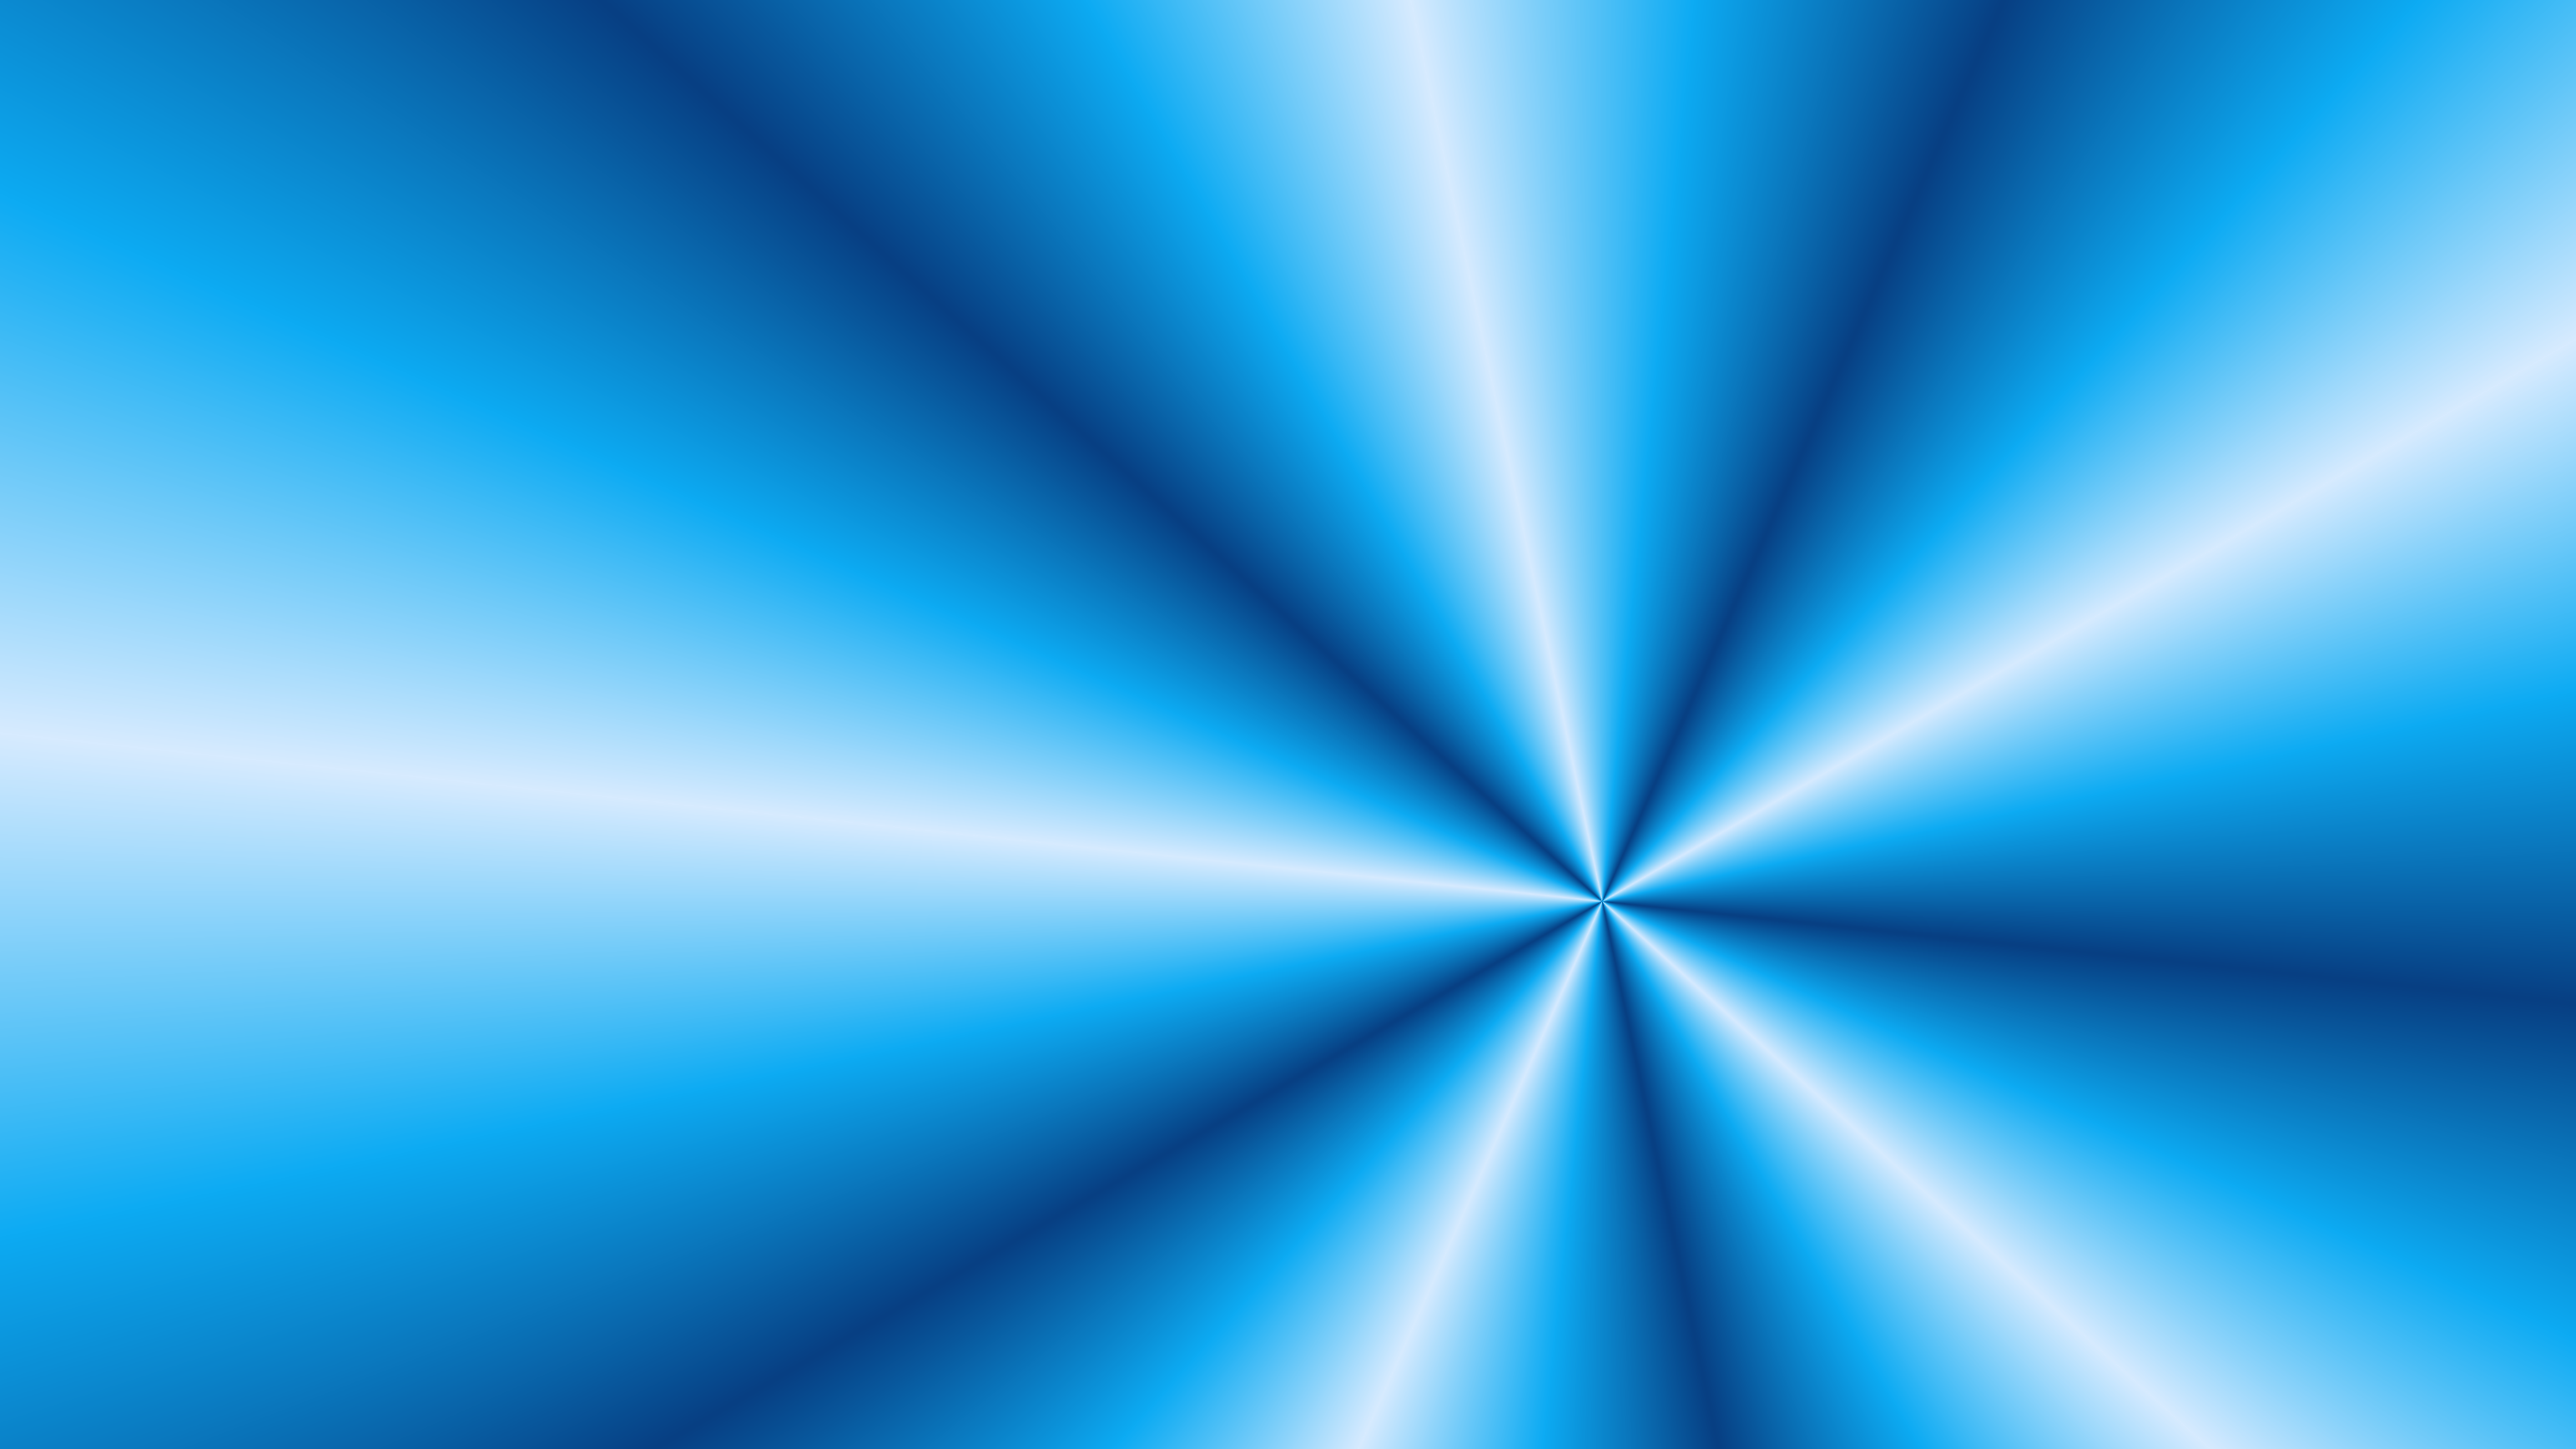
 Shape Conical (asymmetrical) |
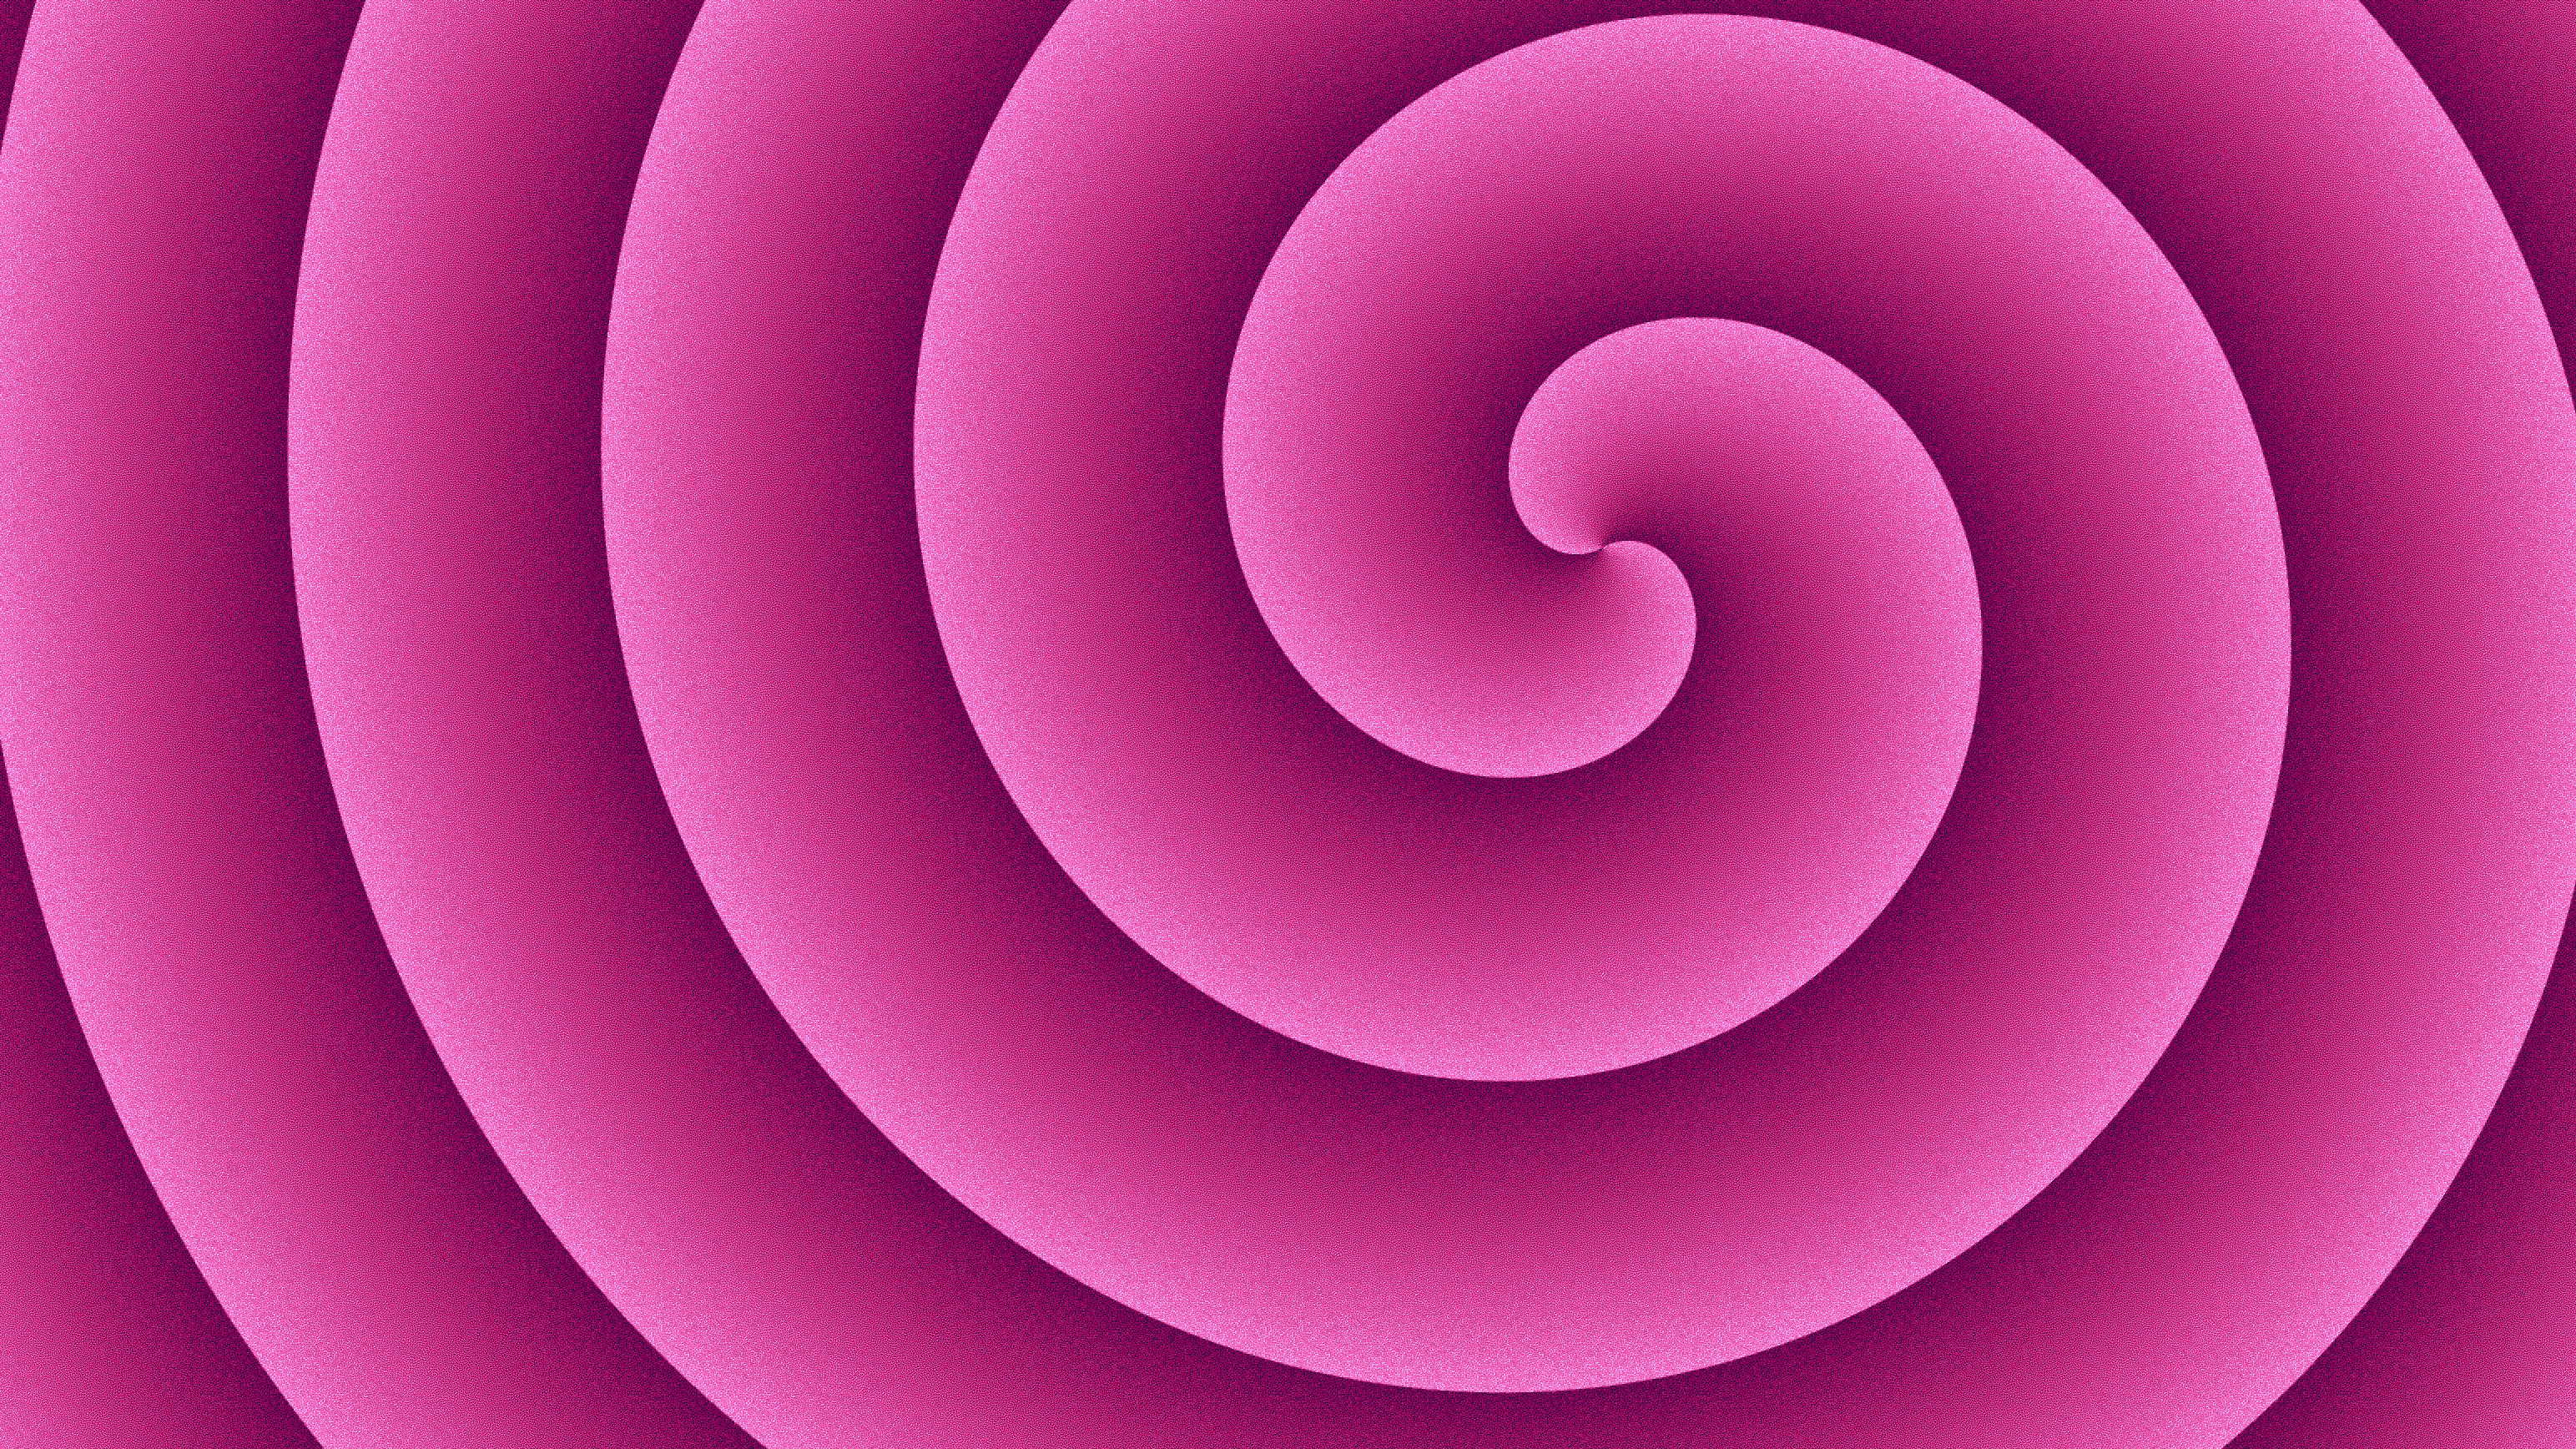
 Shape spiral |
 Shape Conical (symmetrical) |
With the Scaling (for Linear and Bilinear) the color gradient is compressed. The area that lies outside the compressed area then has the start or end color.
With Radial and Spiral, you can use Rings to specify the scaling, i.e. the number of rings. For example, the Growth ensures that the radial rings are of different sizes, and for spirals it determines how far apart the windings spread.
For example, the Focus can be used to offset the highlight of a radial shape on it.
With AquaSoft Stages you can also define curves instead of fixed values in the Geometry section to create animations.
|
The best way to get to know the gradient object is to try it out yourself. You can get a small impression of what the color gradients that can be created with the object look like by looking at the preview images that are displayed at Toolbox - Image effects - Color gradients. |