|
<< Click to Display Table of Contents >> Recovering files |
  
|
|
<< Click to Display Table of Contents >> Recovering files |
  
|
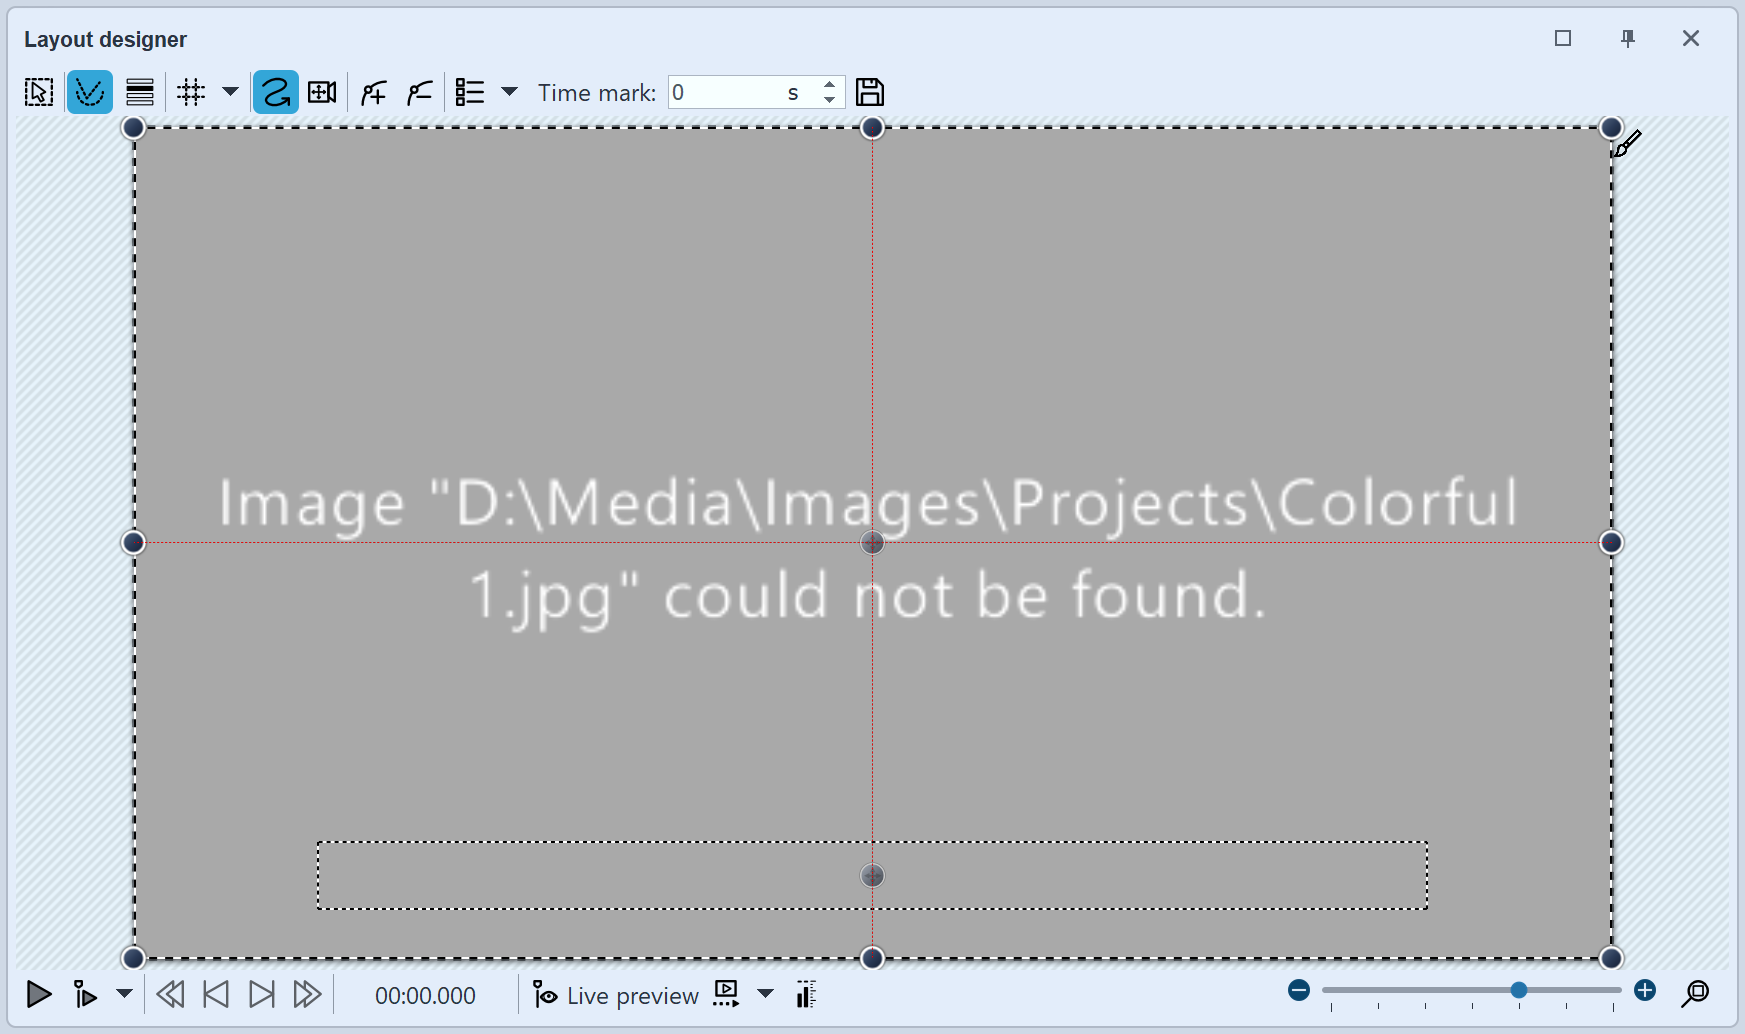
 Image can not be found AquaSoft Vision only stores shortcuts to your images and to the music you use in the project . If you move, delete or rename your images or music, the AquaSoft Vision can no longer retrieve them. You will then see the following display in the Layout designer: |
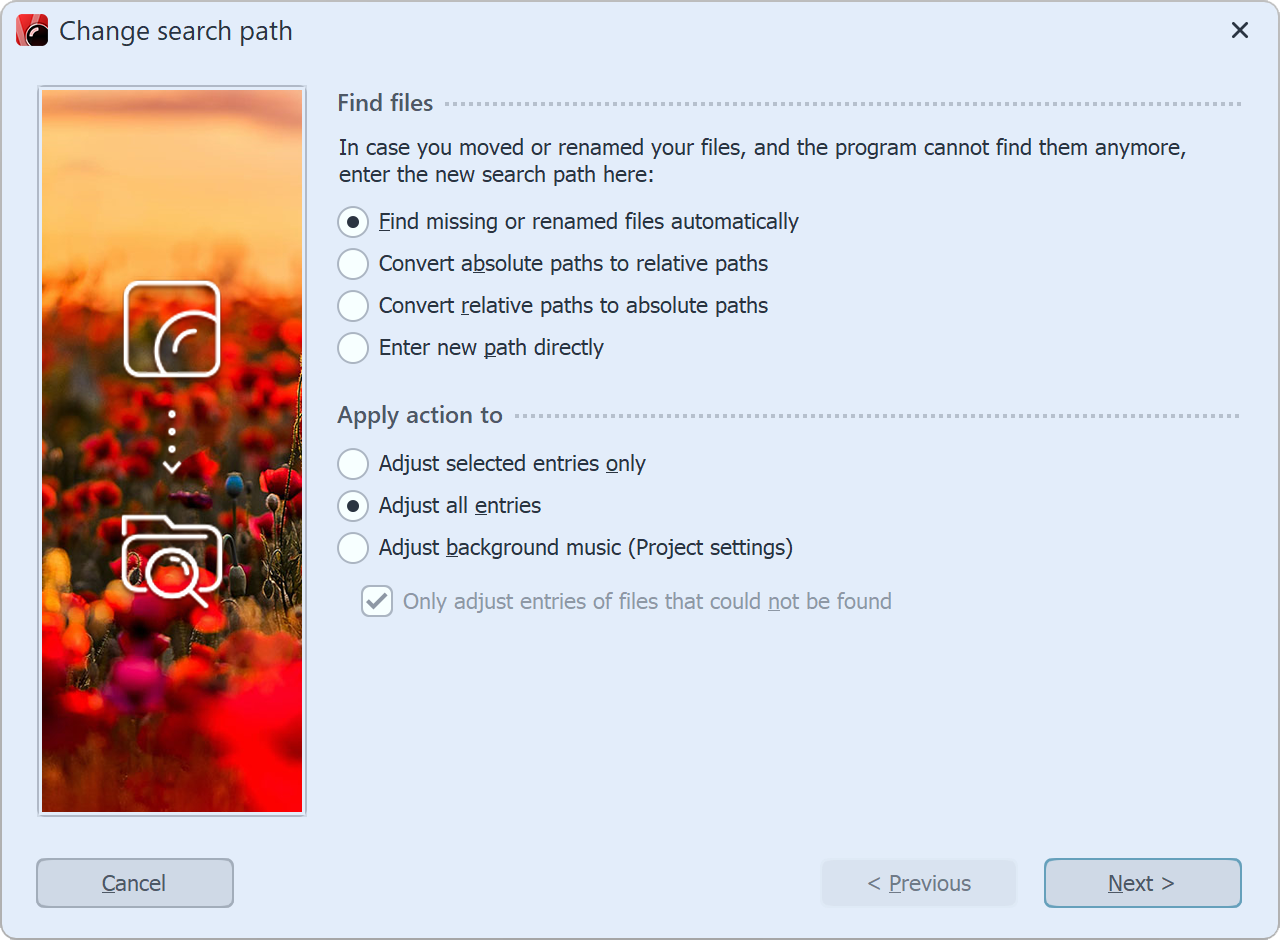
 The Search Wizard cannot recover deleted images, but it can help you reinsert moved or renamed files into the project. 1 Call wizard Open the Search Wizard via Wizards / Find files. Under Find files, select the desired option. |
Find missing or renamed files automatically |
Select this option if you do not know where exactly on your computer the files are located or you have renamed or moved the files. |
Convert absolute to relative paths / Convert relative to absolute paths |
For relative paths, the position of the images is saved starting from the project's save file. For absolute paths, the full path is saved to your hard disk. |
Enter new path directly |
Select this option if you know the directory where the images are located. Attention: the file paths will then be directed to this directory. If you use multiple sources for your project, better use the Find missing or renamed files automatically option. |
Then specify which entries are to be adjusted. After you have made all entries, click Next.
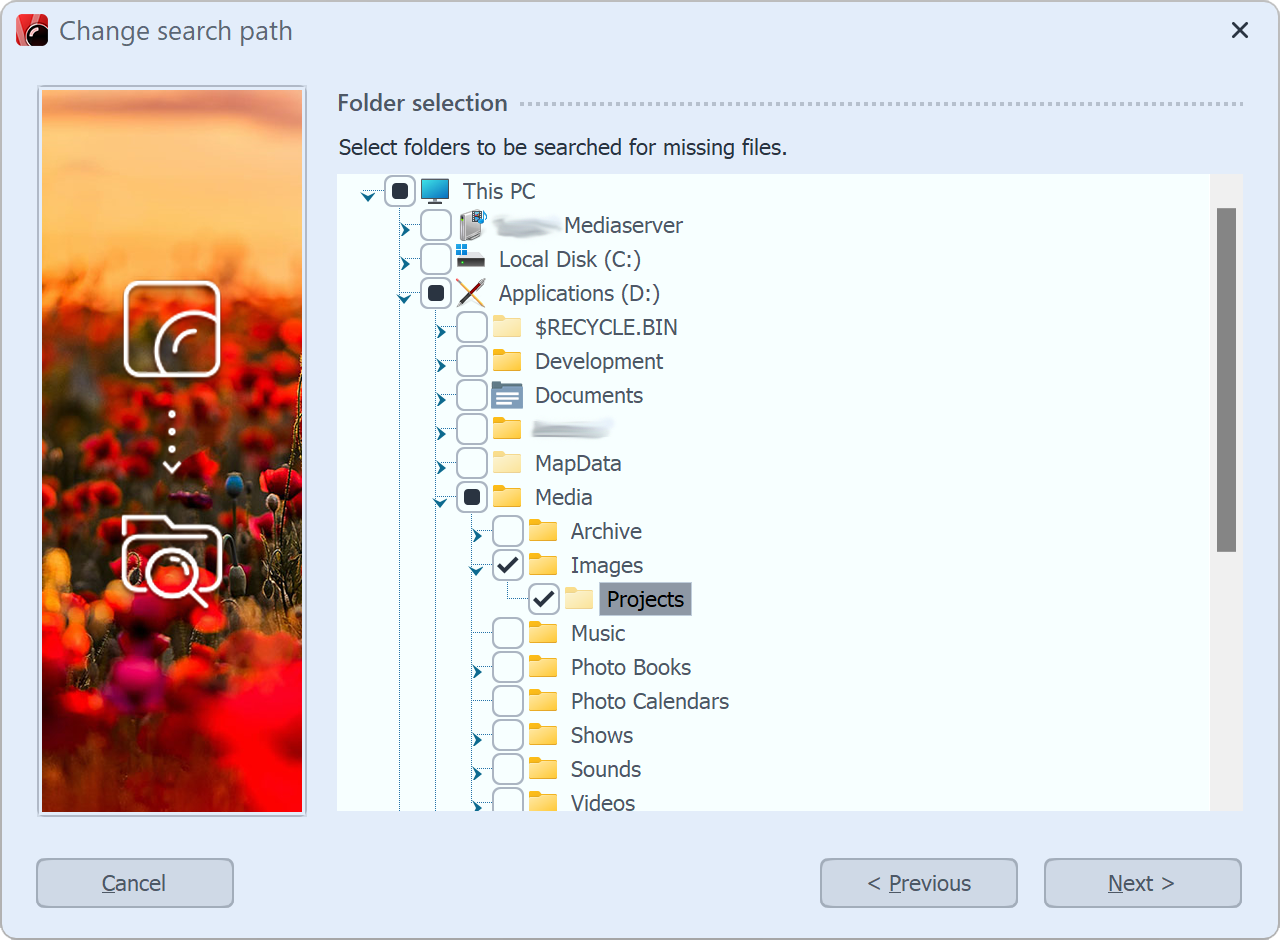
 Select the locations to be searched here. The more locations are searched, the more time the search takes. When you have narrowed down the search, click Next. |
 Here you decide which criteria will be used to perform the search. After setting the comparison criteria, click Next. |
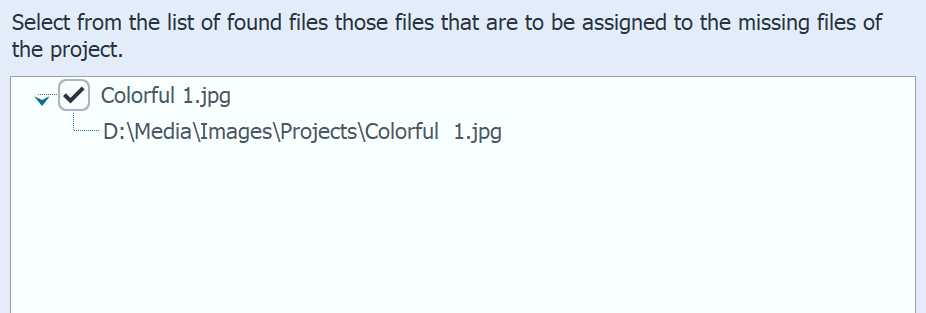
 After a successful search, the found files will be displayed. Select which files to insert to replace the files that are not displayed. Click Finish to insert the files. Save your project afterwards so that the new paths are also present when you reopen the project. |
|
Via Project / Check for errors you can finally check again whether all files are present. If there are still errors, a mouse click on the corresponding line in the error report will take you to the location where the file is missing. |