|
<< Click to Display Table of Contents >> Cube, simple |
  
|
|
<< Click to Display Table of Contents >> Cube, simple |
  
|
Paste your images one after the other into the effect. The effect plays the inserted images in a reduced view one after the other with a horizontal or vertical cube rotation.
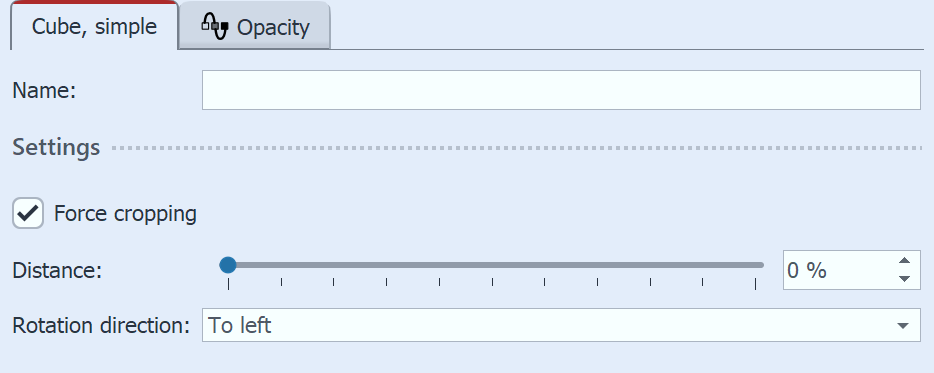
 Settings for "Cube, simple" To access the effect settings, select the effect header in the Timeline. You will find the Properties window in the top right corner of the Default view.Distance stands for the distance of the viewer to the object and thus influences the size of the cube in the Layout designer. In the settings you can set the direction of rotation - left, right, up, down. To have all images displayed as a cube square, select Force cropping. Force cropping crops all images in your effect to the 1:1 aspect ratio, regardless of the actual aspect ratio of your used artwork and regardless of the aspect ratio setting (Crop, Keep) in the Image Properties. To make the effect work for you, we recommend using the None fade-in for the images in the effect. However, interesting effects can also be achieved with the fade-in Extend from center or Alphablending. How long an image is displayed is determined by the respective display duration. If necessary, select different display times from time to time to make the effect more dynamic. Use image effects (e.g. frames) to customize the effect. |
To shrink the cube, first select the effect frame in the Timeline. Then, in the Layout designer, in Motion path mode, drag the dashed selection frame smaller at a corner handle.
You can also move the position of the cube in the Layout designer in Motion path mode, or additionally apply a motion path to the cube.

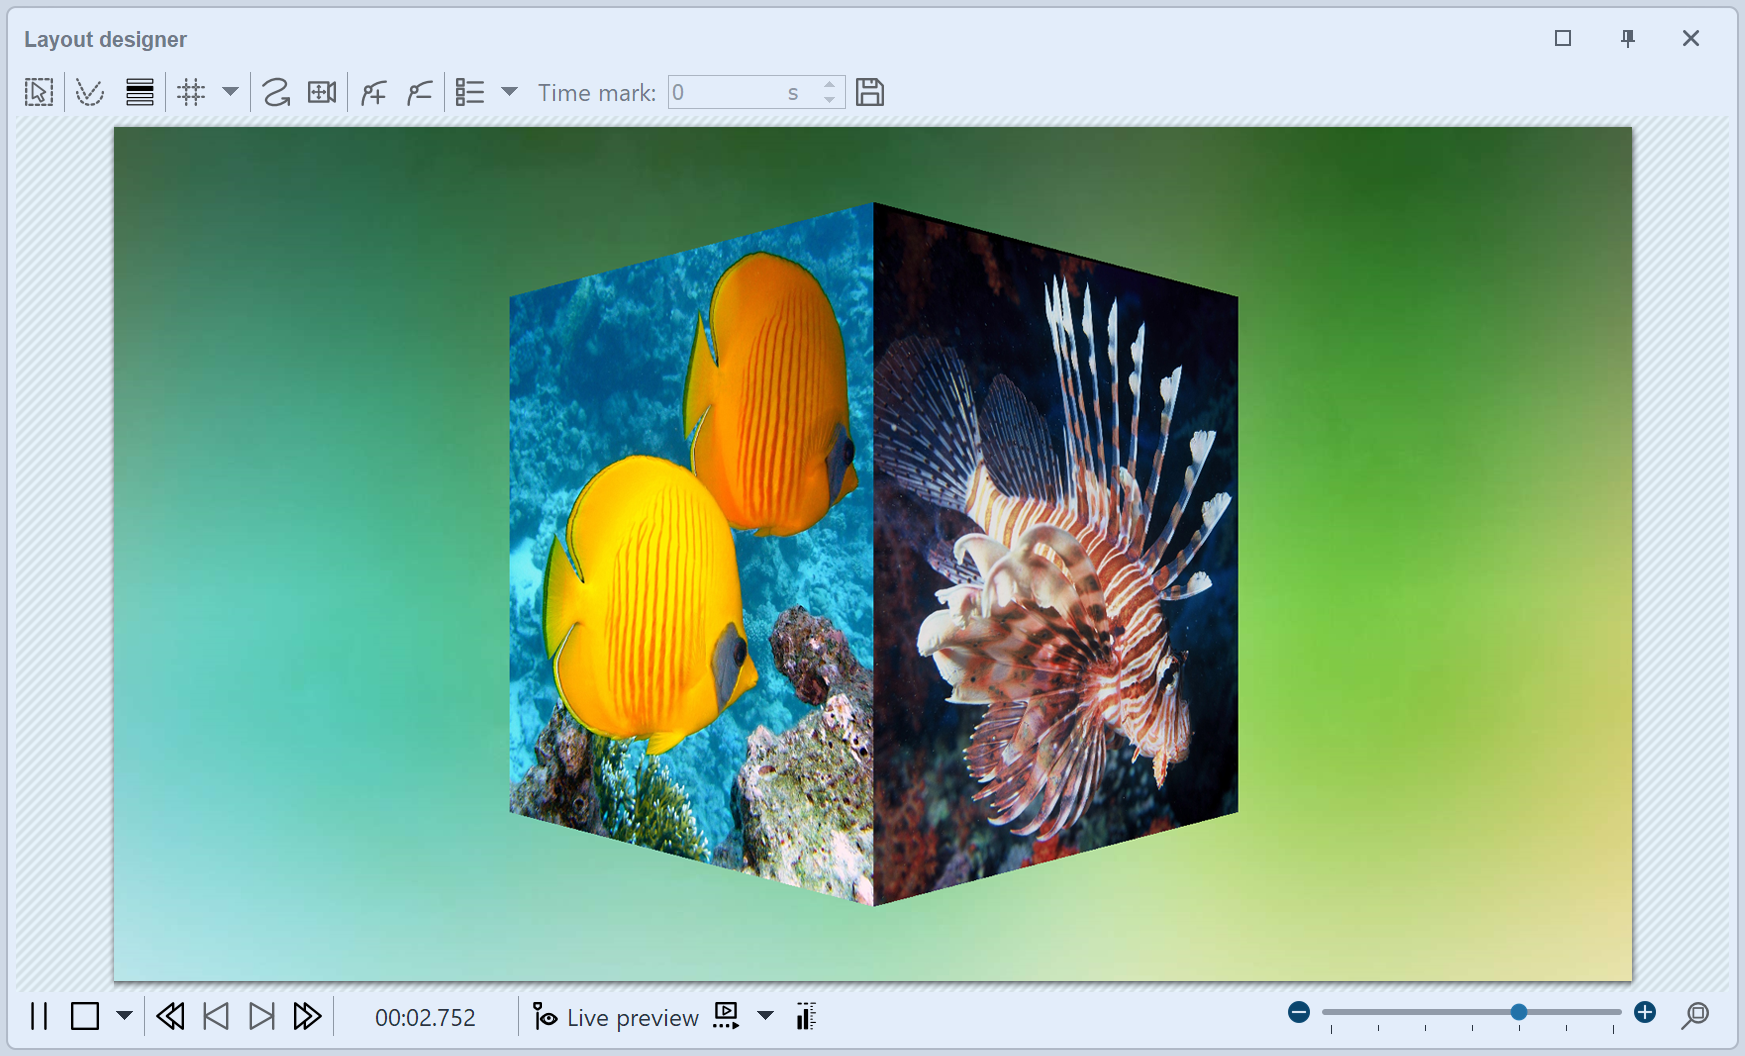
Simple cube with background played in Layout designer