|
<< Click to Display Table of Contents >> Example for 3D Scene |
  
|
|
<< Click to Display Table of Contents >> Example for 3D Scene |
  
|
Not only the objects within a 3D scene can be animated, but also the 3D scene itself. With this example, you can see how an image and text are arranged in a 3D scene and how this scene is animated against a background image.
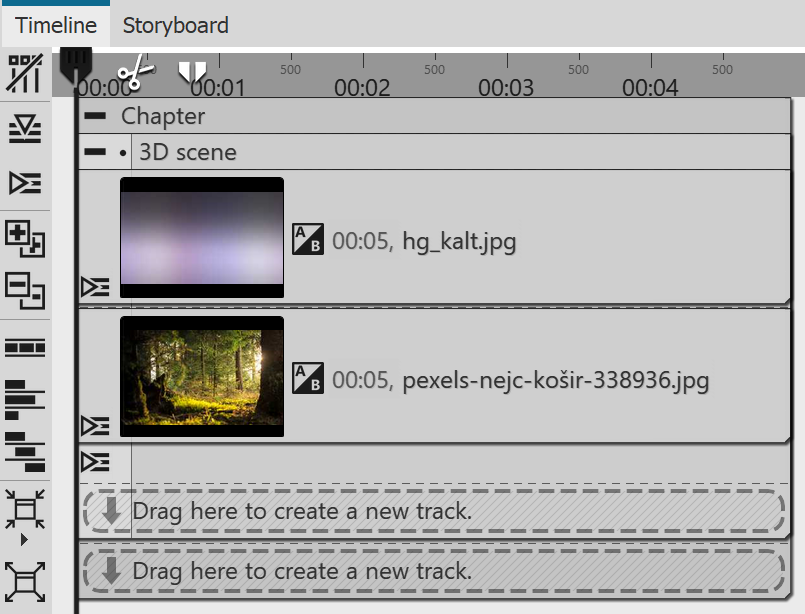 Place a background image from the Toolbox into a Chapter object. Drag the 3D Scene object under the background and paste a photo into it. Select "Crop" for the photo in the aspect ratio properties. Give both image objects a duration of 10 seconds. |
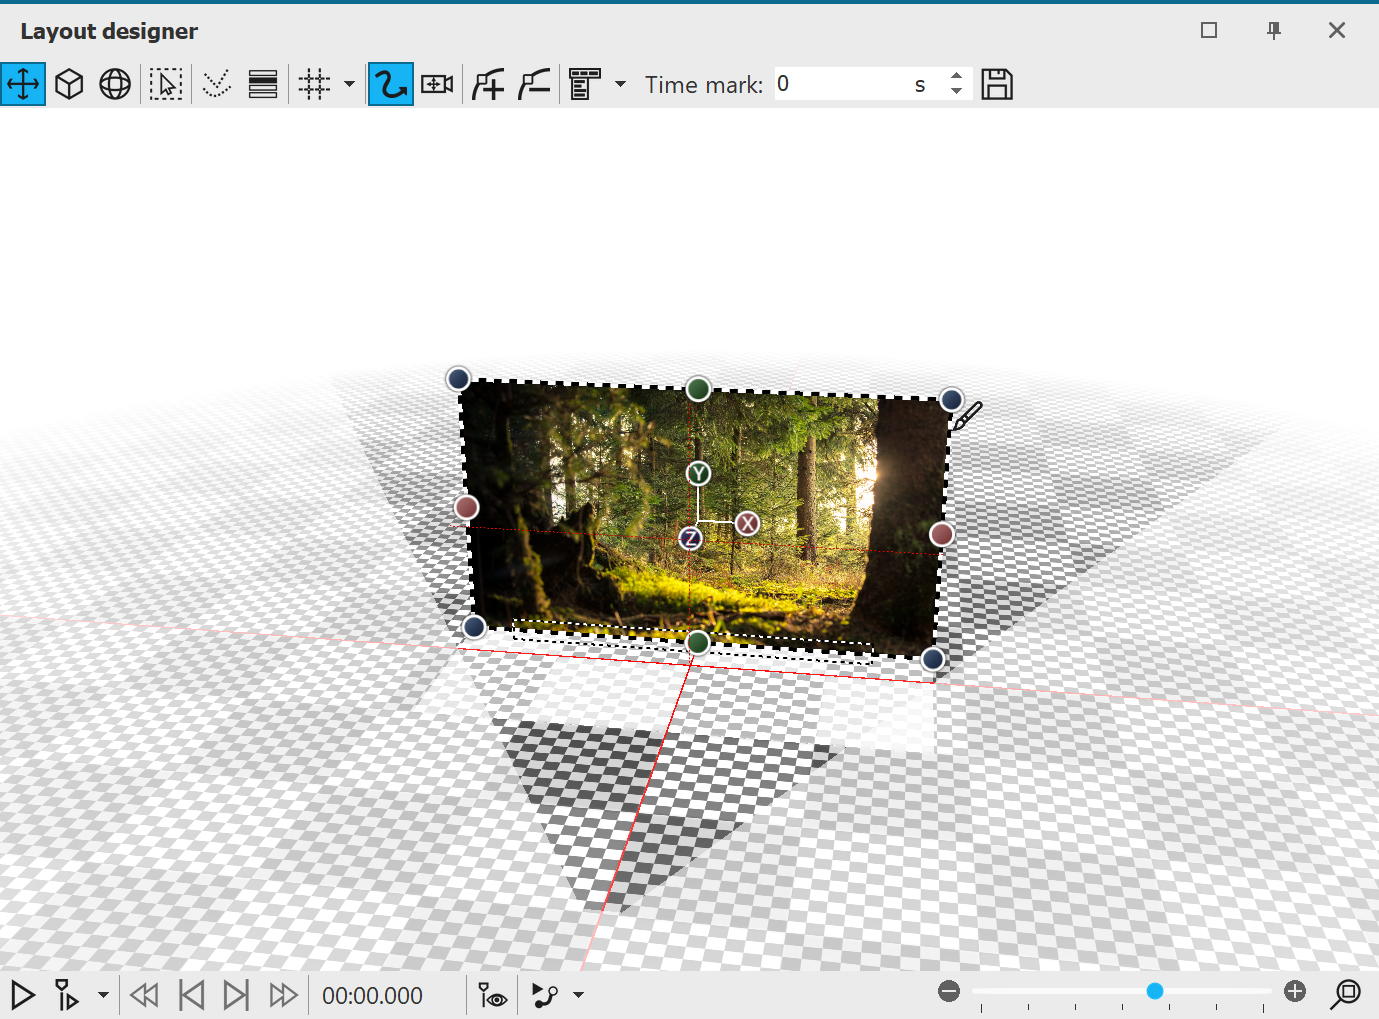 Open the manual input with CTRL + M . Enter the coordinates X=50 / Y=50 / Z=70 as the position for the image. You will observe how the image slides "backwards" in 3D space. |
If you now click on the effect frame of the 3D scene in the Timeline, you will see in the layout designer that the photo is smaller in front of the background.
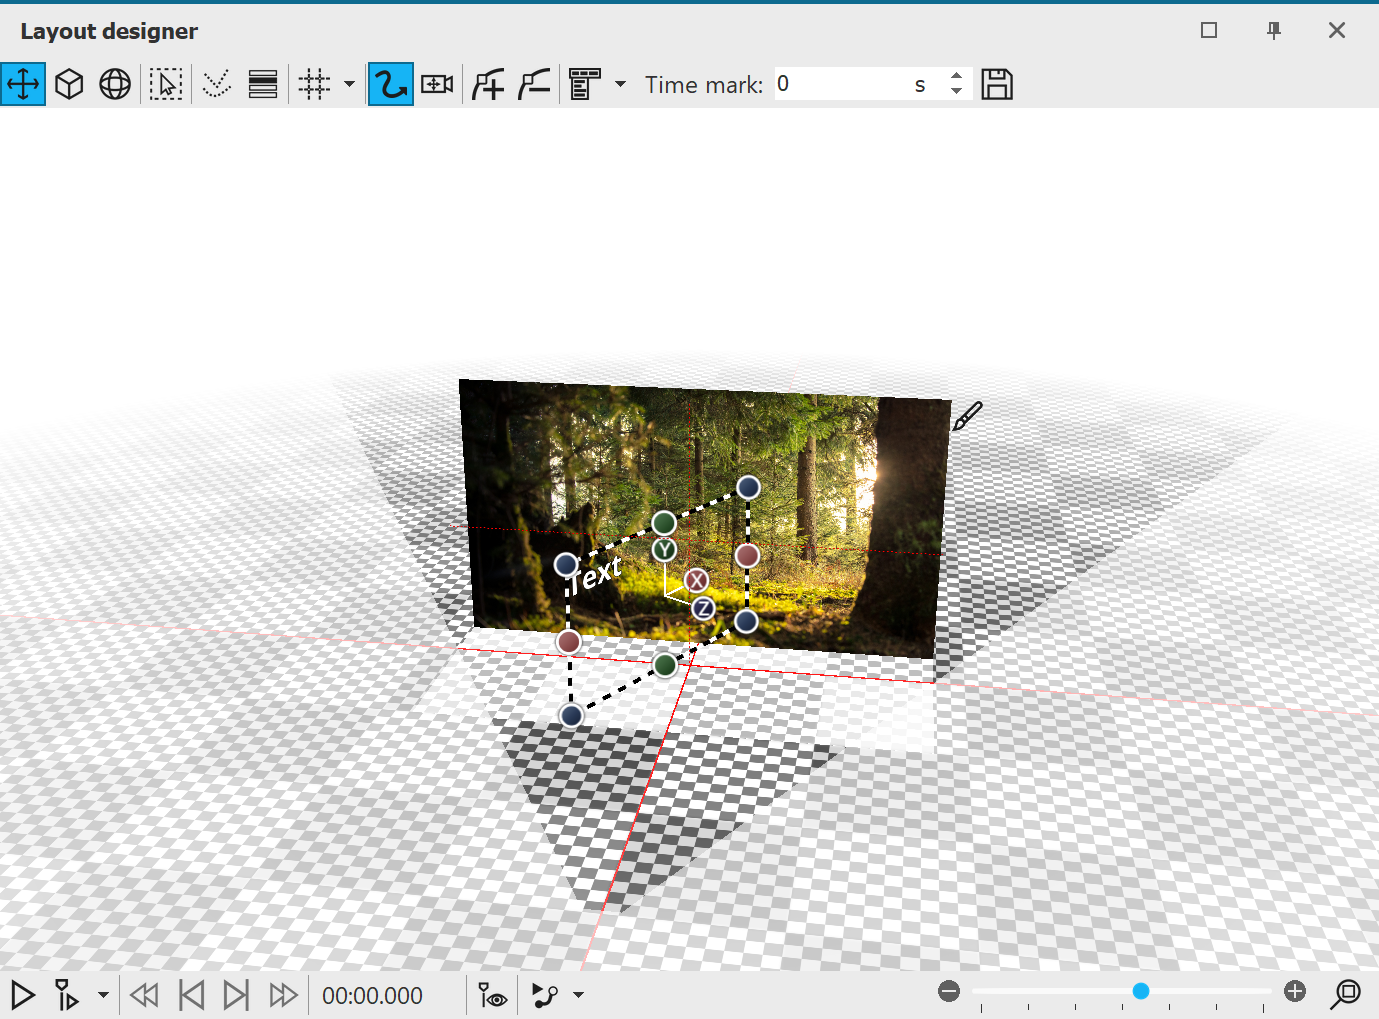 Text in the 3D scene 3 Position text in 3D space Now insert a text object into the 3D scene. Change its coordinates to X=50 / Y=50 / Z=0 - the text is now located in front of the photo in the 3D scene. In the Manual input, change the value for the rotation on the Y axis to 60°. |
If you now click on the effect frame of the 3D scene in the Timeline, you will see in the layout designer that the text is at the top, diagonally in front of the photo.
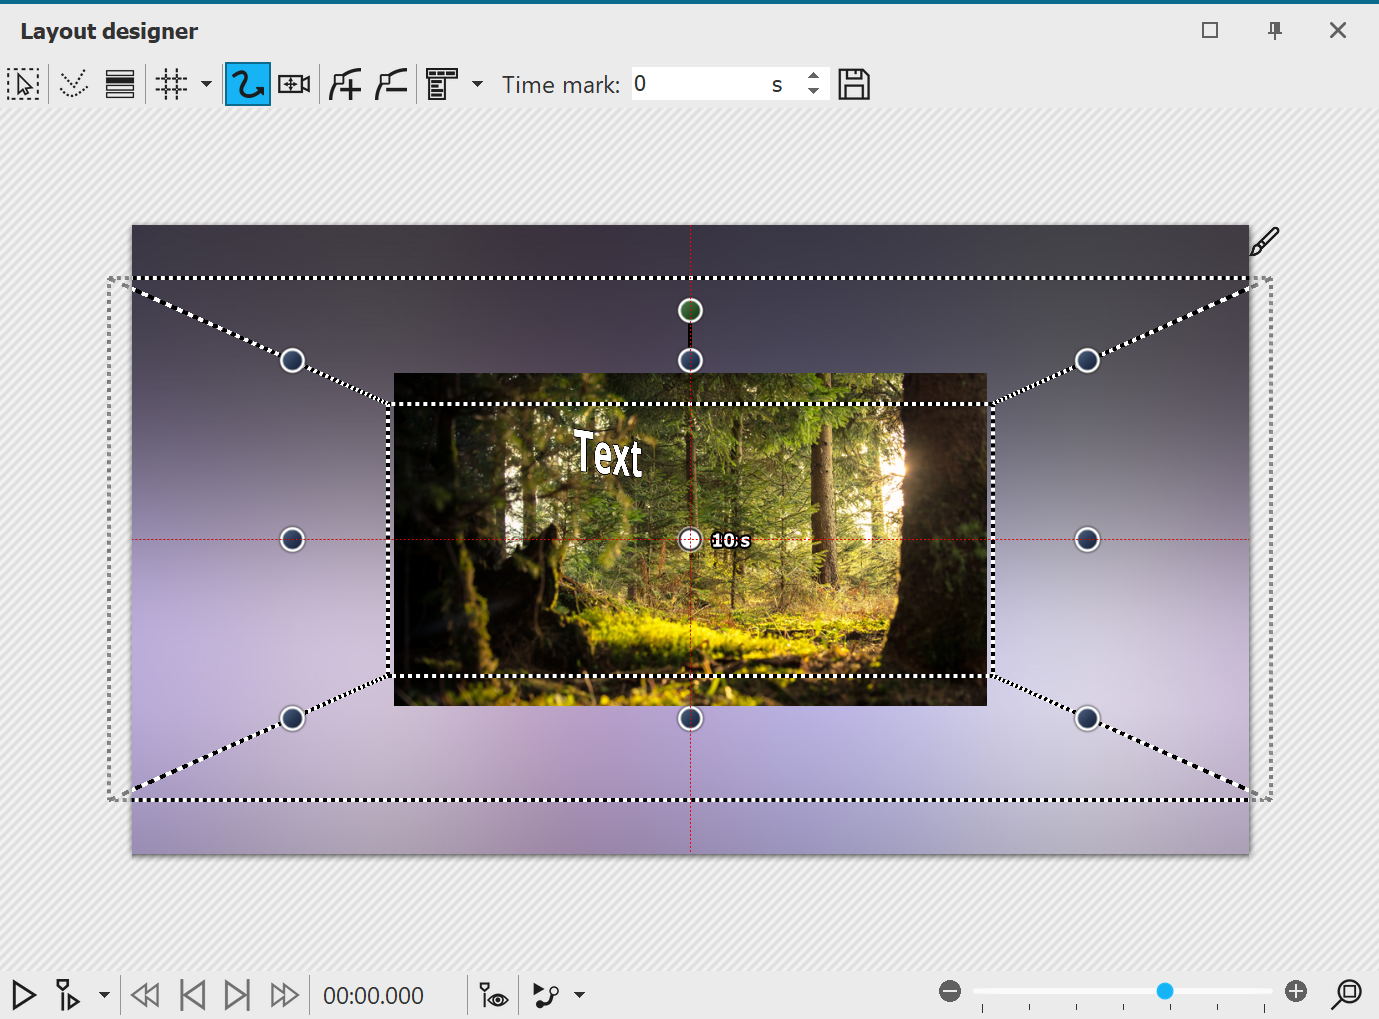 Reduced selection frame of the 3D scene 4 Motion path for 3D sceneSelect the 3D scene in the Timeline. In the Layout designer, move the selection frame of the 3D scene smaller at one corner. Add a motion mark and drag the selection frame of the 3D scene larger again. Give the second time marker the value 10 seconds. |
If you play the project in the Layout designer, you will see how the 3D scene gets bigger from back to front.
In addition, the 3D scene should now receive a rotation.
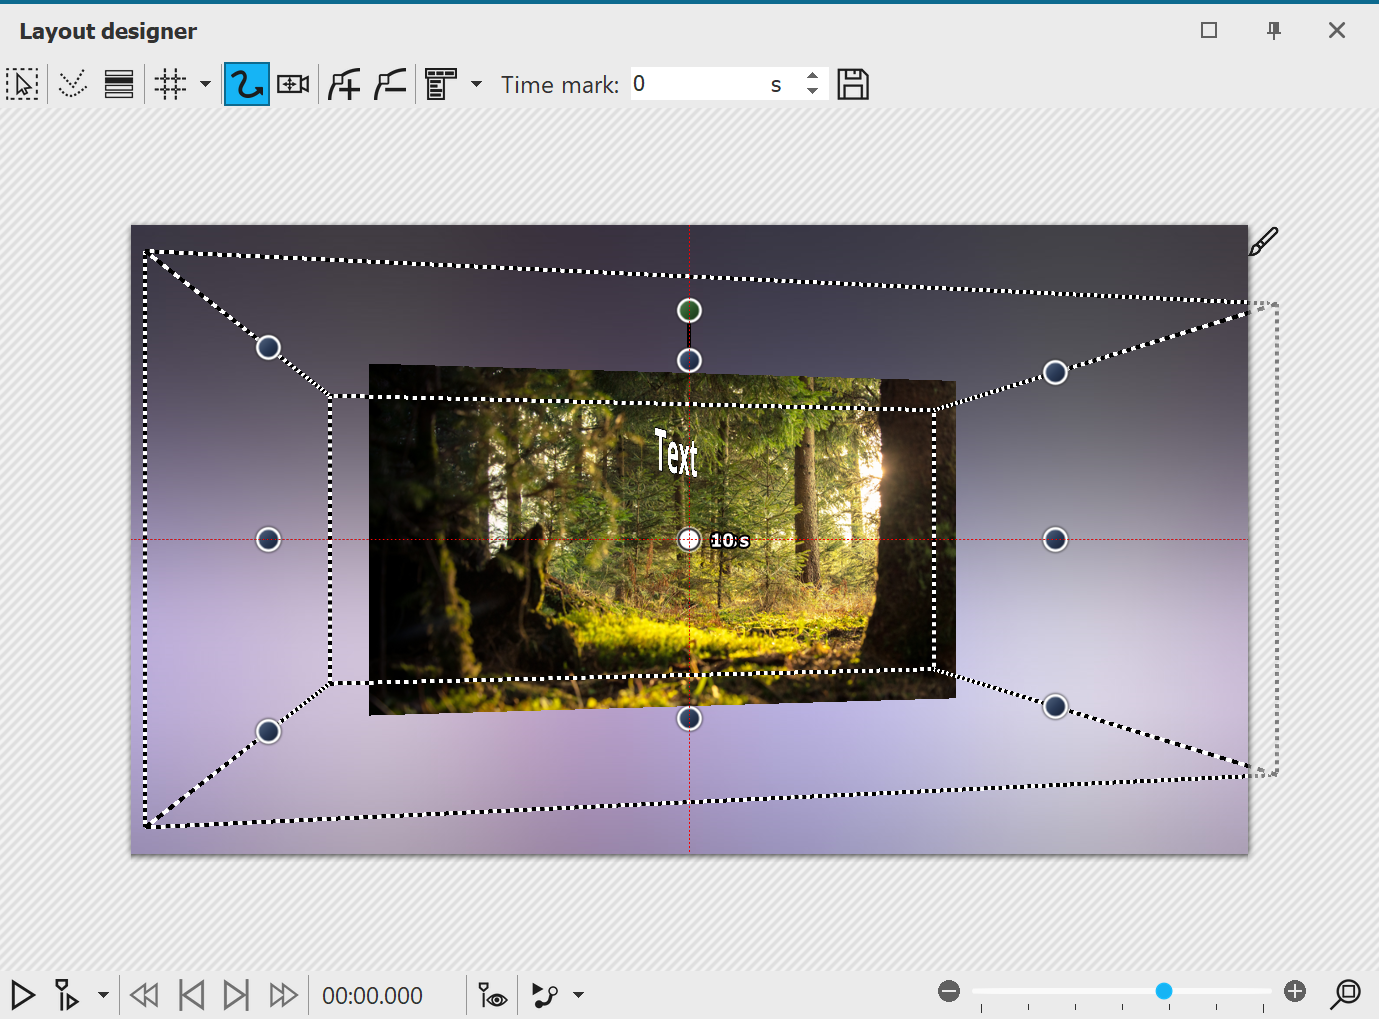 Click the frame of the 3D scene and enter a rotation on the Y axis of 10° at the first motion mark (0s). Observe what happens during playback: The initially skewed 3D scene turns towards the viewer, we see the skewed floating text closer in front of us. |
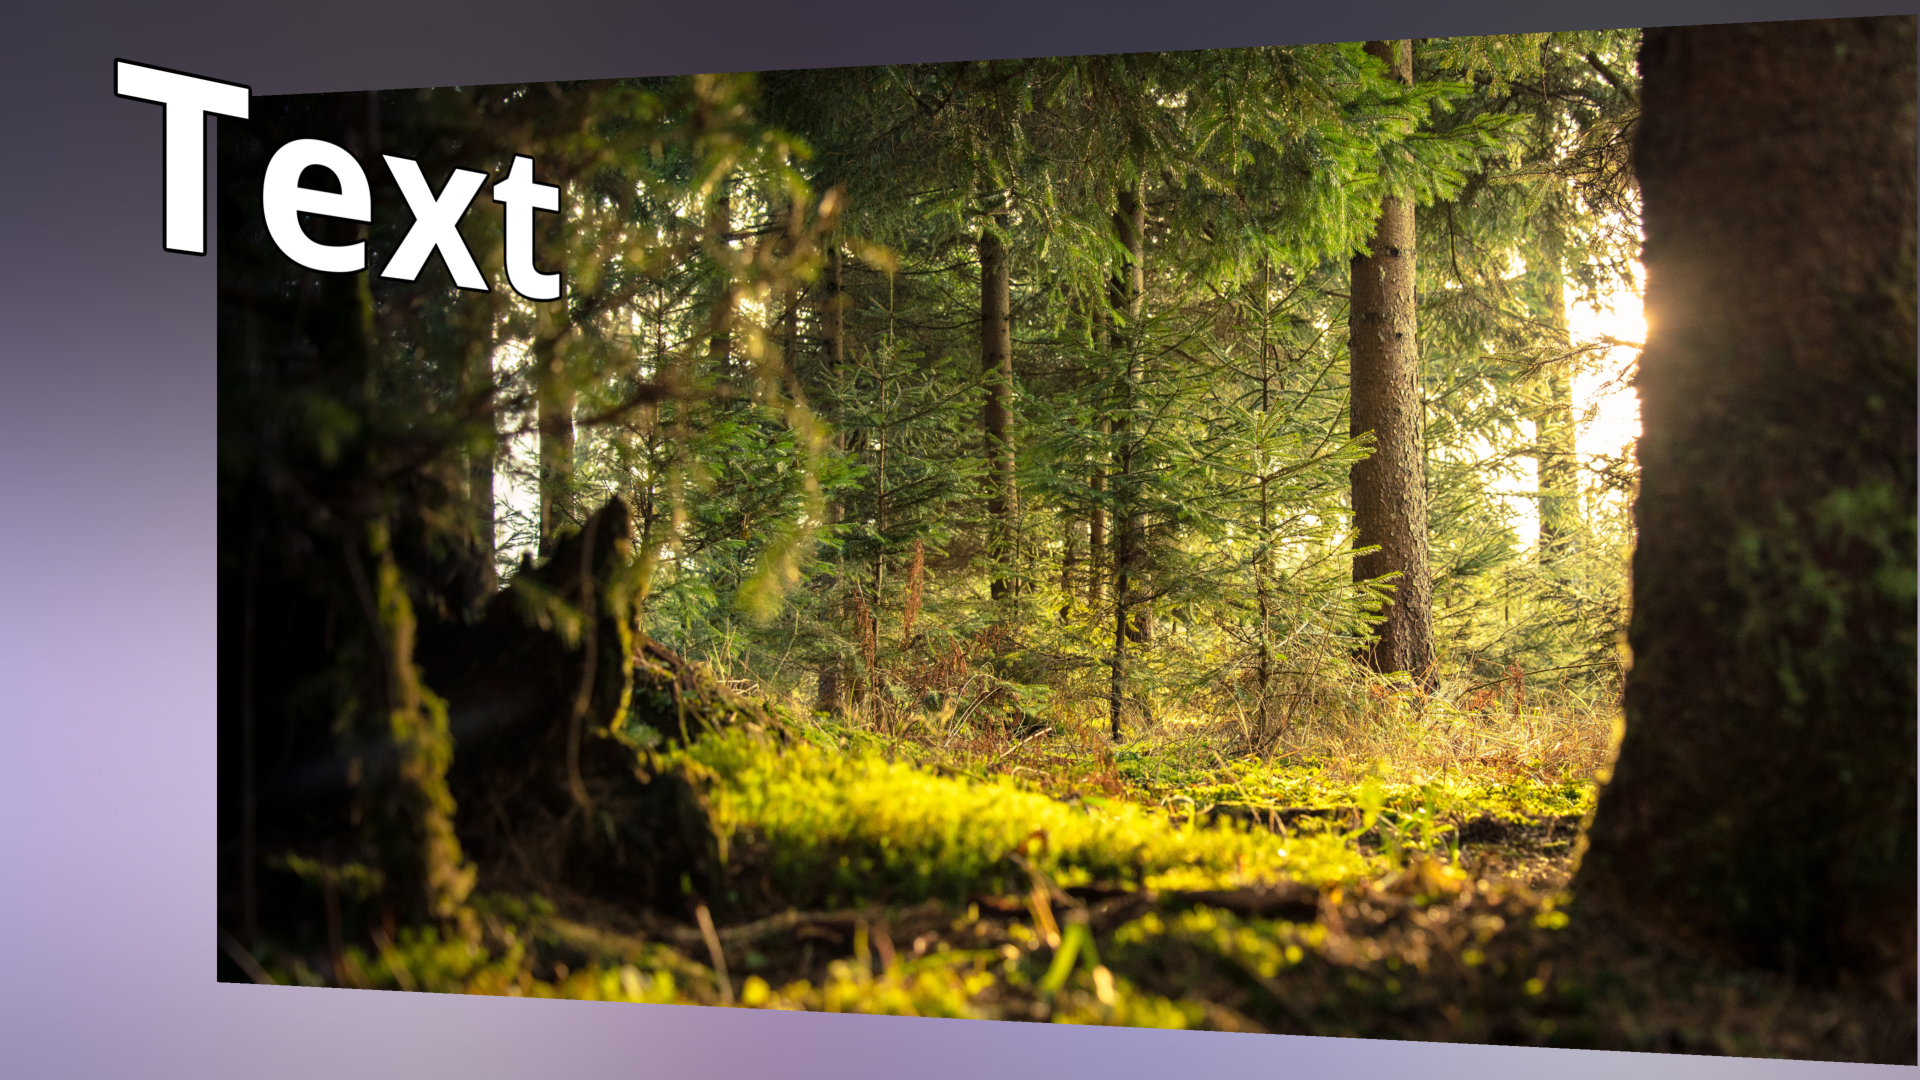 End view of the animation 6 Rotation at second markClick the frame of the 3D scene again and enter a rotation on the Y axis of -10° in the Manual input at the second motion mark (10s). |
During playback, you can now observe how the 3D scene rotates a bit further, so that the text and image are angled towards the viewer.
|
You can find a project with 3D scenes based on the principle shown here in Stages under File / Open / Example project. You will find the sample project under the title"3D - Floating pictures". |