|
<< Click to Display Table of Contents >> Animated transparency |
  
|
|
<< Click to Display Table of Contents >> Animated transparency |
  
|
In the properties window you will find a transparency tab next to virtually all objects. This allows you to assign a specific transparency behavior. So, for example, it is possible to get an image or text to emerge slowly from a black background and subsequently disappear again. You can also get images and texts to appear semi-transparently on top of a previous image.
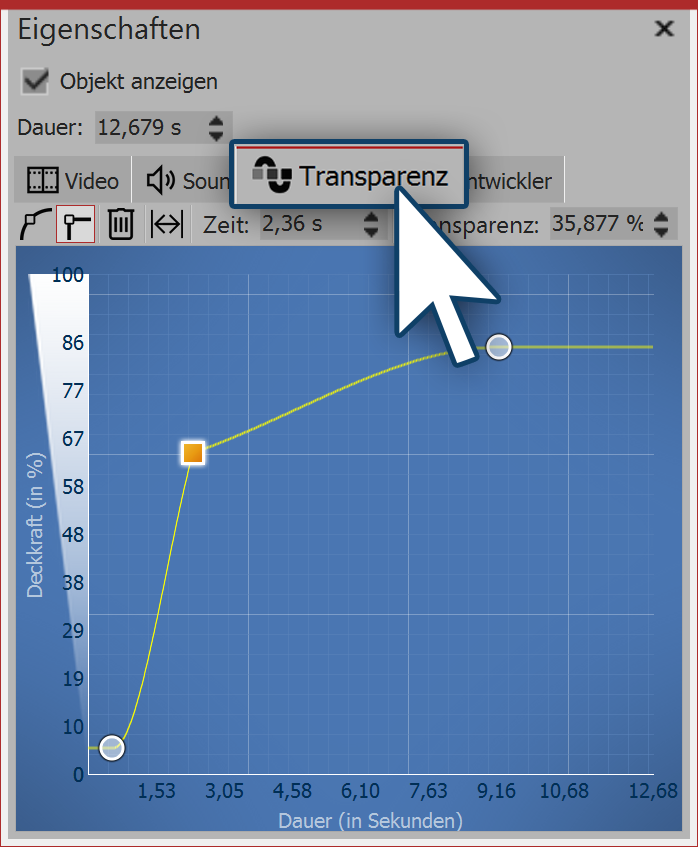
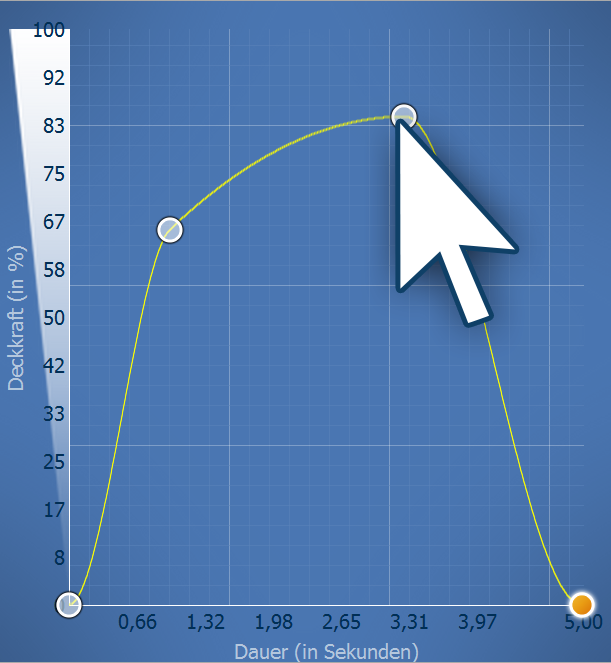
 Putting dots in the blue field In order to create the transparency curve for your object, in the properties window, bring up the transparency tab. A diagram will appear with a blue background, whose y-axis stands for the percentage opacity, whilst the x-axis shows the length of time in seconds. Put one-click points on the space between the axes. The deeper the point is, the greater the transparency of the object will be. If the point is at the level of 100% opacity, the object is not transparent, but completely visible. You will find the following symbols with which you can influence the transparency curve:
|
 Transparency curve with four points To set the course of the transparency, create a curve in the diagram. To this end, click in the blue background area. This will set the first point, the curve appears horizontal. Now you can create more points by clicking with the mouse button. These can be easily moved. Each dot represents a certain amount of transparency, which the object possesses at a certain point. |
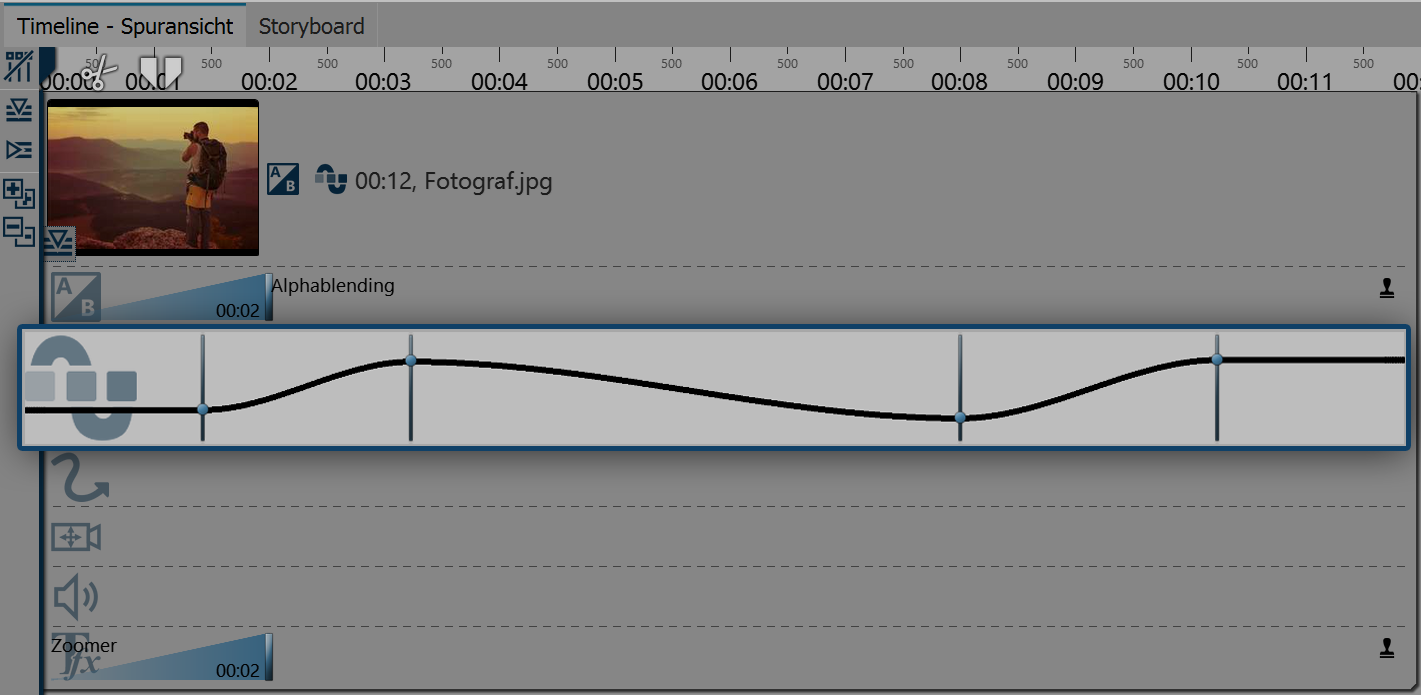
In Stages you can control the transparency using the keyframe track. Just open the keyframe track and click on track for transparency. Again, you have a curve, the ups and downs of which you can control with individual keyframes. Values between keyframes are automatically calculated (interpolated).

Keyframe track for transparency