|
<< Click to Display Table of Contents >> Assigning cross-fading |
  
|
|
<< Click to Display Table of Contents >> Assigning cross-fading |
  
|
In the AquaSoft Stages there is a differentiation between Fading in and Fading out. With the help of the overlays,how the image should be made to fade within your presentation. With the Fading out you can decide how the image departs the screen.
|
The option to fade out is only needed in special cases and should not be selected for every image. Only select fade-out when you are working with multiple tracks. The Objects in the first track should not be subject to any fading out. |
In an empty project, first of all insert photos or videos. Just use the Insert button in the menu bar or the menu item Insert. You can also insert multiple images at the same time by selecting them in the file selection window with the mouse. Hold down the Ctrl key and then click on the desired pictures.
You can assign Fading in and out in three different ways:
•using the Toolbox,
•using the context menu
•and using the Properties window.
In the following sections you will learn more about these options.
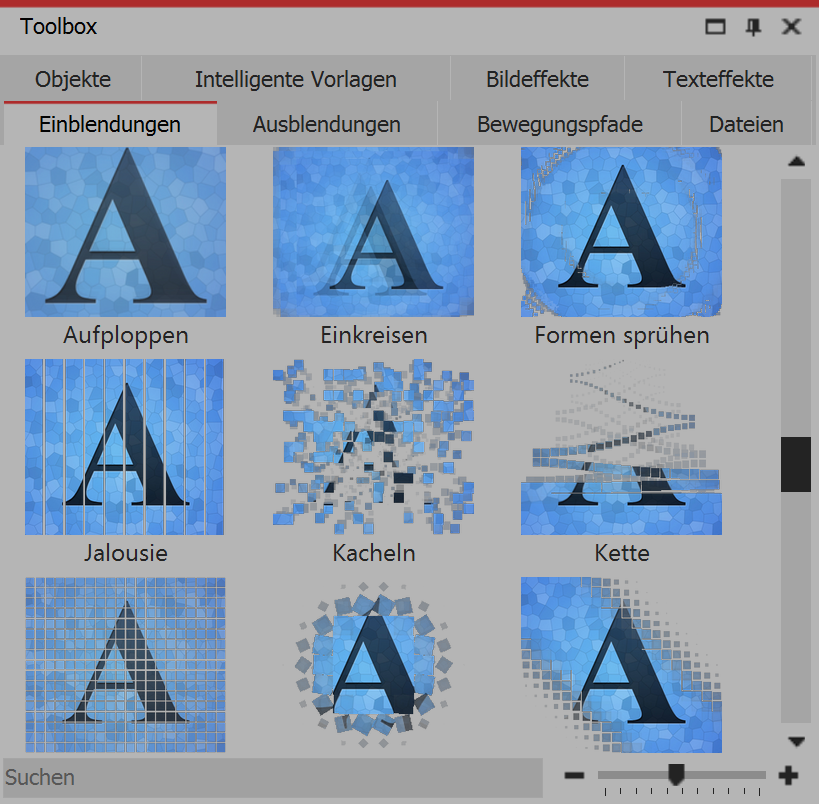 Fading in using the Toolbox Click on the Fading in or Fading out tab in the Toolbox. |
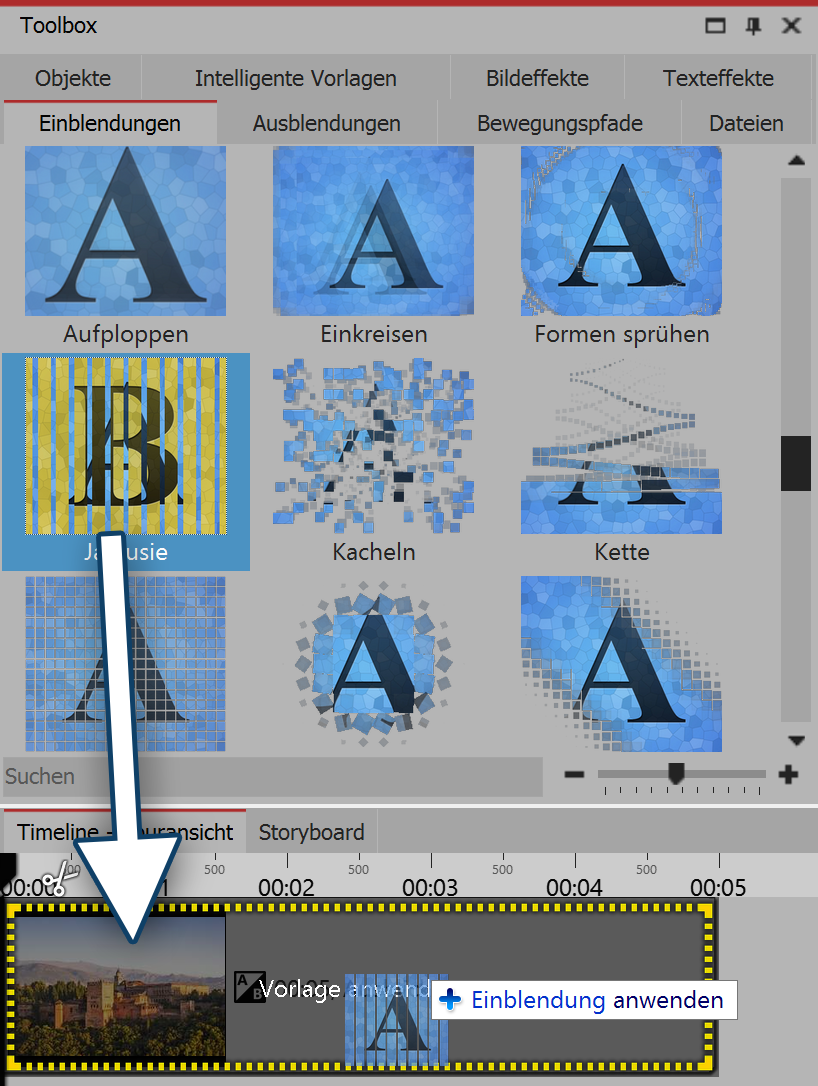 Fading in by dragging onto the image in the timeline Drag the preferred effect (Fading in or out) with the mouse, onto the Timeline. In the Timeline a dashed yellow border appears around the image when you have correctly placed the Fading in or out effect. Then you can release the mouse button. |
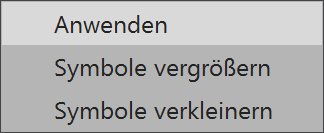 Select the option "Apply" If you wish to apply Fading to multiple, or all images, mark the relevant images in this way. •By pressing the Ctrl key + a you will be able to mark all of the available images in the project. •If you would like to highlight just a few specific, unrelated images, hold down the Ctrl key and then click with the mouse on the images you would like to select. Now select a Fading in or out effect and right click on it. The shortcut menu appears. Here select the option Apply, and the effect will be applied to all the selected images. |
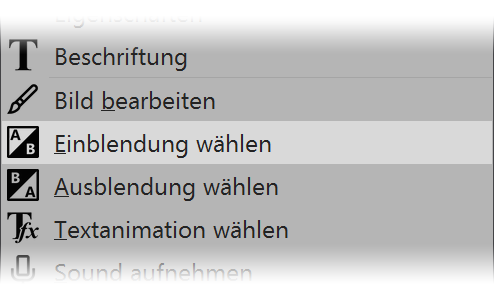 Set Fading in or out from the shortcut menu If you, in the Timeline, click using the right mouse button on an object the shortcut menu opens. There you will find a selection option for Fading in and for Fading out, which allows you to specify the desired transition. |
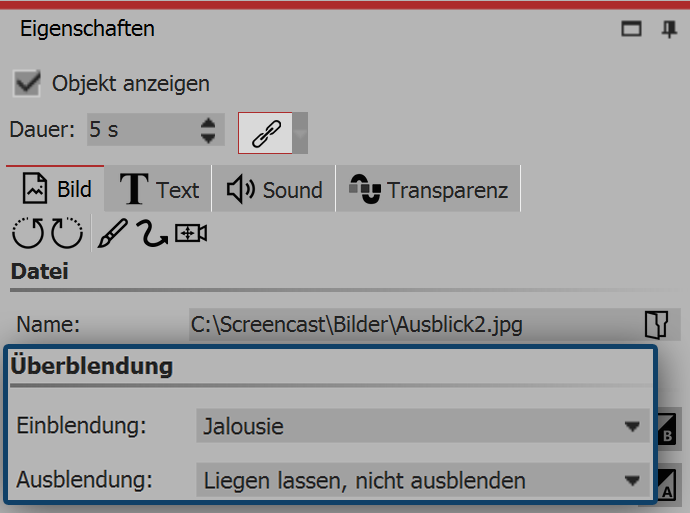 Set cross-fading Click on an image in the Timeline. Cross-fading is set in Properties under Image (or Video or Flexi-Collage). |
|
If the Properties option is not visible, you can find it via the image´s shortcut menu (right click on the image). A further option is to find Properties via View / Control elements aufzurufen. |