|
<< Click to Display Table of Contents >> Ken Burns effect |
  
|
|
<< Click to Display Table of Contents >> Ken Burns effect |
  
|
 Ken Burns effect You can find the effect in the Toolbox below the tab objects, in the object effects section. The Ken Burns effect allows a slow zoom in or out of interesting areas of the image. It brings a motion to the image, which makes photos seem more alive and draws attention to details. Follow to give these instructions quickly and easily lend any number of images the Ken Burns effect. If you want to create the Ken Burns effect not automatically but manually, read the instructions in the chapter"Manually creating Ken Burns". |
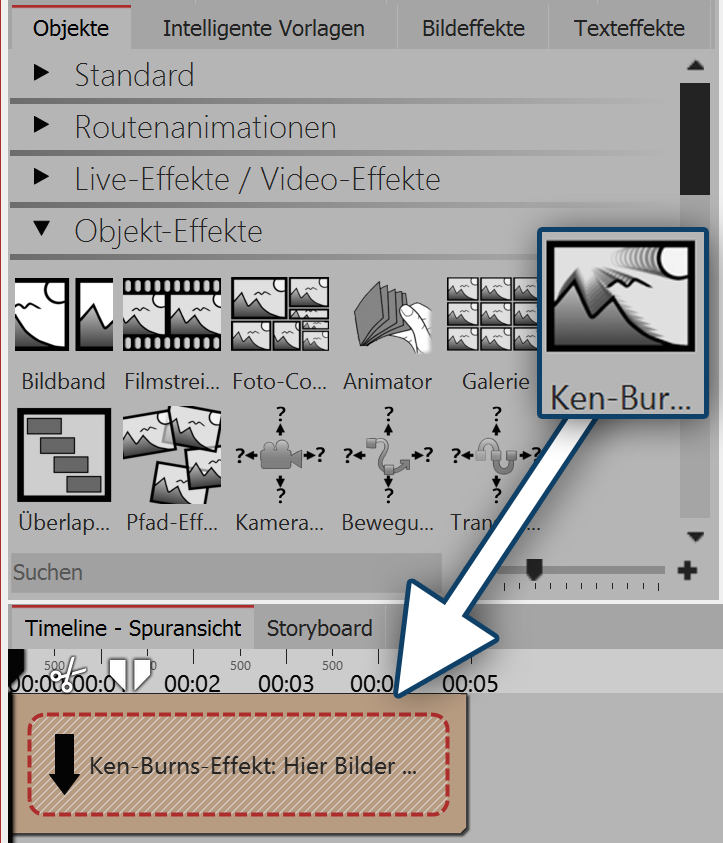
1. Inserting the effect  Dragging the effect from the toolbox into the timeline Start with an empty project and drag the Ken Burns effect from the Toolbox into the Timeline. You can find the Ken Burns effect under the tab objects in the object effects area. |
|
2. Adding images
|
|
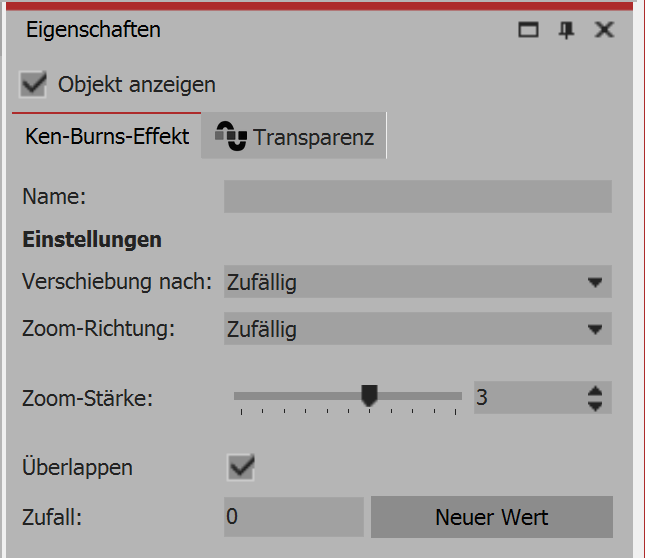
 Settings for Ken Burns effect •Under displacement according to you can choose from varying directions how you would like the Ken Burns effect to move. •Under zoom direction you can specify whether it will zoom in or out of the image. •You can influence the zoom strength with a ruler or enter the value directly. •If there is a check mark beside the option overlapping, this means that the images will overlap smoothly with each other. |