|
<< Click to Display Table of Contents >> Creating the image effect yourself: “Nostalgia" |
  
|
|
<< Click to Display Table of Contents >> Creating the image effect yourself: “Nostalgia" |
  
|
|
This feature is only available in AquaSoft SlideShow Ultimate and Stages. |
In this example, you will learn how to create a nostalgic effect in your image by using the image editor.
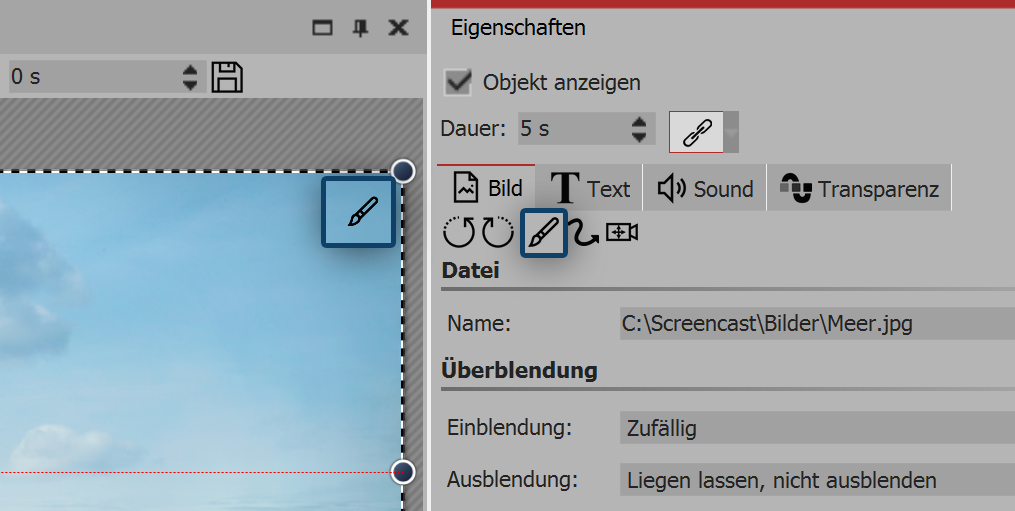
1. Open image in image editor Editing the image There are several ways to open the image in the image editor: •click on the paintbrush icon located in the top right corner of the image in the Layout designer •Or click on the paintbrush icon that is located in the properties window •or right click on the image in the Timeline and select edit image |
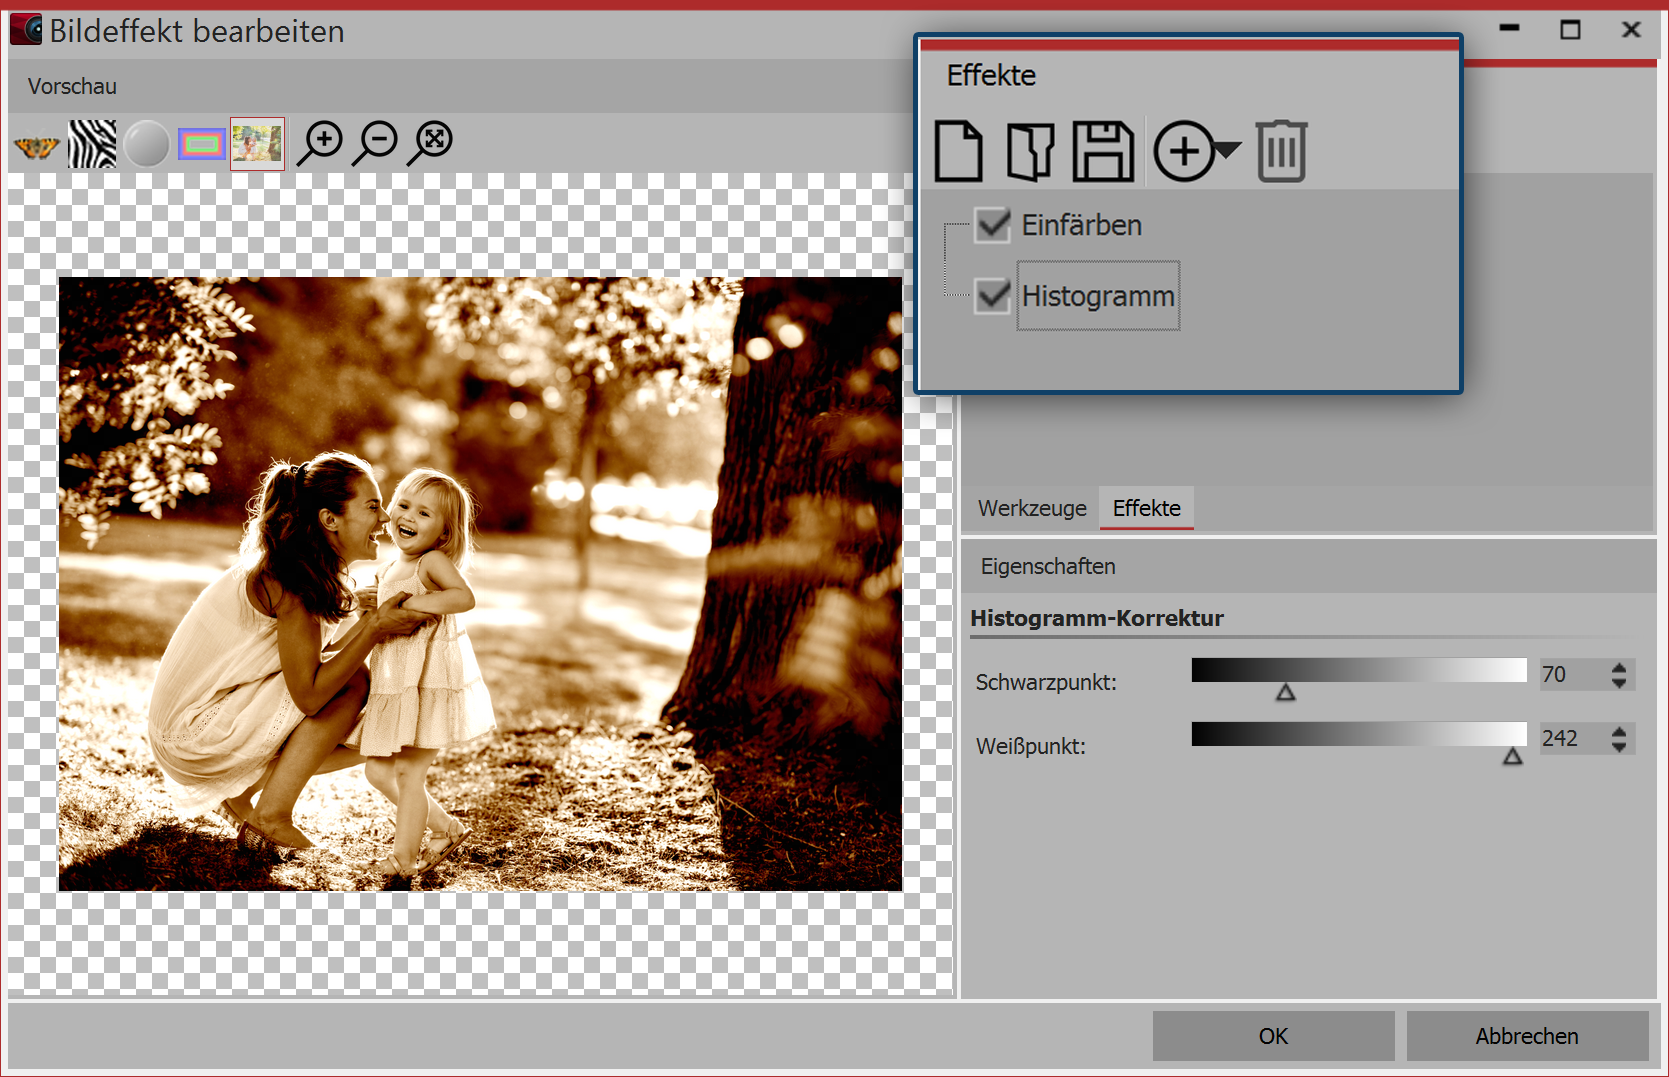
2. Inserting effects Effects in the image editor After opening the image editor, select the effects tab. Now, via the plus icon, add the effects color in and histogram. Under color in, activate the option color and select a suitable color. |
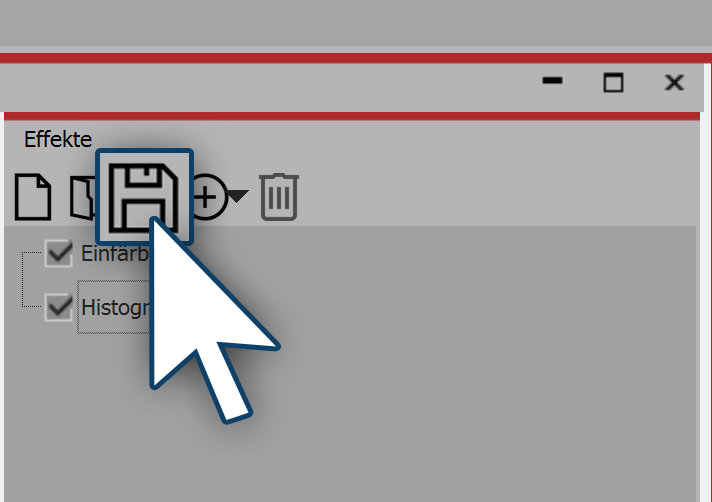
3. Saving image effect Saving image effect You can save the image effect you have just created for future use. Click on the save icon, and enter a name for the image effect. It will then appear in the Toolbox under image effects / custom image effects. |

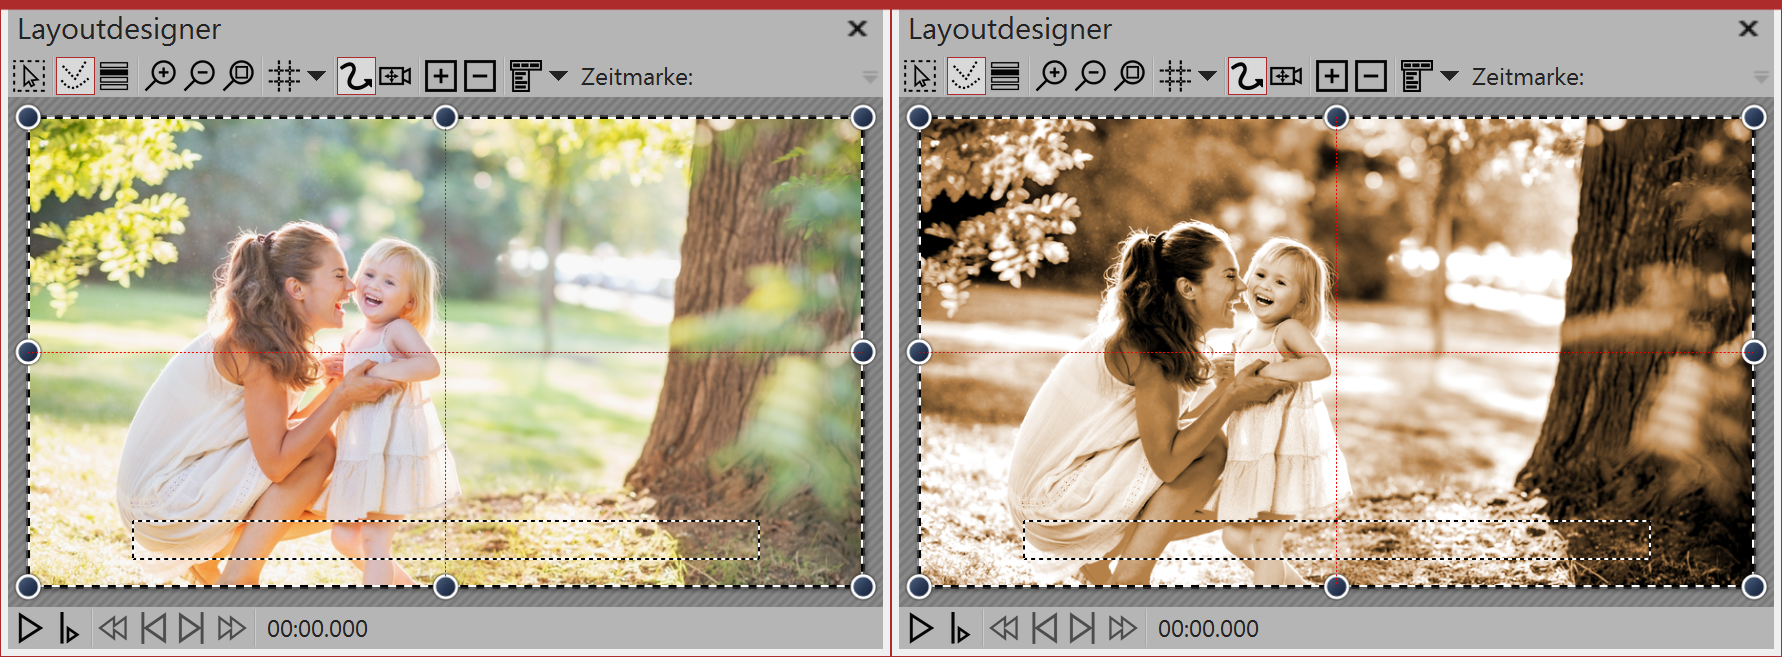
Left - without image effect (original), right - with image effect